
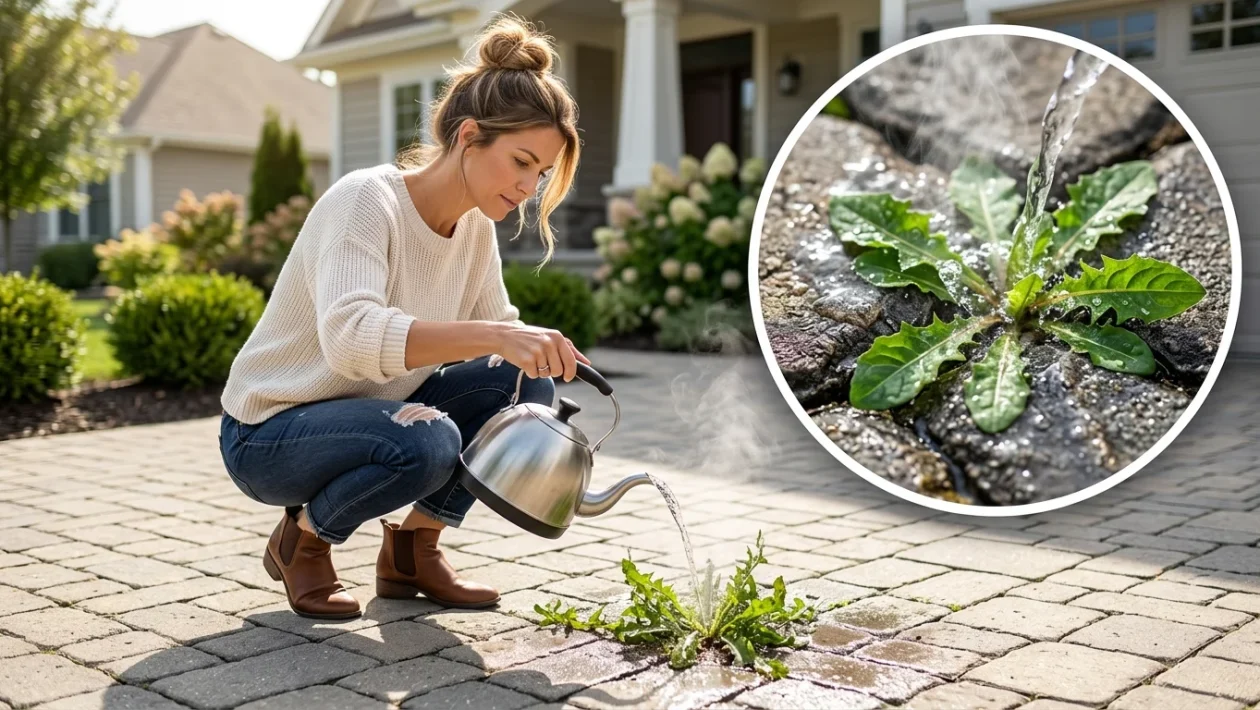
Weeds growing between paving stones start as a minor annoyance. A single green sprout near the walkway edge quickly multiplies into a messy, overgrown driveway.
Most homeowners tackle the problem by scraping the cracks, spraying harsh chemicals, or dumping salt and vinegar. Yet, within a few weeks, the green shoots return.
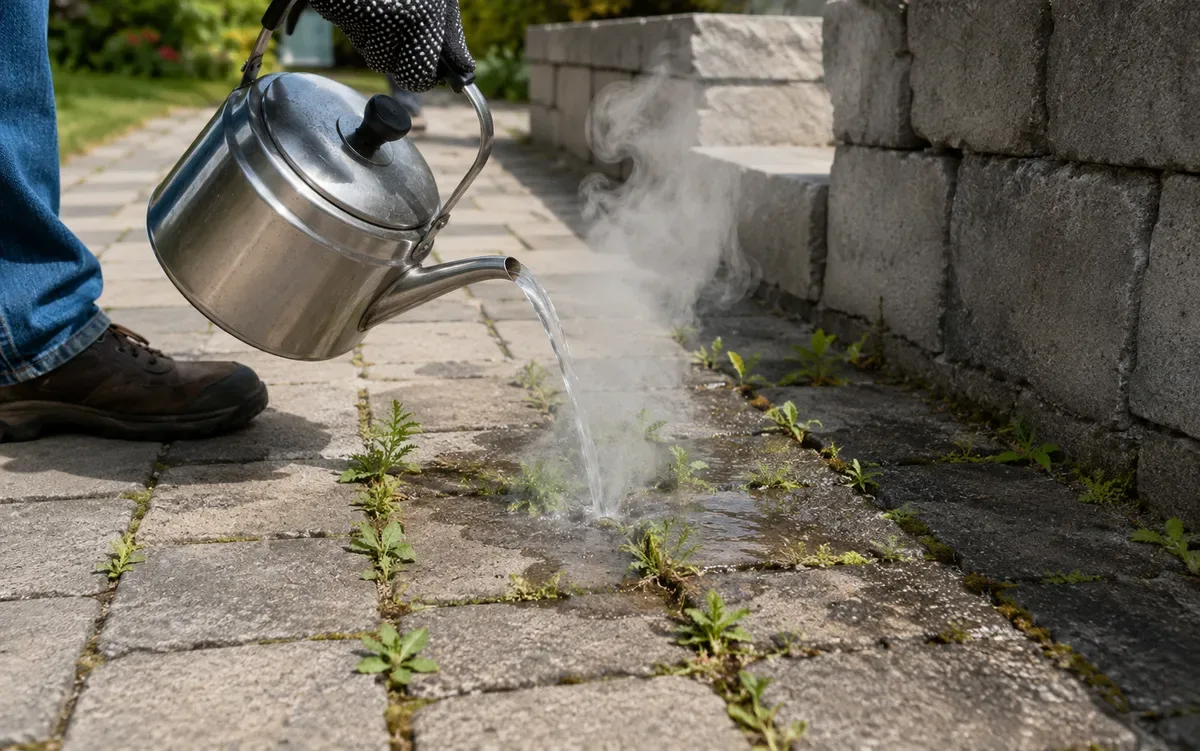
A standard kettle pouring boiling water directly onto weeds sprouting between paving stones.
There is a highly effective, completely free alternative that requires no weeding and leaves zero toxic residue. Boiling water.
Why Scraping Weeds Always Fails
The most common mistake when fighting driveway weeds is only attacking the surface. Scraping or cutting the green tops leaves the entire root system intact beneath the pavers.
Between the bricks, accumulated dirt, sand, and organic matter create a perfect incubator. Moisture gets trapped in these tight spaces, allowing resilient roots to push new growth to the surface almost immediately.
Furthermore, removing one mature weed often exposes dozens of dormant seeds in the crack. Once it rains, those seeds sprout, making the walkway look worse than before.
How Extreme Heat Destroys the Root System
Boiling water works through immediate thermal shock. The extreme heat instantly ruptures the plant’s cell walls, causing the structure to collapse.
Unlike topical sprays that only burn the leaves, boiling water penetrates the tight crevices between paving stones. It flows down the plant’s stem and literally cooks the upper root system.
This method easily outpaces popular homemade remedies. Salt permanently damages your soil and can kill surrounding vegetation, while vinegar often fails to reach the roots at all. Boiling water simply cools down and evaporates, leaving no harmful footprint.
The Right Way to Scald Paving Weeds
Boil water in a standard kettle. A kettle with a narrow spout is highly recommended, as it allows you to direct the stream precisely onto the target without splashing.
Walk slowly along the path and pour the water directly at the base of the weed. You do not need to drench the entire brick surface—focus the heat exactly where the stem meets the soil.
Within minutes, the leaves will turn dark and limp. By the next day, the weed will be completely shriveled and dead, making it easy to sweep away with a stiff broom.
For heavily overgrown driveways, tackle the job in zones. Clear the walkway one day and the patio the next to avoid carrying heavy pots of water back and forth.
Strategic Targets and Safety Zones
This trick is exclusively for hardscapes. It works best on concrete seams, brick walkways, driveways, and gravel patches where you want zero vegetation.
Do not use boiling water anywhere near garden beds, lawns, or delicate ornamental plants. The water does not distinguish between a dandelion and a prized rose bush; it will kill whatever it touches.
Avoid pouring boiling water near plastic garden edging, PVC irrigation hoses, or heat-sensitive composite decking. Extreme heat can warp or melt these materials instantly.
Safety Requirements for the User
Handling boiling water outdoors presents an immediate burn hazard. Never wear sandals or open-toed shoes while doing this. Wear long pants and closed shoes to protect your feet from rogue splashes.
Do not overfill the kettle. It is much safer to make multiple trips to the kitchen than to carry a heavy, sloshing pot of boiling liquid across an uneven patio.
Keep children and pets strictly out of the area while you are working. Concrete and brick can stay dangerously hot for several minutes after the pour.
Long-Term Walkway Maintenance
Stubborn, deep-rooted perennials may survive the first round. If green shoots reappear a week later, hit them with boiling water a second time to permanently exhaust the root system.
To stop weeds from returning entirely, eliminate their breeding ground. Sweep your hardscapes regularly to remove the dirt and dead leaves that settle into the cracks.
Once the cracks are clear and dry, sweep specialized polymeric jointing sand into the gaps. This seals the spaces, locking out moisture and preventing future seeds from taking hold.




