
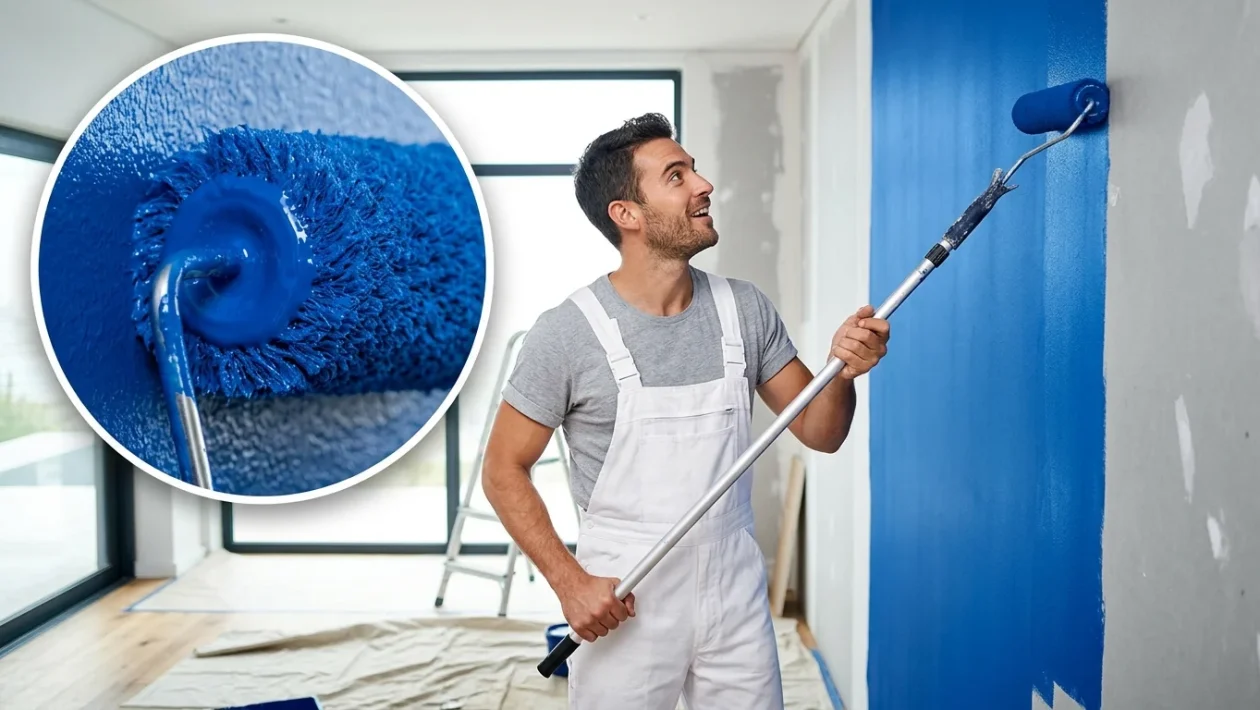
You finish rolling a wall, and it looks flawless. But as the paint dries, frustrating streaks and patches emerge.
This happens even when using premium paint and a steady hand. The secret professional painters rely on to prevent this is surprisingly simple, but it requires rhythm, pace, and strict discipline.
“It’s not about magic, but about flow,” says an experienced painter. “You have to keep the paint alive while you work.”
The Core Concept
The entire technique revolves around maintaining a “wet edge.” When each new roller stroke meets the previous one while it is still wet, the sections blend together without leaving a seam.
If you allow the edge to dry, the next pass lays a fresh coat on top of a drying film. That overlap is exactly what creates visible streaks.
“Keep the edge wet, and everything else gets easier,” the pro notes. It is a fundamental rule that dictates the entire painting process.
Why Do Marks Appear?
Paint dries unevenly due to drafts, room temperature, and porous wall surfaces. When you roll back over a half-dry section, the edge essentially gets a double coat of paint.
Lighting amplifies this mistake. Matte paint hides some imperfections, but semi-gloss and satin finishes will punish every error.
Proper lighting makes all the difference. By turning your body toward the window, you can immediately spot uneven sheen as you work.
How to Do It in Practice
- Mentally divide the wall into narrow, vertical strips about 24 to 32 inches wide, working from floor to ceiling.
- “Cut in” the top and edges of just one section, and immediately roll that specific area.
- Load the roller generously, but avoid dripping. Use a 5-gallon bucket with a roller grid instead of a standard flat tray.
- Start in the middle of your section, map out a broad “W” shape, and fill it in without pressing too hard against the drywall.
- Overlap your previous strip by roughly 50 percent while the paint is still completely wet.
- Finish every stroke in the exact same direction, gently feathering the pressure at the edge.
- Work continuously. Never stop for a break in the middle of a large wall.
Tools That Give You Control
Choosing a roller with the correct nap length is critical. For smooth walls, a 3/8-inch (8–10 mm) nap is usually ideal. Rougher surfaces require a 1/2-inch (12–14 mm) nap.
A nap that is too short leaves insufficient paint on the wall, while a nap that is too thick creates unwanted texture.
Always use an extension pole. It provides a consistent angle and stabilizes your rolling speed, allowing you to maintain even pressure across the entire stroke.
If you are painting in a hot room, consider adding a paint extender (retarder). This slows down the drying time, greatly increasing your chances of keeping the edge wet.
Pacing and Timing
Work from the light source toward the darker areas of the room, or keep the light at your back. This allows you to monitor shadows and overlaps in real-time.
Complete one mental section at a time without jumping randomly across the wall. It is always better to reload your roller frequently than to squeeze out the very last drop of paint.
“The tempo determines the finish,” says a painter. “Right speed, right overlap.”
Small Details for a Better Finish
Lightly mist your roller with clean water before applying water-based paint. A damp roller absorbs paint more evenly and releases it with better control.
Stir your paint frequently to maintain a consistent sheen. Pigments and binders can easily separate in the can, leading to patchy results on the wall.
When using painter’s tape, score the hardened edge with a utility knife before pulling it off while the paint is still slightly soft. This prevents the dried paint from tearing.
Common Mistakes to Avoid
Do not starve the roller. Using too little paint forces you to go over the same spot multiple times, drastically increasing the risk of visible patches.
Never cut in an entire room before you start rolling. You must cut in and roll in small stages to keep that shared wet edge alive.
Stop overworking the paint. Every time you brush or roll over a partially dry surface, you create permanent tracks.
Pay attention to your climate. A hot, dry room dries paint too quickly. A cold, humid room makes the paint sluggish and hard to spread.
Fixing Existing Streaks
If your wall is already streaky, let the paint cure completely. Run your hands over the surface to feel the imperfections.
Lightly sand the transitions with fine paper to knock down the high gloss. Vacuum the dust thoroughly, then apply a new, continuous coat—section by section—keeping a strict wet edge.
If the patches are still obvious after multiple attempts, apply an even coat of high-quality primer. This resets the wall’s absorption rate and guarantees an even sheen for your final topcoat.
Material Selection Matters
Stick to the same manufacturer for both your primer and topcoat to ensure predictable drying times. If you have large living rooms with plenty of natural light, a satin finish will withstand washing while hiding flaws much better than a semi-gloss.
Start with a heavily loaded roller, work in narrow sections, overlap while everything is wet, and finish with light, parallel strokes.
“Once you learn to hold a wet edge,” says the pro, “every wall gets a little kinder to you.”




