
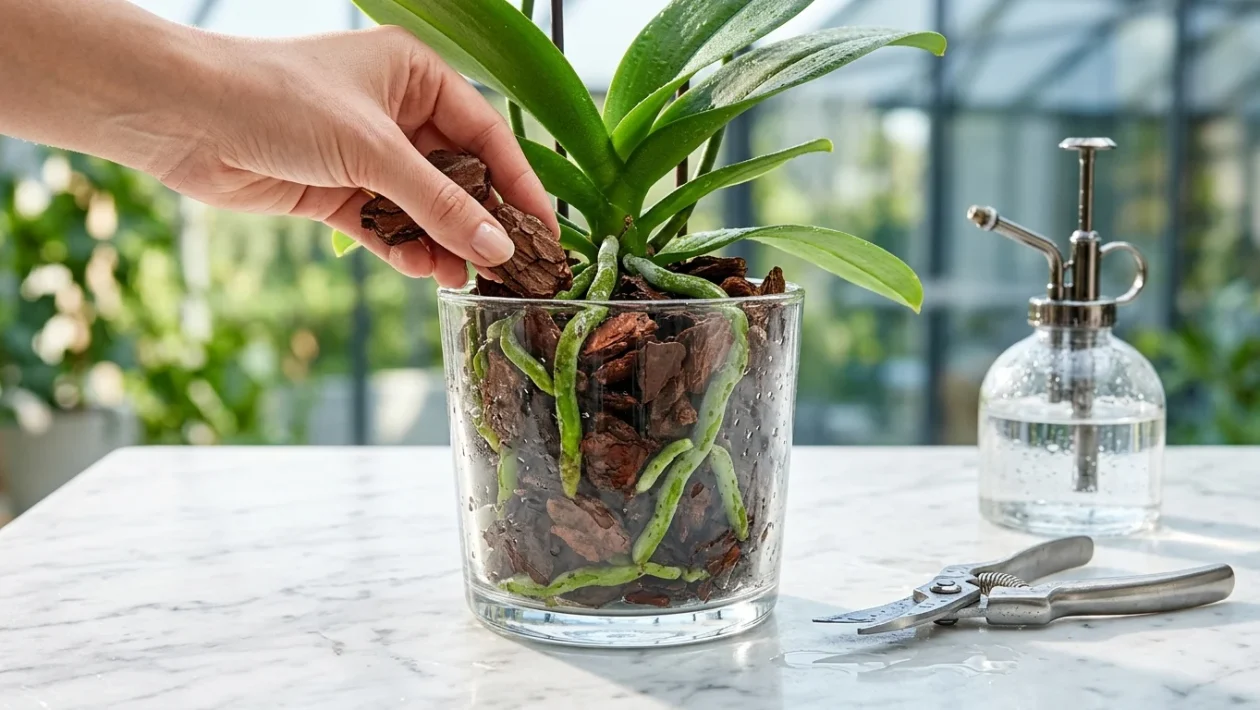
If your orchid refuses to bloom, pushes its roots out of the pot, or looks miserable despite proper watering, it needs an intervention. The fix is straightforward: it likely needs a fresh pot and new potting mix. Repotting is a fast, simple procedure that guarantees long-term plant health.
When to Repot an Orchid
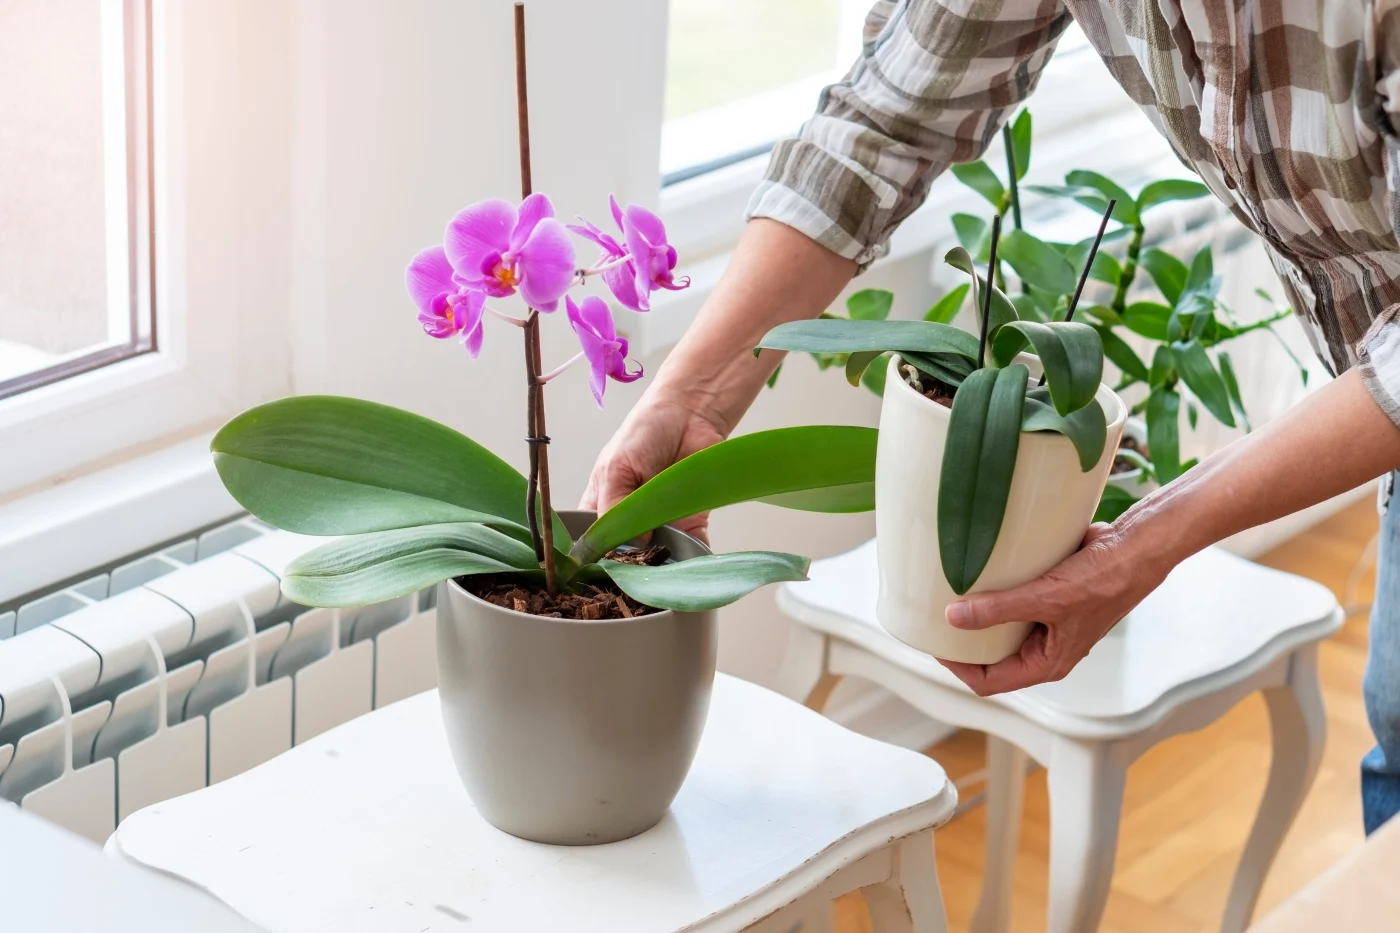
Senior woman providing plant care at home.
There are three critical windows for moving your orchid to a new container.
1. After the Initial Bloom Drops
Grocery store and garden center orchids usually arrive packed in dense sphagnum moss. This material keeps roots moist during transit but acts like a wet sponge in your home, practically guaranteeing root rot over time. Once the original flowers drop, transfer the plant into a coarse, orchid-specific bark mix to maximize airflow.
2. When Roots Breach the Pot
When thick roots spill over the edge or tightly circle the inside of the container, your orchid is suffocating. Most orchids require an upgrade to a slightly larger home every one to two years to accommodate their growth.
3. When the Bark Mix Decomposes
Orchid medium degrades over time. Coarse bark breaks down into tiny fragments that trap moisture and cut off oxygen to the root system. Even if the plant fits perfectly in its current pot, swapping out decaying mix every year or two is non-negotiable.
What You Need for the Job
Gather your materials before you pull the plant from its container.
- Coarse orchid mix: Look for chunky bark and other coarse materials that promote aggressive drainage.
- Sterilization liquid: Rubbing alcohol or a 10 percent bleach solution.
- Cutting tools: Sharp scissors or garden pruners.
- Hardware: A small trowel, a new pot (if sizing up), and an optional wooden chopstick to pack the soil.
How to Repot an Orchid
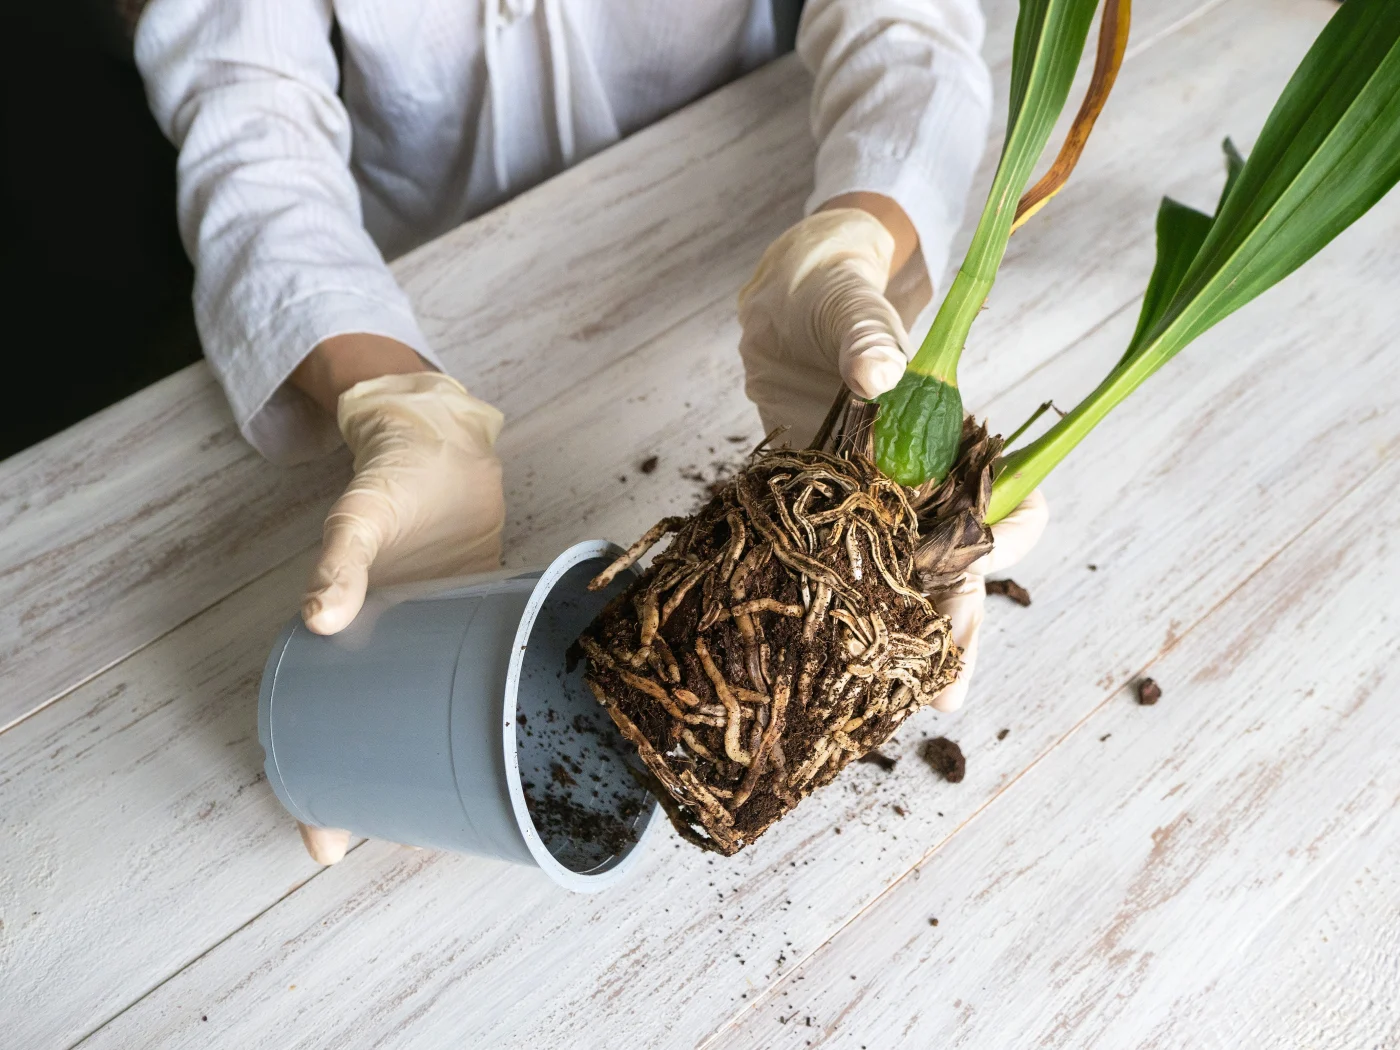
Orchid roots being pulled out of a flower pot for inspection and trimming.
Sterilize your tools. Orchids are highly vulnerable to disease. Wipe down your pruners and trowel with alcohol or bleach before making a single cut.
Extract the plant. Pull the orchid out gently. If compacted mix traps the roots, run a butter knife around the pot’s interior or squeeze the plastic sides to loosen it. Never yank the stem.
Hydrate dry roots. If the old medium is bone-dry and gripping the roots tightly, soak the entire root ball in water first. Pliable roots are far less likely to snap.
Trim the dead weight. Untangle the roots and clear away the old potting mix. Use your sterilized scissors to sever any dead roots, which will look black, hollow, shriveled, or soggy.
Prep the new container. Drop a shallow layer of fresh potting mix into the base. To guarantee the drainage holes stay clear, you can add a handful of chunky perlite, small rocks, or Styrofoam peanuts at the very bottom.
Position the orchid. Lower the plant into the container. The base of the bottom leaves should sit just slightly below the rim of the pot.
Fill the gaps. Add potting mix around the plant, stopping at the base of the leaves. Use a chopstick or clean wooden dowel to gently push bark pieces between the roots, eliminating large air pockets where pests can hide.
Water and wait. Drench the potting mix completely and let the excess water drain out. Leave the plant alone for one to two weeks before watering again to encourage new root growth. Keep the freshly repotted orchid in bright, indirect light.
Choosing the Right Pot
Orchids prefer tight spaces, so never jump to a massive container. When sizing up, pick a pot only one to two inches wider than the previous one.
Plastic containers are incredibly practical because they are lightweight, durable, and retain just enough moisture without staying soggy. If you dislike the look of plastic, simply drop it inside a slightly larger decorative cachepot to maintain drainage.
Terra-cotta and ceramic pots work perfectly as long as they feature sufficient drainage holes. Never use metal pots. Metal limits drainage, disrupts temperature regulation, and poses serious corrosion and toxicity risks to sensitive orchid roots.




