
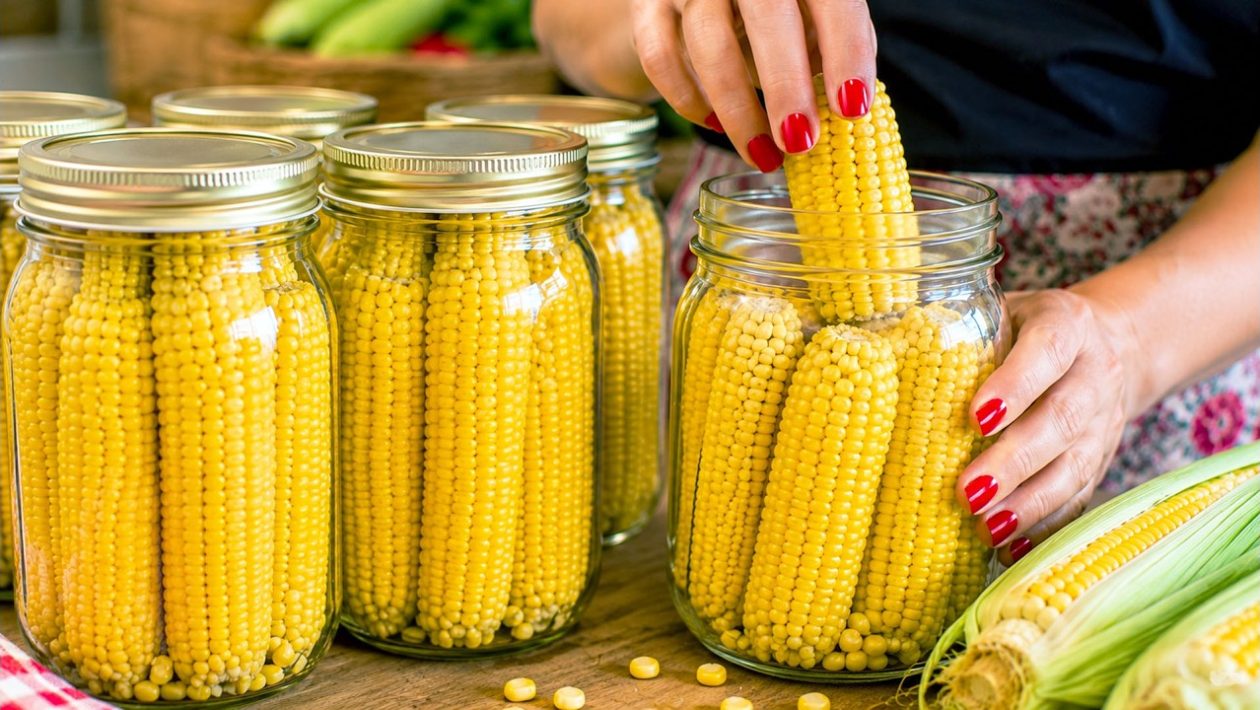
Why Preserve Sweet Corn Now?
There is a narrow window of time when sweet corn is at its peak. The kernels are tender, the sugars are highest, and the local supply is abundant and affordable. Once summer fades, the quality of corn drops rapidly, leaving you with imported options that lack that characteristic snap and sweetness.
Canning your own corn allows you to bypass the freezer aisle entirely. By sealing the harvest in jars, you create shelf-stable pantry staples that free up valuable freezer space. It is a practical, cost-effective way to ensure you have high-quality produce on hand when the temperature drops.
Preparation is Key
Successful preservation starts with the quality of your raw materials. Select ears that have vibrant green husks and silks that are slightly damp. The kernels should be firm and milky when pierced with a fingernail; if the “milk” is watery, the corn is immature, and if it is pasty, it is over-mature.
Processing at home requires attention to detail. Cleanliness is non-negotiable. Ensure your jars are sterilized and that your workspace is clear of debris. Because corn is a low-acid vegetable, it requires specific handling to ensure safety during storage.
The Canning Process
To preserve sweet corn effectively, you must follow established safety protocols for low-acid canning. This typically involves the use of a pressure canner, which is the only reliable way to reach temperatures high enough to eliminate potential pathogens that thrive in low-acid environments.
- Hulling: Remove the husks and silks completely. Use a sharp knife or a corn stripper to remove the kernels from the cob.
- Blanching: Briefly blanch the kernels in boiling water. This sets the color and helps stabilize the enzymes in the corn.
- Packing: Pack the kernels into sterilized glass jars, leaving the appropriate amount of headspace as recommended by current food preservation guidelines.
- Processing: Fill the jars with boiling water, leaving proper headspace, and remove air bubbles with a non-metallic spatula. Seal the lids tightly.
- Pressure Canning: Place the jars into a pressure canner. Process at the correct PSI for your specific altitude to ensure the contents are shelf-stable.
Safety and Storage Tips
Never rely on a water-bath canner for corn. Because it lacks natural acidity, corn requires the sustained high heat provided by a pressure canner. Always refer to your local cooperative extension office or the National Center for Home Food Preservation for the specific processing times and pressures required for your altitude.
Once the processing is complete and the jars have cooled, check the seals. A properly sealed jar will have a lid that is slightly concave and does not flex when pressed. Label your jars with the date of preservation. Stored in a cool, dark place, your canned corn will maintain its quality for at least one year.
Building Your Pantry
Beyond the cost savings, there is a distinct culinary advantage to canning your own produce. When you control the process, you control the ingredients. You avoid the excess sodium and preservatives often found in mass-produced canned goods.
By putting in the work during the height of the summer season, you are essentially “canning sunlight.” When you open a jar in the middle of February to stir into a chowder or serve as a side dish, you will find that the time invested was well spent. This method effectively turns a seasonal surplus into a year-round resource.




