
The Anatomy of a Perfect Village Pie
There is a specific kind of satisfaction that comes from a pie built entirely from garden-fresh ingredients. Unlike store-bought equivalents, a rustic garden pie relies on the integrity of its components: earthy root vegetables, savory proteins, and a crust that prioritizes texture over aesthetic perfection.
The foundation of this dish is the balance between moisture and structure. When using high-water-content vegetables, the goal is to create a filling that remains juicy without turning the pastry base into a soggy disappointment. This requires precise seasoning and a thoughtful layering process.
Building the Flavor Profile
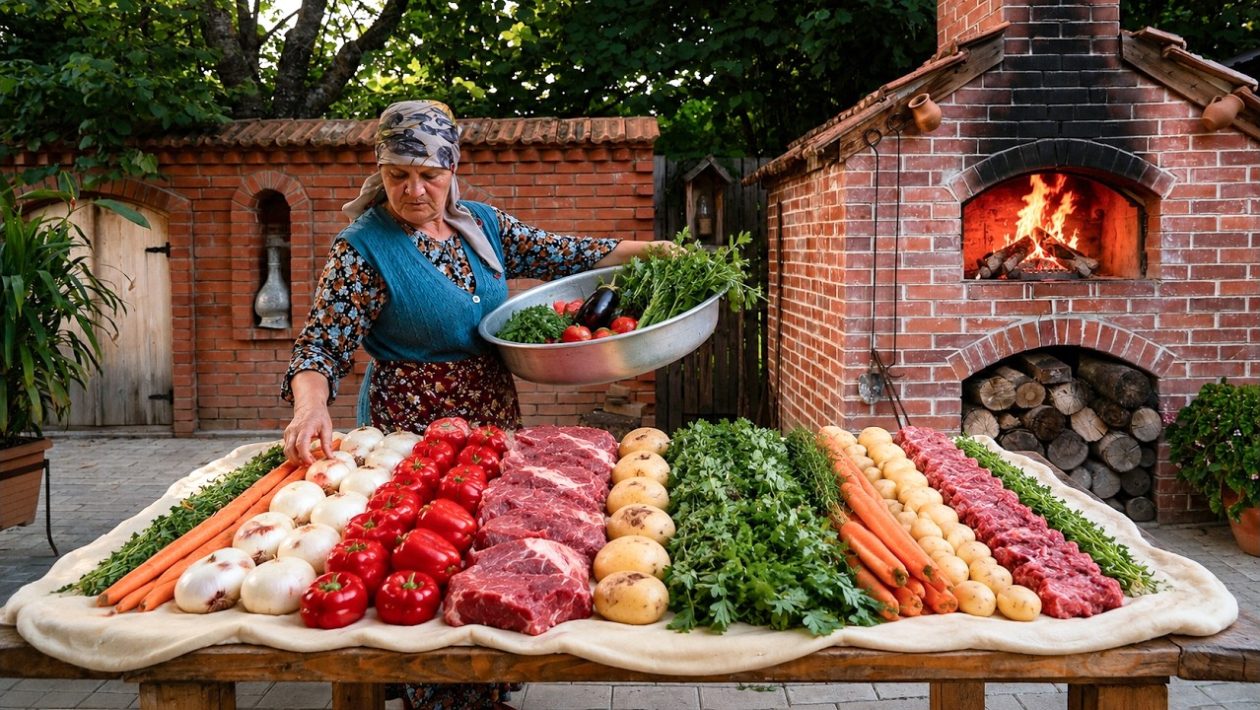
Start with a high-quality protein. Ground beef or finely chopped chuck roast works best, as the fat renders during the long bake, flavoring the vegetables as they soften. Seasoning should be kept simple: salt, cracked black pepper, and perhaps a touch of fresh herbs like thyme or parsley to elevate the natural sweetness of the garden harvest.
When selecting your vegetables, look for a mix of textures:
- Carrots and Potatoes: Provide an earthy foundation and structural bulk.
- Onions and Garlic: Essential for the savory base aromatics.
- Seasonal Greens: Such as kale or chard, which wilt down to create a silky, nutrient-dense layer.
The technique involves sautéing the aromatics and meat first, then incorporating the firmer vegetables so they begin to soften before entering the oven. This ensures that every bite is consistently tender.
The Importance of Homemade Pastry
The crust acts as a vessel for the filling, and shortcuts here are immediately noticeable. A proper rustic dough requires nothing more than flour, a high-quality fat (such as cold butter or lard), a pinch of salt, and ice-cold water.
The key to a flaky crust is temperature control. Work the fat into the flour until it resembles coarse meal, ensuring some larger pea-sized chunks of fat remain. These chunks create steam pockets in the oven, which provide the signature lift and crunch of a traditional village pie.
Mastering the Bake
Whether you are using a standard kitchen oven or have access to a wood-fired hearth, the environment must be managed carefully. A wood-fired oven offers a distinct advantage: the radiant heat from the masonry and the subtle smoke profile infuse the crust with a flavor that cannot be replicated elsewhere.
If baking in a conventional home oven, preheat your baking stone or a heavy-duty cast-iron skillet. Placing the pie directly onto a preheated surface helps “set” the bottom crust immediately, preventing the moisture from the filling from seeping through.
Bake until the crust is a deep, golden brown and the filling is bubbling through the decorative vents in the top pastry. This visual cue is the best indicator of doneness.
Serving and Preservation
Rustic pies are inherently forgiving and improve as they rest. Allow the pie to sit for at least 20 minutes after removing it from the heat. This resting period allows the juices to redistribute, making the pie much easier to slice into clean wedges.
This dish serves as a complete meal, often requiring nothing more than a side of crisp, acidic salad to cut through the richness of the pastry and meat. Because it is nutrient-dense and physically substantial, it is an ideal candidate for batch cooking. Leftovers can be reheated in a moderate oven the following day, often tasting even better as the flavors meld overnight.




