
The Common Kitchen Frustration
There is nothing more irritating than a kitchen cabinet door that hangs crooked or refuses to close because the screws have pulled out of the wood. Most homeowners assume this is a sign of structural failure that requires a carpenter’s expertise.
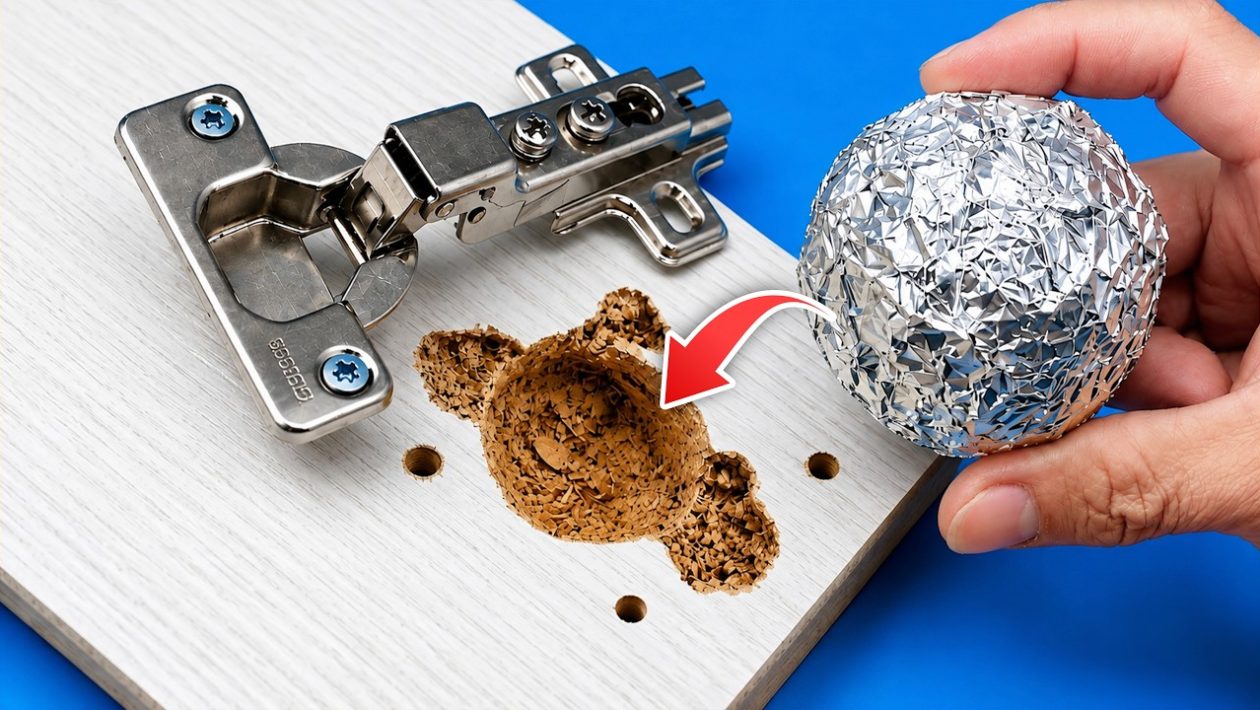
The truth? The wood around your hinge screws has simply become “stripped.” Over years of use, the constant tension of opening and closing the door wears down the wood fibers inside the pilot hole. Once those fibers are gone, the screw has nothing left to grip.
Forget Wood Filler and Glue
Many amateur fixes involve filling the hole with wood putty or forcing toothpicks and wood glue into the opening. While these can work temporarily, they are often messy and lack the structural integrity to hold a heavy cabinet door for the long haul.
Professional cabinet makers rely on a much faster, cleaner, and permanent solution. You don’t need to move the hinge or drill new holes; you just need to restore the material the screw needs to bite into.
The Two-Minute Fix
To repair your cabinet hinge permanently, you only need three things: a sturdy wooden toothpick or a matchstick, a bottle of wood glue, and a screwdriver. This method restores the internal diameter of the hole, allowing the original screw to lock firmly back into place.
- Remove the hinge: Unscrew the hinge from the cabinet frame entirely.
- Prep the hole: Dip the tip of your wooden toothpick into the wood glue.
- Fill the void: Insert the glued toothpick into the stripped screw hole. Gently tap it in until it reaches the back of the hole.
- Break it flush: Snap off the excess portion of the toothpick so the end is flush with the cabinet surface.
- Reset the screw: Once the glue has set for a minute or two, drive the original screw back into the hole. The toothpick acts as a new “anchor,” providing fresh wood fibers for the screw threads to bite into.
Why This Method Wins
This technique is superior because it reinforces the existing hole rather than creating a new, ugly mark on your cabinetry. Because the screw is threading into both the original cabinet material and the new wooden insert, the bond is often stronger than the day the cabinet was installed.
If you find that the hole is significantly large, simply add a second or third toothpick alongside the first one before driving the screw home. This creates a dense “plug” that ensures your hinge will stay tight for years.
Preventative Maintenance
Once you have repaired the hinge, take a moment to check the tension of the other screws on your cabinetry. Using a manual screwdriver rather than a power drill is highly recommended for these small adjustments. Power tools often apply too much torque, which is the primary cause of stripped holes in the first place.
By taking two minutes to perform this repair yourself, you save on service fees and avoid the hassle of waiting for a professional to address a minor mechanical issue.




