
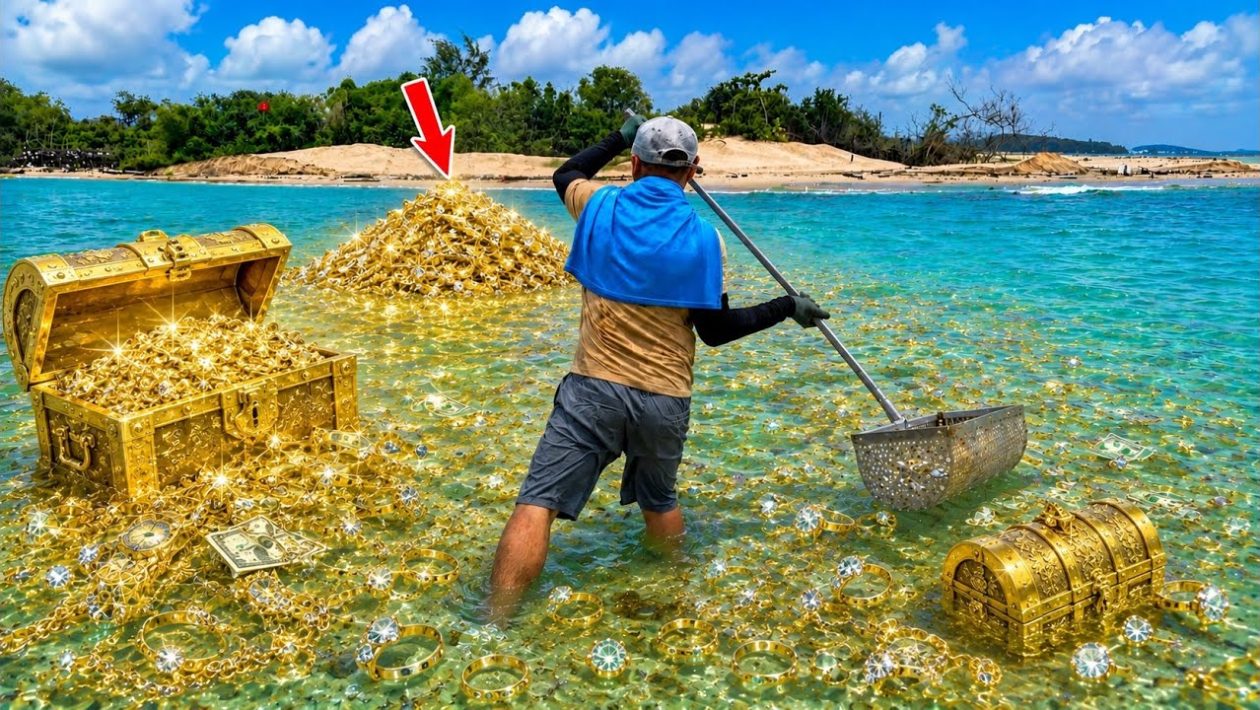
The Reality of Beach Metal Detecting
Hunting for lost gold jewelry requires more than just a high-end metal detector. It demands an understanding of tides, sand movement, and the physics of how heavy objects behave in the surf. Most beginners fail because they treat the beach as a uniform field rather than a dynamic, shifting environment.
Successful recovery is a game of patience and systematic planning. Over a seven-day period, a consistent hunter can read the beach like a map, identifying high-traffic zones where jewelry is most likely to be deposited by the retreating tide.
Equip Yourself for Success
You cannot hunt effectively with entry-level hardware. The salt, mineralization, and depth of the wet sand require specific tools:
- Multi-Frequency Metal Detector: Look for units that cancel out salt interference. This prevents the constant, distracting chirping caused by wet mineralized sand.
- Long-Handled Sand Scoop: When you are waist-deep in the surf, you need a sturdy, stainless steel scoop. Plastic models will snap under the pressure of wet sand and rocks.
- Headphones: The sound of the wind and crashing waves will drown out the subtle tones of gold. Quality waterproof headphones are mandatory to isolate the signals of deeper targets.
Reading the Sand
Gold is heavy. Because of its density, it does not drift with the top layer of sand. Instead, it sinks until it hits a hard layer, such as clay, bedrock, or a tightly packed sediment shelf known as a “hard pan.”
Look for “cuts” or erosion lines in the beach. When storms or heavy tides wash away the soft, upper layers of sand, they reveal the harder layers beneath. This is where gold jewelry accumulates. If you see a steep drop-off at the shoreline, you have found a prime location for potential recovery.
The Seven-Day Strategy
Consistency is the primary factor in finding lost items. A systematic approach looks like this:
- Day 1-2: Mapping. Walk the entire length of the beach during low tide. Observe where the erosion is occurring and mark zones where debris—like seashells and small pebbles—has collected.
- Day 3-4: The Grid. Choose a high-potential zone and grid it. Do not wander aimlessly. Move in straight, overlapping lines to ensure you do not miss a single square foot.
- Day 5-6: Deep Targeting. Focus on the wet-to-dry transition line. This is where people sit and play, and where jewelry most often slips off fingers into the sand.
- Day 7: Re-evaluation. By the final day, the tide has likely shifted again. Return to the spots that yielded the most iron trash; where there is iron, there is often heavier gold nearby that was masked by smaller debris.
Managing Expectations
Finding jewelry is not a guarantee. You will spend hours digging up bobby pins, aluminum foil, and bottle caps. This is the “tax” every beachcomber pays for the occasional gold ring or earring. Keep your scoop ready and your focus sharp.
Always respect local regulations regarding metal detecting. Most public beaches in the United States allow it, but historic sites and protected dunes often have strict prohibitions. Check local ordinances before you begin your search to ensure your hobby remains legal and sustainable.




