
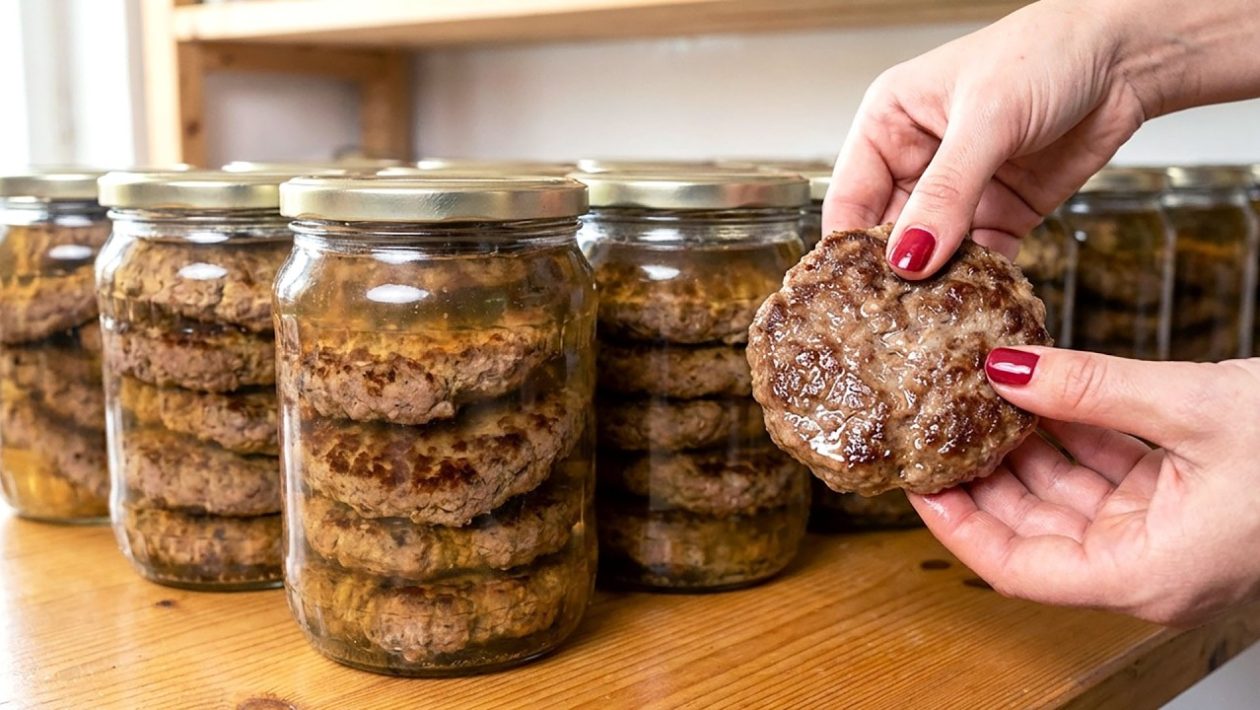
The Reality of Off-Grid Protein
Modern dependency on the electrical grid creates a massive vulnerability in our food security. When the power goes out, the freezer becomes a liability rather than an asset. If you cannot store frozen meat, you need a method that renders protein shelf-stable at room temperature.
Canning, specifically pressure canning, is the only safe way to preserve low-acid foods like meat. Unlike pickling or drying, this method uses high heat to destroy botulism spores, allowing you to store high-quality protein in your pantry for years.
Why Canning Beats Freezing
Freezing relies entirely on constant power. If a grid-down scenario lasts more than a few days, your entire stockpile of meat is at risk of spoilage. Canned meat, by contrast, is essentially “pre-cooked” and ready to eat straight from the jar.
By preparing and canning meat during times of stability, you are creating a liquid asset for your pantry. Whether you are dealing with a natural disaster or a long-term supply chain disruption, having a shelf-stable, calorie-dense source of protein is non-negotiable.
Essential Equipment for Success
You cannot use a water-bath canner for meat. Meat is a low-acid food, and it requires a pressure canner to reach the temperatures necessary (240°F or higher) to ensure safety. This is not a suggestion; it is a chemical requirement to prevent foodborne illness.
In addition to a reliable pressure canner, you will need:
- Mason jars (half-pint or pint sizes are best for single meals).
- New, high-quality metal lids and rings.
- A jar lifter and a headspace tool.
- Fresh, high-quality ground beef or pork.
The Process: From Fresh to Shelf-Stable
The goal is to cook the meat thoroughly before it enters the jar. Brown the meat in a skillet until it is no longer pink. Drain off the excess fat—this is crucial, as too much grease can interfere with the vacuum seal of the lid.
Pack the cooked meat loosely into clean, sterilized jars. Leave at least one inch of “headspace” at the top of the jar to allow for proper expansion during the canning process. If you want, you can add a small amount of boiling water or beef broth to the jar to help with heat conduction, but ensure you maintain that one-inch headspace.
Safety Protocols
Wipe the rims of the jars with a damp cloth dipped in vinegar. Any grease left on the rim will prevent the lid from sealing properly. Apply the lids and tighten the rings until they are “finger-tight.”
Process the jars in your pressure canner at 10 pounds of pressure (adjust for your specific altitude according to the manufacturer’s guide) for the duration required for your jar size—typically 75 minutes for pints or 90 minutes for quarts. Let the canner depressurize naturally; never force it open.
Best Practices for Long-Term Storage
Once the jars have cooled for 24 hours, remove the rings. If a jar hasn’t sealed, refrigerate it and eat it within a few days. Store your successfully sealed jars in a cool, dark, and dry place. Direct sunlight and fluctuating temperatures are the enemies of long-term storage.
Label each jar with the contents and the date of processing. Implement a “first-in, first-out” rotation system. Even though properly canned meat can last for several years, aim to consume and replenish your stock every two to three years to ensure optimal taste and texture.
This method of preparation is a standard technique for those looking to maintain independence in an unpredictable world. It requires upfront work and the right tools, but it eliminates the anxiety of depending on a flickering power grid for your survival.




