
The Hidden Value in Empty Glass Bottles
Empty beverage bottles usually head straight for the recycling bin or the landfill. But those discarded glass containers hold untapped potential for builders and crafters. By combining broken glass with basic white cement, anyone can create custom terrazzo surfaces that rival expensive boutique home decor.
Terrazzo is a composite material that is either poured in place or precast. It traditionally consists of marble, quartz, or glass chips bound together by a cement or epoxy base. High-end terrazzo tiles and planters sell for premium prices in modern home goods stores.
Recreating this luxury look at home requires little more than waste glass and a few hardware store staples. It is a highly practical way to upcycle household waste into durable, valuable design pieces.
Essential Materials for DIY Terrazzo
The core ingredients for this project are remarkably simple. You need clean, empty glass bottles, white Portland cement, and water. White cement is crucial because it acts as a neutral canvas, allowing the colors of the glass to pop.
Safety gear is non-negotiable when handling shattered glass. Heavy-duty leather work gloves, a hammer, a thick canvas bag, and protective eyewear are required. For molds, you can use anything from flexible silicone baking pans for tiles to nested plastic buckets for creating hollow planters.
Step 1: Smashing and Sorting the Glass
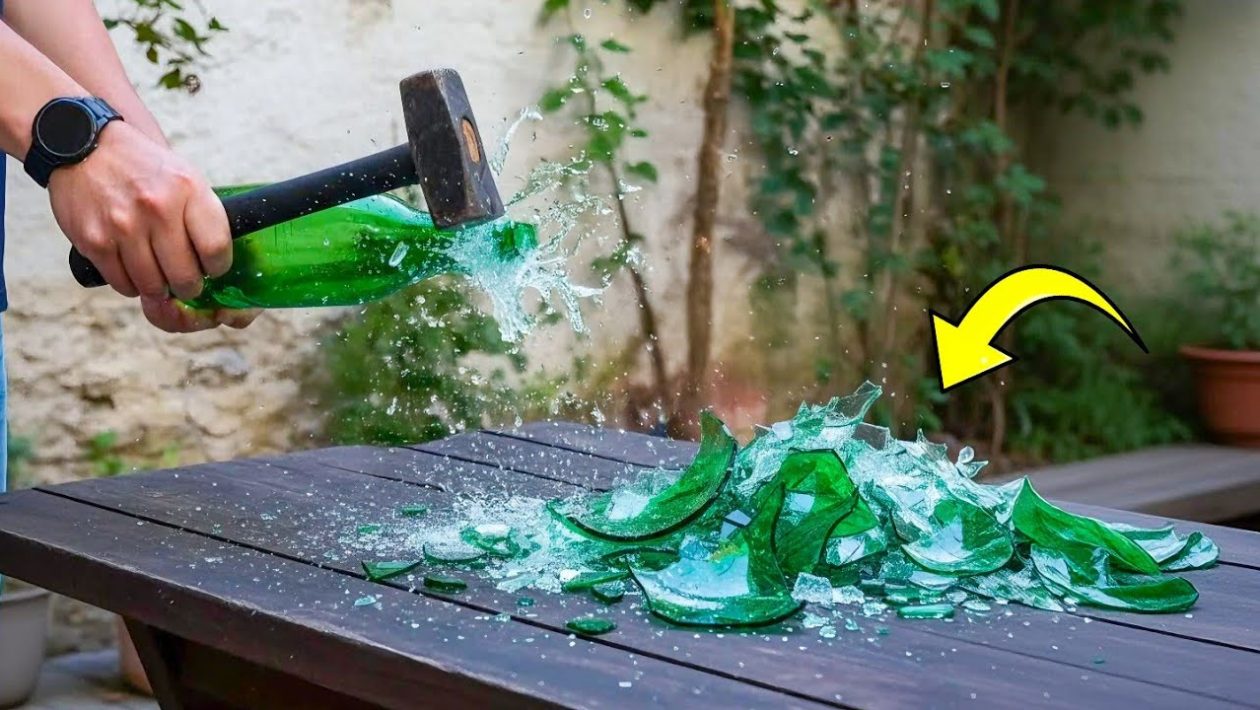
Safety comes first when processing the raw material. Remove all paper labels and thoroughly clean the bottles. Place the dry bottles inside a heavy canvas bag or wrap them securely in a thick tarp to prevent sharp shards from flying across the room.
Smash the bottles through the fabric using a heavy hammer or rubber mallet. Once broken, carefully sort the glass into two distinct categories: larger, decorative chunks and fine, pebble-sized fragments.
This variation in size is the secret to a professional finish. Blending large and small shards gives the finished terrazzo its authentic, densely textured appearance.
Step 2: The Perfect Cement Mix
The binder is just as important as the glass aggregate. Mix the white cement with water in a large bucket until it reaches the consistency of thick pancake batter. It needs to be wet enough to pour, but thick enough to hold the heavy glass in suspension.
Fold the sorted glass shards into the wet cement mixture. The ratio should heavily favor the glass. The cement should merely coat and bind the pieces together, not drown them out entirely.
Step 3: Molding and Setting
Pour the heavy mixture into your chosen mold. To ensure a solid, durable final product, press the mixture down firmly into all corners.
Tap the outside of the mold continuously for several minutes. The vibration forces trapped air bubbles to rise to the surface, preventing weak spots and unsightly craters in the finished piece.
Level the top of the wet mixture with a metal trowel or a straight piece of scrap wood. Allow the piece to cure completely undisturbed. Depending on the mass of the project and local humidity, curing takes anywhere from 24 to 48 hours.
Step 4: Sanding for the Reveal
When the cement first sets and comes out of the mold, the piece will look dull and chalky. The true terrazzo aesthetic only emerges during the finishing phase.
Begin sanding the surface using a coarse-grit wet/dry sandpaper or a diamond polishing pad attached to a variable-speed grinder. You must keep the surface wet while sanding. The water controls hazardous silica dust and prevents the grinding pads from overheating.
As the top layer of cement washes away, the polished, flat facets of the colored glass are exposed. The friction wears down the cement and the sharp edges of the glass simultaneously, creating a perfectly flush surface. Progress to increasingly finer grits until the finish is entirely smooth to the touch.
Scaling Up for Profit
What starts as a weekend experiment in making custom coasters or small flower pots can easily scale into a lucrative enterprise. Eco-conscious interior designers and home builders actively source sustainable, custom materials.
Once you master the mixing ratios and the polishing process, those shattered bottles can be transformed into heavy-duty bathtubs, custom kitchen countertops, and large-format floor tiles. The profit margins are substantial, driven entirely by the sweat equity required to turn trash into luxury.




