
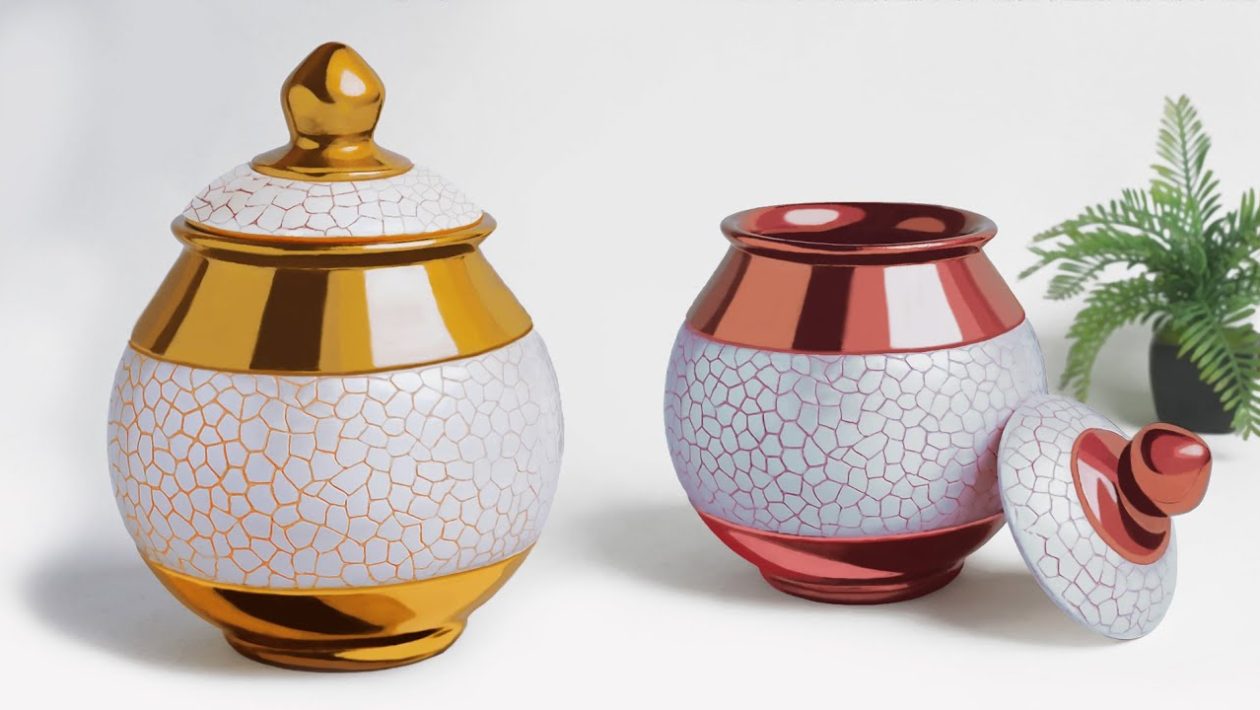
The Rise of Faux-Ceramic Kitchenware
High-end ceramics come with high price tags. However, replicating that minimalist, stoneware aesthetic at home requires surprisingly few materials.
Using a basic balloon and a custom cement mixture, anyone can craft a modern sugar or coffee pot right on their kitchen counter. The technique eliminates the need for expensive pottery wheels or high-temperature kilns.
The Secret 50/50 Mixture
The trick to achieving a smooth, ceramic-like finish lies in the powder blend. Standard gray concrete is far too coarse for delicate kitchen decor.
The ideal base requires a strict 1:1 ratio of white cement to Plaster of Paris (POP). White cement provides structural strength, while POP speeds up the curing time and ensures a silky, flawless surface.
Essential Materials
Gathering the right supplies is the only barrier to entry. Most of these items are available at any local hardware or craft store.
- A standard balloon (acts as the mold)
- White cement
- Plaster of Paris (POP)
- Acrylic paint
- Clear varnish (or food-safe epoxy)
- Fine-grit sandpaper
Forming the Base Structure
Start by inflating the balloon to the exact size you want your final sugar pot to be. Knot it tightly and set it securely in a small bowl so it stands upright.
In a separate container, mix equal parts white cement and POP. Slowly add water while stirring until the mixture reaches the consistency of thick pancake batter.
Pour or brush the mixture directly over the balloon. Coat it evenly, leaving a thick layer to ensure the walls of the pot will be sturdy.
Before the cement fully hardens, gently press the bottom of the balloon against a flat surface. This creates a level base so your pot won’t wobble on the counter.
Shaping the Lid and Opening
Allow the cement shell to cure completely. Depending on the humidity and temperature in your workspace, this usually takes 24 to 48 hours.
Once the shell is rock-solid, pop the balloon and pull the rubber remnants out from the inside. You are now left with a hollow cement sphere.
To create the lid, carefully cut the top section off the sphere using a rotary tool or a fine-toothed hand saw. Take your time to ensure a clean, even line.
Use fine-grit sandpaper to smooth down the raw edges of both the pot and the newly cut lid. Sanding prevents chipping and creates a seamless fit when the lid is placed back on top.
Painting and Sealing
With the structure finished, the pot is ready for color. Acrylic paint adheres beautifully to the porous cement surface.
Once the paint dries, applying a clear varnish is a mandatory final step. Varnish seals the cement, protecting it from kitchen moisture and preventing the paint from peeling.
A Crucial Note on Food Safety
While this method produces a stunning decorative piece, standard cement, acrylics, and basic varnishes are not food-safe.
If you plan to store loose sugar or coffee beans directly inside the pot, you must line the interior with a certified food-grade epoxy resin. Alternatively, simply keep your sugar in a small glass jar or plastic bag nested inside your new cement creation.




