
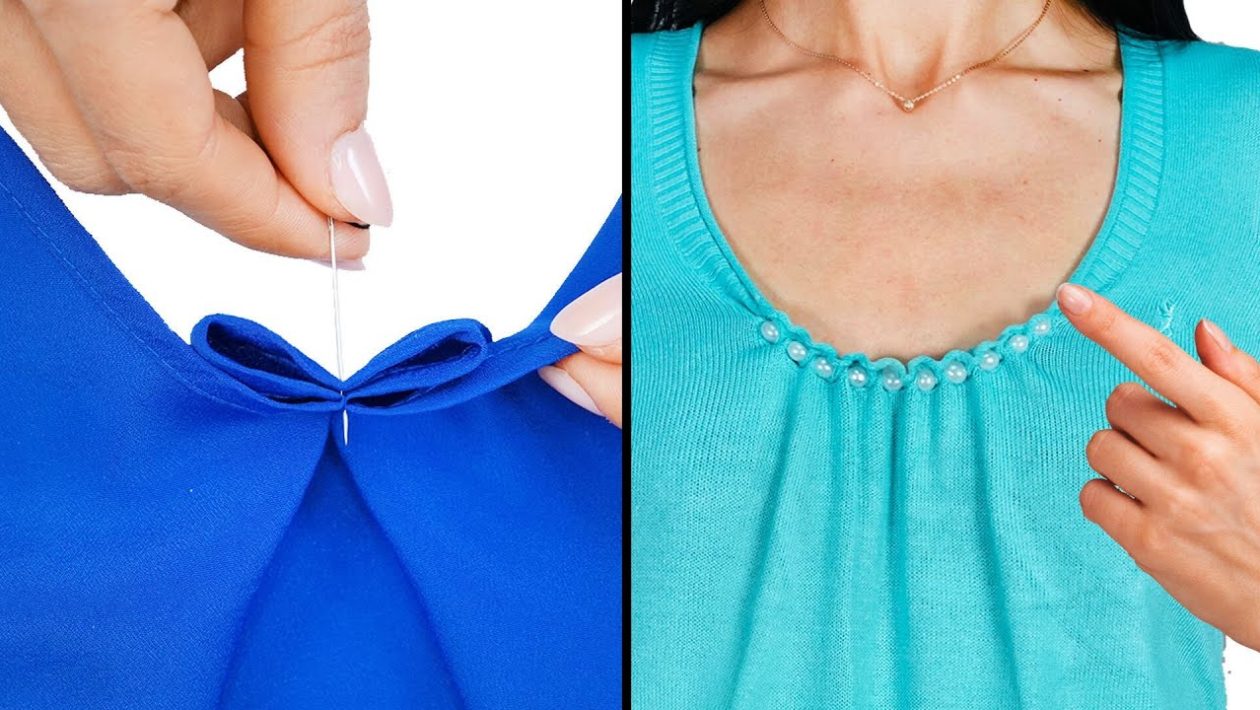
A gaping neckline ruins the fit of an otherwise perfect garment. Whether caused by stretched-out fabric, weight loss, or standard off-the-rack sizing, a neckline that plunges too low or slides off the shoulders is a common wardrobe frustration.
Fortunately, tailoring a wide neckline is a straightforward process. You do not need professional tailoring experience to fix it.
A few basic sewing techniques can secure the fabric and restore the garment’s intended silhouette.
Adjusting the Shoulder Seams
The most effective way to raise a low neckline is by taking in the shoulder seams. This method lifts the entire front and back of the garment simultaneously.
Start by turning the shirt inside out. Pinch the fabric at the top of both shoulder seams until the neckline sits exactly where you want it on your chest.
Pin the pinched fabric securely. Use a sewing machine or a simple hand backstitch to sew a new line straight across the pinned area.
Trim the excess fabric, leaving a quarter-inch seam allowance. Press the new seam flat with an iron for a crisp finish.
Creating a Center Pinch or Dart
If the shoulders fit well but the front neck gapes, adding a center seam or dart removes the excess width. This works exceptionally well for V-neck tops and woven dresses.
Find the exact center front of the neckline. Fold the fabric right sides together, creating a small triangle that tapers down into the chest.
Pin this dart in place and sew a straight line following the pins. This alteration creates a subtle, intentional-looking pleat while immediately tightening the collar.
Threading Elastic Through the Hem
Casual t-shirts and peasant blouses often have hollow hems or binding around the neck. You can use this existing channel to gather the fabric and shrink the opening.
Carefully open a small hole in the interior neckline binding using a seam ripper. Attach a safety pin to a narrow piece of elastic—usually a quarter-inch wide.
Thread the safety pin entirely through the collar channel. Pull the elastic to gather the neckline to your preferred width.
Sew the two ends of the elastic together securely. Finally, stitch the small entry hole closed.
Adding a Fabric Panel
Sometimes cutting and resewing the original fabric alters the garment’s shape too much. In these cases, a modesty panel bridges the gap without changing the structure.
You can use a coordinating piece of fabric, a heavy lace applique, or even cut fabric from an old camisole.
Pin the panel behind the lowest part of the neckline, ensuring it covers the excess space. Hand-stitch the edges of the panel directly to the inside seam allowance of the collar.
Preparation and Tools
Proper preparation prevents crooked alterations. Always wash and dry the garment before sewing to account for any future fabric shrinkage.
Use high-quality polyester thread that perfectly matches the garment. Keep a measuring tape on hand to ensure any shoulder or dart adjustments remain perfectly symmetrical.




