
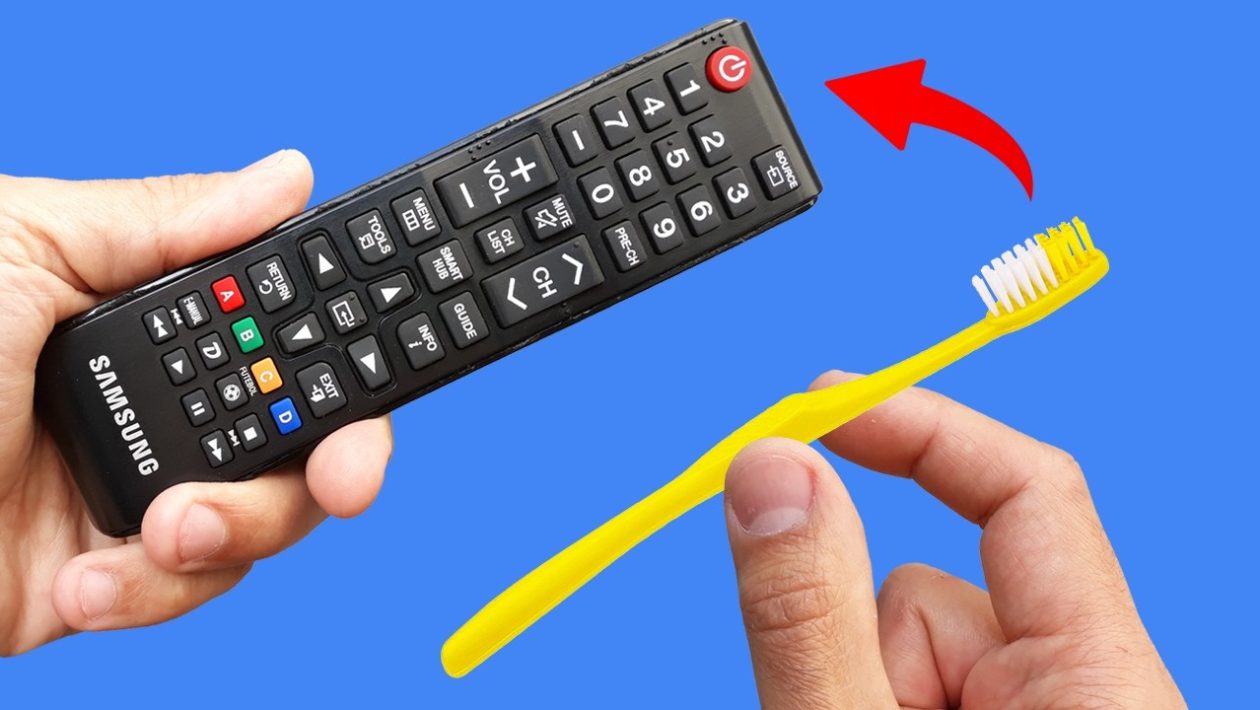
We have all experienced the frustration of a dying remote control. You press the volume button, and nothing happens. You press it harder, assuming sheer physical force will somehow bridge the electronic gap.
When new batteries fail to solve the problem, most people simply throw the remote in the trash. Replacement remotes cost money and rarely match the original television’s menu layout perfectly.
However, your original remote is almost certainly not broken. It is just dirty on the inside, and you can restore it to perfect working order using an ordinary household toothbrush.
The Anatomy of a Failing Remote
Modern remote controls operate using a simple rubber membrane layered over a printed circuit board. Each rubber button has a small, black conductive pad on its underside. When you press a button, this pad touches the metal grid on the circuit board beneath it, completing an electrical circuit and sending an infrared signal to your TV.
Over months and years of heavy use, microscopic gaps in the plastic casing let in unwanted invaders. Skin oils, food grease, pet hair, and household dust slowly seep inside the remote.
This debris creates a sticky, invisible barrier between the conductive pad and the circuit board. The electrical signal is physically blocked, rendering the button useless.
Why a Common Toothbrush is the Ultimate Tool
You do not need expensive electronics cleaner or specialized repair tools to fix this issue. An old, soft-bristled toothbrush is perfectly designed for the job. The bristles are firm enough to dislodge sticky grease but soft enough to leave the delicate printed circuit board unharmed.
To complete the repair, you will also need a small amount of high-percentage isopropyl alcohol, ideally 70% or higher. Standard rubbing alcohol cuts through grease instantly and evaporates into the air without leaving any conductive residue behind.
Finally, gather a dull butter knife, an old credit card, or a flathead screwdriver. You will need one of these flat tools to open the plastic remote casing safely.
Step 1: Disassembling the Plastic Shell
Start by removing the batteries from the back of the remote control. Look closely inside the empty battery compartment for any hidden miniature screws. If you find them, remove them with a precision screwdriver and set them aside safely.
Most remotes are held together by internal plastic clips rather than screws. Take your dull flathead screwdriver, old credit card, or butter knife, and gently wedge it into the seam running along the side of the remote.
Twist the tool slightly until you hear a sharp pop. Work your way around the entire perimeter of the device, popping the clips one by one. The remote will soon split into two separate halves, revealing the rubber keypad and the green circuit board inside.
Step 2: The Cleaning Process
Carefully lift the rubber membrane away from the green circuit board. You will likely notice a glossy, oily residue coating both surfaces. This is the exact grime causing your buttons to fail.
Dip the tip of your toothbrush directly into the isopropyl alcohol. Tap off any excess liquid on the edge of the bottle so the brush is damp, not dripping wet. Gently scrub the entire surface of the green circuit board.
Pay special attention to the metallic grids where the most heavily used buttons—like power, volume, and channel controls—make contact. The toothbrush bristles will easily sweep away dust and break down the oily film. Once the board looks clean and matte, set it aside to air dry.
Step 3: Reviving the Rubber Keypad
The rubber keypad requires the exact same treatment. Flip it over so the bottom side with the black conductive pads is facing you. Use the alcohol-dampened toothbrush to scrub each individual black circle.
Do not scrub too aggressively on these pads. You want to remove the grease without stripping away the black conductive carbon material itself.
If the rubber keypad is exceptionally sticky or coated in a spill, you can wash it in the kitchen sink with warm water and standard dish soap. If you choose the sink method, you must ensure the rubber is completely dry before moving on.
Reassembly and Testing
Isopropyl alcohol evaporates in minutes. Once both the circuit board and the rubber keypad are bone dry, place the rubber membrane back into the top half of the plastic shell.
Rest the circuit board perfectly on top of the rubber membrane, ensuring all plastic alignment pegs lock smoothly into their respective holes. Take the bottom half of the plastic shell and press it firmly against the top half.
Squeeze the outer edges together until you hear the internal plastic clips snap back into place. Reinsert the batteries and test your work on the television. The buttons should now respond instantly to the lightest touch.




