
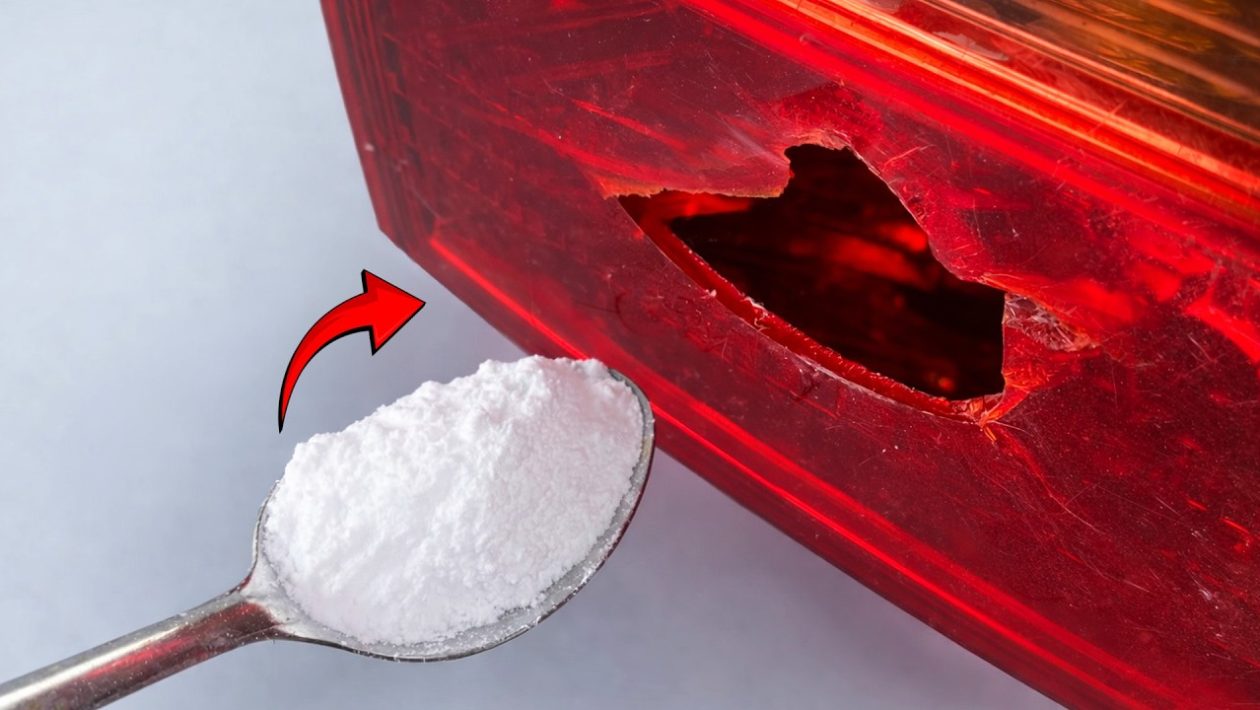
The True Cost of a Cracked Lens
A broken tail light is an instant magnet for traffic stops and fix-it tickets. When you take the issue to an auto repair shop, mechanics often quote high prices for parts and add steep hourly labor charges.
The reality is that replacing a tail light is one of the easiest automotive repairs you can perform. Automotive manufacturers design these components to be easily accessible on the assembly line, which means they are just as easy to access in your driveway.
The Quick Fix: Lens Repair Tape
If your tail light housing is simply cracked but still intact, your immediate concern is moisture. Rain and car wash water will seep through the crack, eventually shorting out the electrical components and ruining the bulbs.
You do not need an immediate replacement if the damage is minor. Automotive lens repair tape or film provides a durable, weatherproof seal.
Before applying the tape, clean the damaged area thoroughly with rubbing alcohol and a microfiber cloth. Cut a piece of the red, amber, or clear acrylic tape to size, ensuring it overlaps the crack by at least an inch on all sides.
Press the tape firmly starting from the center and smoothing it outward to eliminate air bubbles. This quick patch keeps the housing dry and the vehicle legally compliant while you source a permanent replacement.
Sourcing a Replacement Assembly
Tape is a great temporary measure, but a shattered housing requires a full replacement assembly. Dealerships charge a premium for Original Equipment Manufacturer (OEM) parts.
You can find exact-fit aftermarket assemblies online or at local auto parts stores for a fraction of the cost. You just need your vehicle’s exact make, model, and year to ensure a proper fit.
When purchasing, check if the new assembly comes with fresh bulbs and a wiring harness, or if it is just the bare plastic housing. Reusing your existing bulbs is perfectly fine as long as they are still functioning.
Tools You Actually Need
You do not need a massive mechanical tool chest for this job. Most tail light replacements require only basic hand tools.
Keep a small socket set, a Phillips-head screwdriver, and a flathead screwdriver or plastic trim removal tool nearby. A pair of latex gloves is also highly recommended to keep oils from your fingers off the new bulbs.
Step-by-Step Replacement Process
Start by opening your trunk or lowering the tailgate. Look directly behind the tail light area inside the vehicle.
You will typically find a fabric liner, a plastic access panel, or rubber grommets hiding the back of the light. Pull back the liner or pry off the access panel to reveal the mounting hardware.
Locate the mounting nuts or bolts holding the assembly to the vehicle body. Carefully unscrew these fasteners and set them aside in a secure place so they do not drop into the dark recesses of the body panels.
Next, disconnect the main electrical wiring harness. This usually involves pressing down on a small plastic release tab and pulling the plug straight backward.
Installing the New Unit
With the fasteners removed and the power disconnected, push the old tail light unit outward from the inside. You may need to give it a gentle bump with the heel of your hand from the outside to break the seal of the weather stripping.
Slide the new tail light assembly into the exact same position, ensuring the alignment pins slide smoothly into their designated holes. Reconnect the wiring harness, pushing firmly until you hear a distinct click.
Thread the mounting nuts back onto the bolts by hand to avoid cross-threading, then tighten them down snugly with your socket wrench. Do not overtighten, as you can easily crack the new plastic housing.
Before replacing the interior trim panels, start your vehicle and test the lights. Verify that the running lights, brake lights, and turn signals all function properly.




