
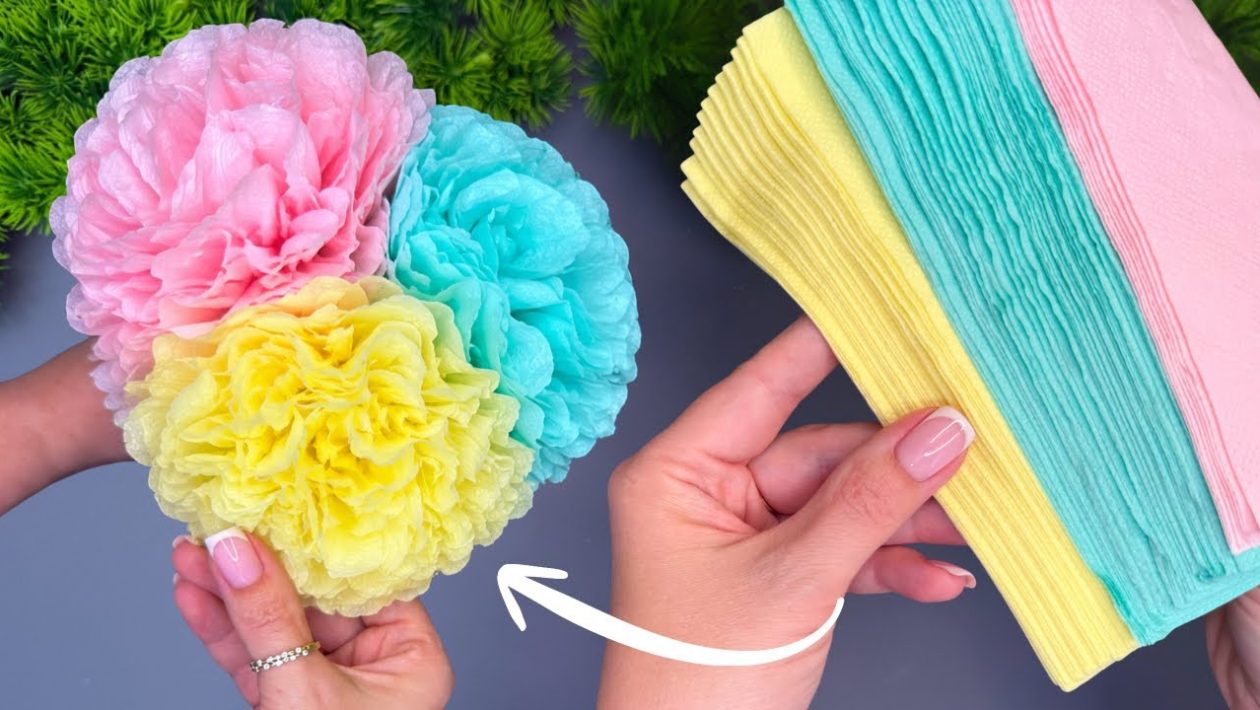
The Appeal of Paper Florals
Fresh flowers are beautiful, but they wilt within a week. Tissue paper flowers offer a permanent, cost-effective alternative that looks surprisingly realistic.
This classic paper craft requires zero advanced skills. The technique relies on simple folding and peeling, making it highly accessible for beginners.
Handmade paper bouquets work perfectly for wedding centerpieces, party decorations, or custom gifts. You can match any color scheme by simply swapping out the paper.
Essential Crafting Supplies
You can find everything you need at a local craft store or big-box retailer. The materials cost just a few dollars.
- Tissue paper: Standard gift-wrapping tissue works best. Choose multiple colors for a varied bouquet.
- Floral wire: 18-gauge or 20-gauge wire provides sturdy stems.
- Floral tape: Green tape helps secure the stems and gives them a realistic finish.
- Scissors: A sharp pair is necessary for clean cuts through multiple layers of paper.
- Wire cutters: Required for trimming the floral wire safely.
Step 1: Cut and Stack the Paper
The size of your paper dictates the size of your final flower. For a standard bloom, cut your tissue paper into rectangles measuring roughly 8 by 10 inches.
Layer eight to ten sheets of tissue paper perfectly on top of one another. More layers will result in a denser, fluffier flower.
You can mix colors in the same stack to create two-toned petals. Place yellow sheets in the center of the stack to mimic a realistic flower core.
Step 2: The Accordion Fold
Place your stack of paper on a flat surface. Starting from the short end, fold the paper over about one inch.
Flip the entire stack over and fold it back on itself, just like making a paper fan. Keep the folds tight and even.
Continue this accordion fold until the entire stack of paper forms a single, thick strip. Press down firmly to crease the edges.
Step 3: Secure the Stem
Take a piece of floral wire and bend it exactly in half. Slip the folded paper strip directly into the center of the bent wire.
Pinch the wire tightly around the middle of the paper strip. Twist the wire onto itself directly beneath the paper to lock it in place.
The long ends of the wire now serve as the stem of your flower. Make sure the twist is tight, or the petals will slip out during the next steps.
Step 4: Shape the Petal Edges
The ends of your folded paper dictate the shape of the petals. Using your scissors, trim both ends of the folded strip.
Cut a rounded, semi-circle shape for soft, peony-like petals. For a sharper, dahlia-like appearance, cut the ends into steep points.
Make sure to cut through all layers of the paper evenly. Discard the scrap pieces.
Step 5: Bloom the Flower
Gently fan out the accordion folds on both sides of the wire so it looks like a bow tie. Now comes the most delicate part of the process.
Starting on one side, carefully pull the top layer of tissue paper straight up toward the center. Tissue paper tears easily, so use a gentle, steady pulling motion.
Repeat this process layer by layer, alternating sides. As you pull each sheet toward the center, the flat paper will transform into a dense, fluffy sphere.
Assembling the Final Bouquet
Once you have crafted several individual flowers, it is time to build the bouquet. Hold the wire stems together in your hand, adjusting the heights so the flowers sit in a pleasing dome shape.
Wrap the gathered wire stems tightly with green floral tape. The tape sticks to itself when stretched, binding the wires into one thick, unified stem.
Trim the bottom of the wires with your wire cutters so they sit flat. Drop the finished bouquet into a glass vase or wrap the base in brown craft paper and ribbon for gifting.




