
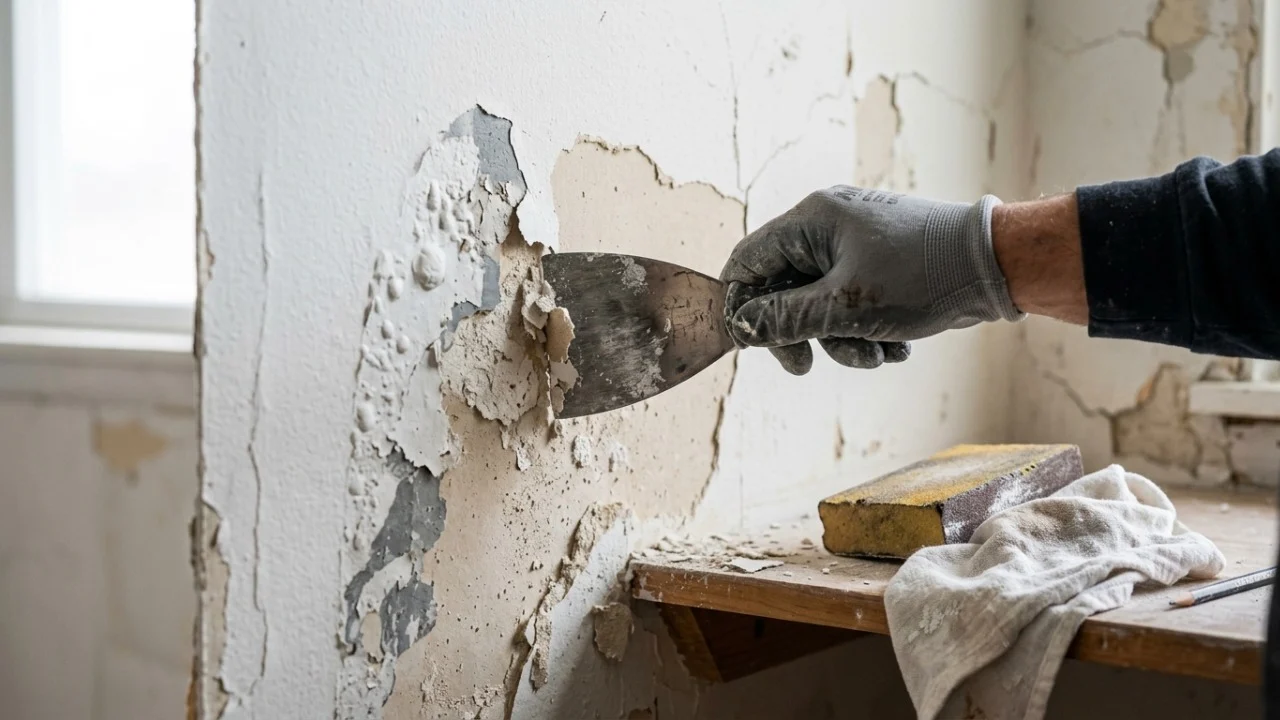
A person using a scraper tool to remove loose, peeling paint from a damaged wall
Bubbling and peeling paint is rarely just a cosmetic issue. It is a loud warning sign that moisture is trapped behind your walls.
Painting over a blistered surface might mask the damage for a few days, but water will inevitably push through. It will form fresh bubbles, ruin your new finish, and waste your time. To solve the issue permanently, you must locate the water source, prep the surface thoroughly, and apply the right materials.
Identifying the Hidden Moisture Source
To fix the wall, you must first act like an investigator. The location of the damage usually points directly to the source of the leak.
If the paint is bubbling near the baseboards, you are likely dealing with rising dampness pulling moisture up from the foundation. Blisters near the ceiling suggest a failing roof, a blocked gutter, or a compromised exterior wall.
If the damage sits directly behind a bathroom, kitchen, or laundry room, a leaking pipe or failing grout is the most probable culprit.
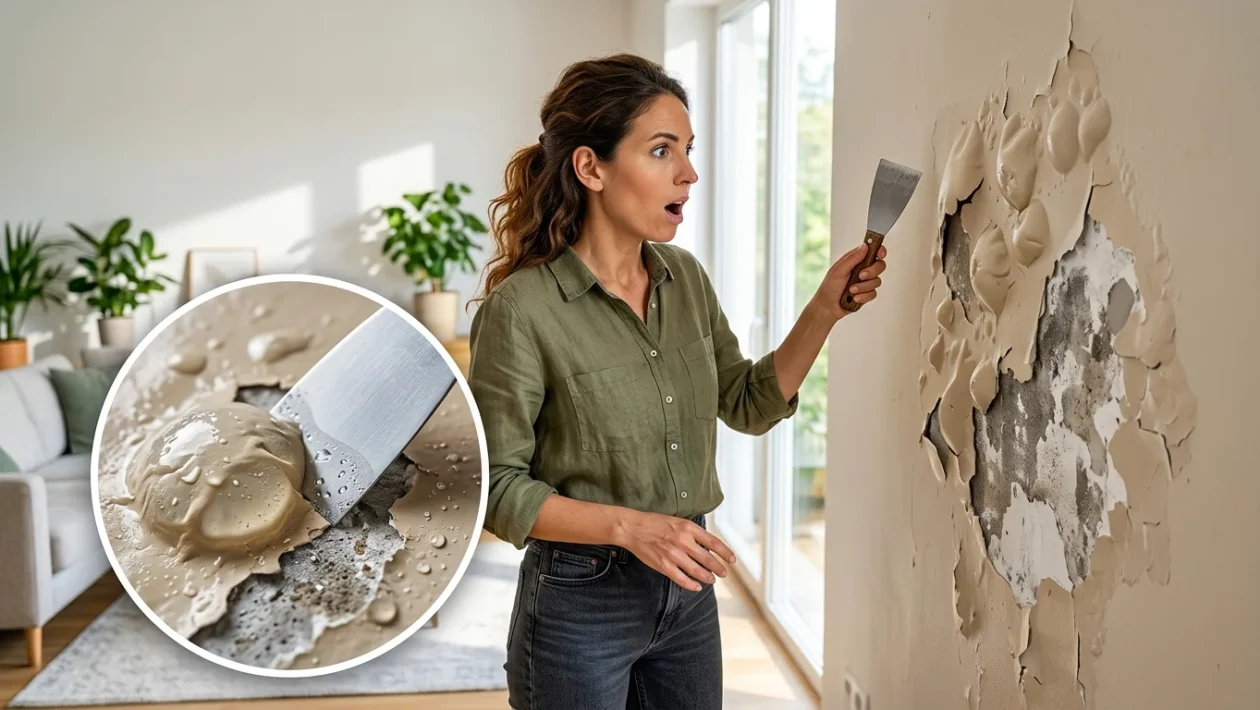
A homeowner closely examining severe water damage and cracked paint on an interior wall
Stopping the Water Before You Paint
The biggest mistake homeowners make is scraping, patching, and repainting without fixing the underlying leak. Until the source is sealed, the destructive cycle will repeat itself.
Repair the broken plumbing, seal the exterior crack, or fix the failing roof flashing. Once the mechanical repair is complete, you must let the wall dry out entirely.
Applying fresh spackle or paint to a damp surface guarantees failure. Keep the room well-ventilated, run a dehumidifier if necessary, and wait a few days to ensure the moisture patch stops expanding.
How to Prep a Damaged Wall
Once the wall is bone dry, grab a putty knife and scrape away every piece of loose paint, soft plaster, and bubbling texture. Expand your scraping into the surrounding edges, as they are often compromised even if they look intact.
Use sandpaper and a stiff brush to create a firm, even base for the new materials.
After scraping, wipe away all the dust. Residual powder destroys the adhesion of new paint. If you spot mold, treat it with a proper cleaning solution while wearing gloves and ensuring adequate ventilation.
Choosing the Right Primers and Compounds
Standard joint compound fails rapidly when exposed to moisture. For exterior walls, bathrooms, or laundry rooms, always use a water-resistant acrylic putty or patching compound.
Before applying any compound, coat the raw, repaired area with a high-quality sealer or waterproofing primer. This creates a barrier and evens out the wall’s absorption rate, ensuring the patch bonds correctly.
Apply your final coats of paint in thin, even layers. Rushing the process by applying heavy coats over a poorly prepped surface will trap air and moisture, causing the wall to peel all over again.
Preventing Future Paint Failure
Long-term prevention relies heavily on airflow and exterior maintenance. Closed-off rooms trap steam and condensation, making interior walls highly vulnerable.
Always run exhaust fans in bathrooms and kitchens. Wipe down surfaces where heavy condensation gathers regularly.
Routinely inspect your home’s exterior shell. Clean the gutters, inspect tile grout, check for missing caulking, and seal minor cracks in stucco or brickwork. A hairline fracture on the outside of your house is all it takes to ruin your interior walls during a heavy storm.




