
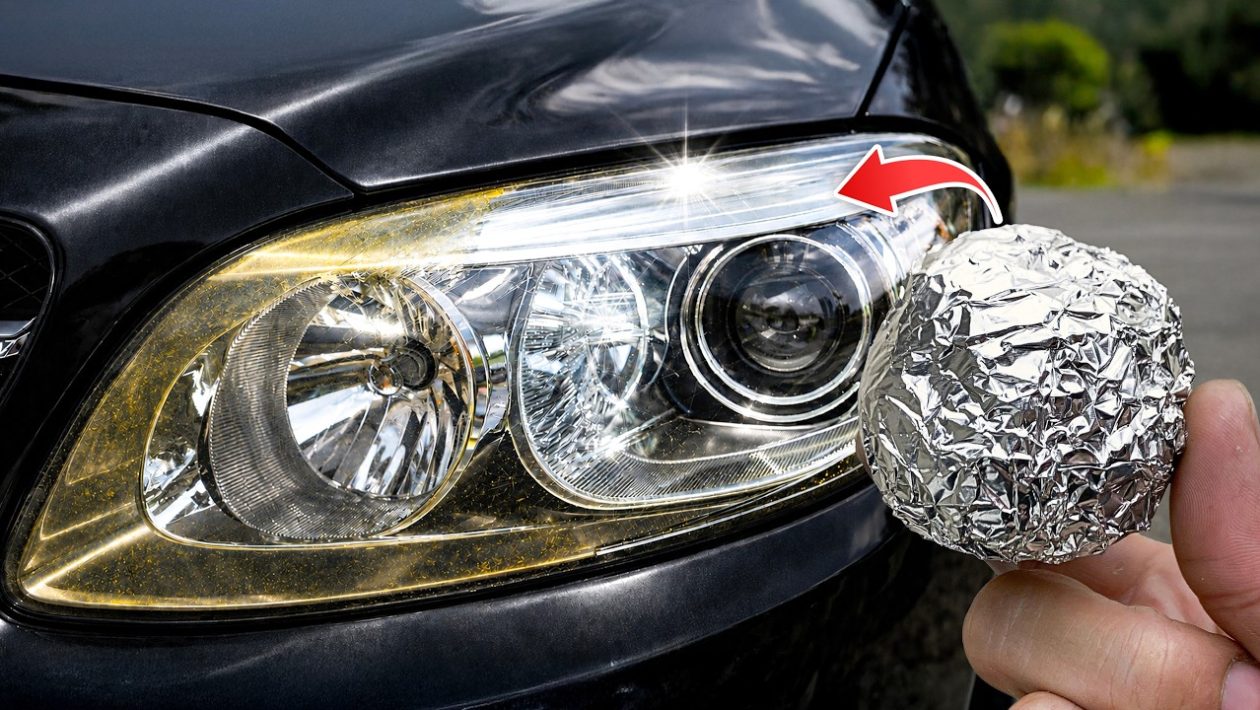
The Hidden Cost of Cloudy Headlights
Cloudy, yellowed headlights are more than a cosmetic annoyance. They severely reduce nighttime visibility, casting weak beams that fail to illuminate hazards on dark roads.
In many regions, heavy oxidation will even cause your vehicle to fail a routine state safety inspection. Replacing modern headlight assemblies often costs hundreds, if not thousands, of dollars.
Professional restoration kits are cheaper but require time, power tools, and significant elbow grease. Fortunately, a highly effective alternative relies on a basic staple sitting in your kitchen pantry right now. Standard aluminum foil, paired with a mild household abrasive, strips away heavy oxidation in a matter of minutes.
The Science of Aluminum on Polycarbonate
Using metal to scrub automotive plastic sounds like a recipe for deep scratches. However, the success of this method comes down to the Mohs scale of mineral hardness.
Headlight lenses are manufactured from heavy-duty polycarbonate plastic and finished with a factory UV clear coat. Over time, sunlight degrades this clear coat, turning it into a hazy, yellow crust. Aluminum foil is strong enough to bite into this dead, oxidized layer.
Crucially, aluminum is softer than the healthy polycarbonate underneath. When you crumple the foil, you create hundreds of tiny, flexible scraping edges that sheer off the grime without gouging the actual lens structure.
Gathering Your Supplies
You do not need specialized automotive chemicals for this restoration. You only need a few basic household items to get started.
- Aluminum Foil: Standard kitchen foil works perfectly. Avoid heavy-duty grilling foil, which can be too stiff.
- Abrasive Paste: Basic, white baking soda toothpaste is the ideal catalyst. Avoid gel toothpastes, as they lack the necessary micro-abrasives to lift the grime.
- Painter’s Tape: Essential for protecting your car’s paint job.
- Spray Bottle: Filled with clean water for lubrication and rinsing.
- Microfiber Cloths: For the final wipe-down.
The Step-by-Step Restoration Process
Start by washing the headlight thoroughly with basic car soap and water. You need to remove loose dirt and road grit so you don’t grind it into the plastic.
Dry the area completely, then apply strips of painter’s tape around the outer edges of the headlight assembly. This protective barrier ensures you don’t accidentally scuff your vehicle’s clear coat during the scrubbing phase.
Squeeze a generous amount of toothpaste directly onto the hazy headlight lens. Spread it evenly across the surface using your fingers, creating a thick, opaque layer.
Tear off a standard square of aluminum foil and crumple it into a loose ball. Spray a light mist of water onto the toothpaste-covered lens to activate the paste.
Begin scrubbing the headlight with the foil ball using firm, circular motions. You will quickly notice the paste turning brown or yellow. This is the degraded UV coating and road oxidation lifting off the plastic.
Once you have scrubbed the entire surface, spray the headlight heavily with clean water. Wipe away the resulting slurry with a clean microfiber cloth. If stubborn hazy spots remain around the edges, repeat the process on those specific areas.
Diagnosing Internal vs. External Haze
Before you begin scrubbing, it is vital to verify the location of the haze. Run your fingernail gently across the headlight lens.
If the surface feels rough, chalky, and catches your nail, the oxidation is on the outside. The foil method will easily cut through this buildup.
If the lens feels perfectly smooth but still looks milky, the problem is trapped moisture or blown bulbs degrading the plastic from the inside. No amount of exterior scrubbing will fix a broken headlight seal; the housing must be removed and resealed.
The Critical Final Step: UV Protection
This is where the vast majority of DIY repairs fail. Stripping away the oxidation leaves the raw polycarbonate totally exposed to the sun’s ultraviolet rays.
If you stop immediately after cleaning, the headlights will turn yellow again within a month. You must replace the protective barrier you just scrubbed away.
Purchase a dedicated automotive UV sealant or a wipe-on ceramic coating. Apply this immediately after drying the freshly cleaned lenses. The coating seals the microscopic pores of the plastic, locking in the crystal-clear finish for the long haul.




