
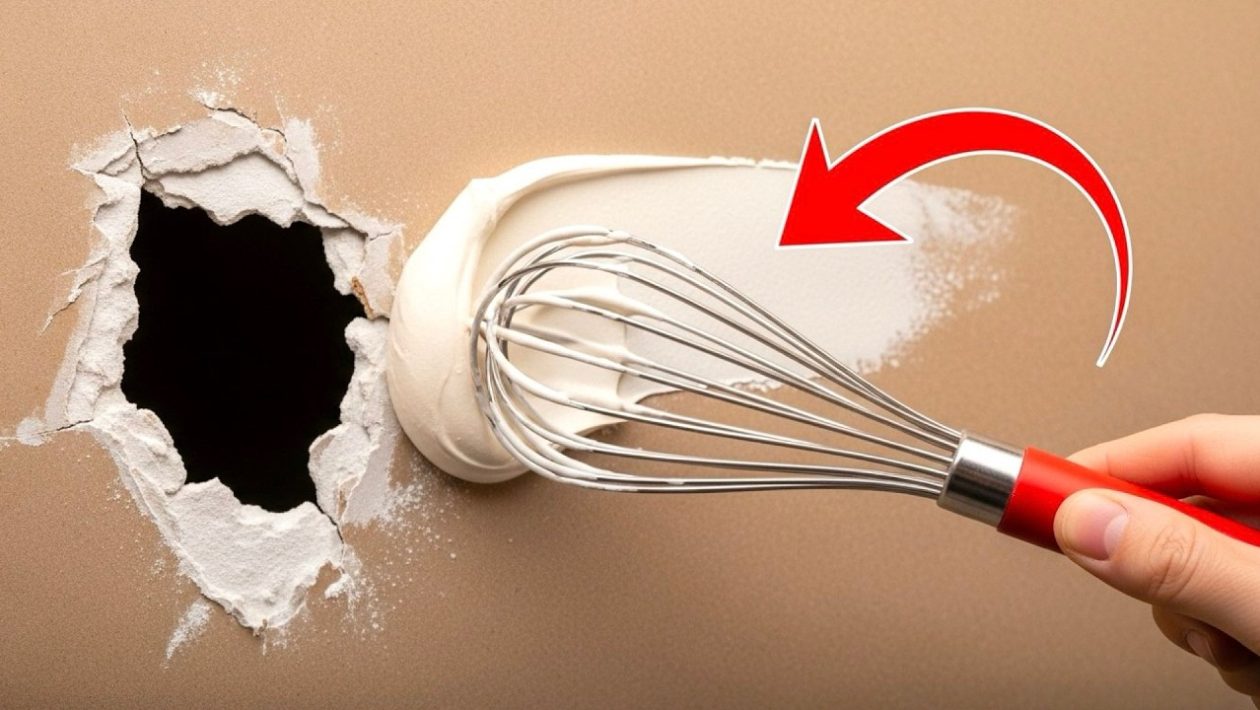
The Reality of Fragile Walls
Drywall covers the interior of almost every home in the United States. It is cost-effective, fire-resistant, and easy to install.
However, it has a fatal flaw. It shatters easily on impact.
Moving heavy furniture, a swinging door handle, or a stray baseball can instantly punch an ugly hole in a living room wall. Most homeowners assume this damage requires calling a professional or spending an entire weekend on a messy repair project.
That assumption is incorrect. Repairing a standard puncture is a simple process that requires about five minutes of active work.
The speed and structural integrity of this repair method often surprise even experienced builders and masons. It relies entirely on modern patching materials rather than traditional, slow-drying joint compound.
Gather the Right Tools
Speed requires preparation. Before starting, assemble a basic toolkit designed for rapid repairs.
You will need a self-adhesive fiberglass mesh patch, a four-inch putty knife, and a tub of fast-drying spackle. Some modern spackles include primer, which further accelerates the process.
A fine-grit sanding sponge and a sharp utility knife round out the list.
Prepare the Canvas
A clean surface is non-negotiable for a permanent repair. Jagged edges will prevent the patch from lying flat against the wall, creating an obvious bulge.
Use the utility knife to carve away any loose paper, crumbled gypsum, or hanging debris around the puncture. The perimeter of the hole should look clean and slightly beveled.
Wipe the area with a dry cloth to remove residual dust. The adhesive patch needs a solid, clean surface to grip.
The 5-Minute Application
Peel the backing off the self-adhesive mesh patch. Center it directly over the hole and press firmly around the edges to secure it to the healthy drywall.
Scoop a generous amount of fast-drying spackle onto the putty knife. Smear the compound directly over the center of the mesh patch.
Press the compound through the mesh so it fills the void behind it. This creates a structural anchor, locking the patch into the wall.
Feather the Edges
The secret to an invisible repair is a technique called feathering. This simply means making the edges of the wet compound blend seamlessly into the surrounding wall.
Hold the putty knife at a tight, shallow angle against the wall. Scrape outward from the center, pulling the excess compound away.
The center over the hole should remain slightly thicker to cover the mesh, while the perimeter fades into the existing drywall until it is paper-thin.
The Final Polish
Fast-drying spackle changes color when it cures, signaling it is ready for the next step. Once it dries completely, take the fine-grit sanding sponge.
Lightly buff the area in circular motions. The goal is to level the surface without pressing hard enough to expose the fiberglass mesh underneath.
Run your hand over the wall. If it feels entirely smooth, wipe away the dust.
The drywall is now structurally sound and ready for a matching coat of paint.




