The Truth About Shoe Repairs
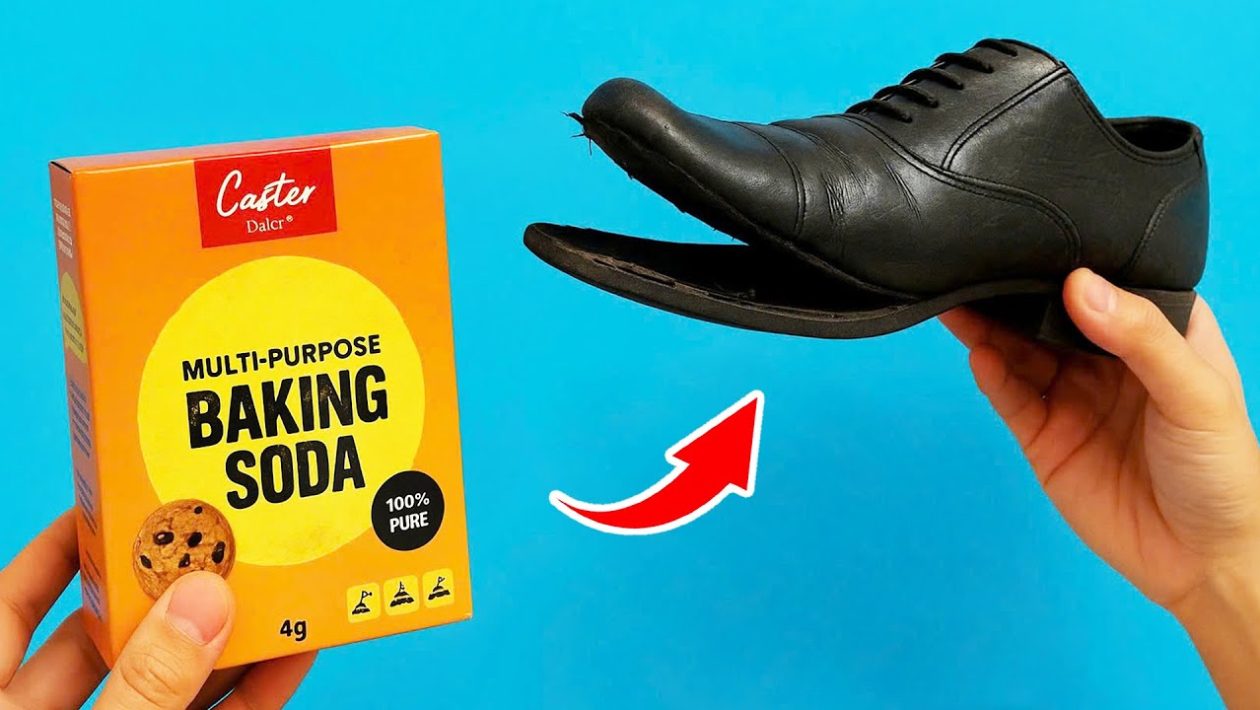
Most modern footwear fails at the seam. Whether it’s a high-end sneaker or a reliable work boot, the factory glue often dries out, becomes brittle, or simply loses its grip due to moisture. Most people respond by discarding the shoes, but professional cobblers know that a proper bond can actually outlast the original manufacturing.
The secret isn’t in expensive, brand-name super glues that often harden into brittle, snap-prone plastic. Instead, it lies in a specific chemical reaction that creates a flexible, rubberized bond capable of moving with your foot.
The Chemistry of a Permanent Bond
To repair a sole permanently, you need an adhesive that remains slightly flexible. If the glue is too rigid, every step you take will eventually cause the bond to crack. The most effective DIY solution used by repair experts involves dissolving polystyrene—commonly found in white packing foam—into a solvent base.
When high-density polystyrene is introduced to a solvent like acetone, it breaks down into a viscous, sticky paste. As the solvent evaporates, it leaves behind a concentrated, rubber-like polymer that mimics the elastic properties of original vulcanized rubber soles.
Preparation is Everything
No adhesive, regardless of how high its quality, will hold if the surface is contaminated. Before attempting any repair, you must prepare the substrate correctly.
- Clean the area: Use a wire brush or coarse-grit sandpaper to scuff the surfaces that need joining. This creates a “tooth” for the adhesive to grab onto.
- Degrease: Wipe the surfaces with isopropyl alcohol. Natural oils from your skin or street grime will prevent even the best glue from sticking.
- Dry completely: Ensure the shoe is entirely moisture-free before applying the mixture.
Application and Curing
Once you have achieved the right consistency—a thick, honey-like texture—apply a thin, even layer to both the shoe and the sole. Do not rush this step. Allow the adhesive to become “tacky” to the touch, which usually takes about five minutes. This indicates that the solvent has begun to evaporate and the polymer is ready to bond.
After pressing the two surfaces together, the most critical step is applying sustained pressure. Professional cobblers use industrial clamps, but at home, you can achieve the same result using heavy-duty rubber bands, masking tape, or by placing a heavy weight (like a stack of books) inside the shoe.
Leave the shoes to cure in a well-ventilated, dry area for at least 24 hours. While the bond may feel set after an hour, the chemical cross-linking continues to strengthen over the full day. For best results, avoid wearing the shoes for 48 hours to ensure maximum longevity.
When to Replace vs. Repair
While this method is excellent for re-attaching soles or fixing minor tears, it is not a cure-all. If the leather or fabric upper is significantly rotted or the midsole has crumbled into dust, no amount of adhesive will save the structural integrity of the shoe. Use this technique for delamination issues where the materials are still sound but the bond has failed.
By mastering this simple chemistry, you save money and keep usable footwear out of landfills, extending the life of your gear by years.