
Why You Should Keep Empty Spray Cans
Spray paint is convenient, but the cans empty quickly and the costs pile up over time. Throwing them away also contributes to unnecessary landfill waste.
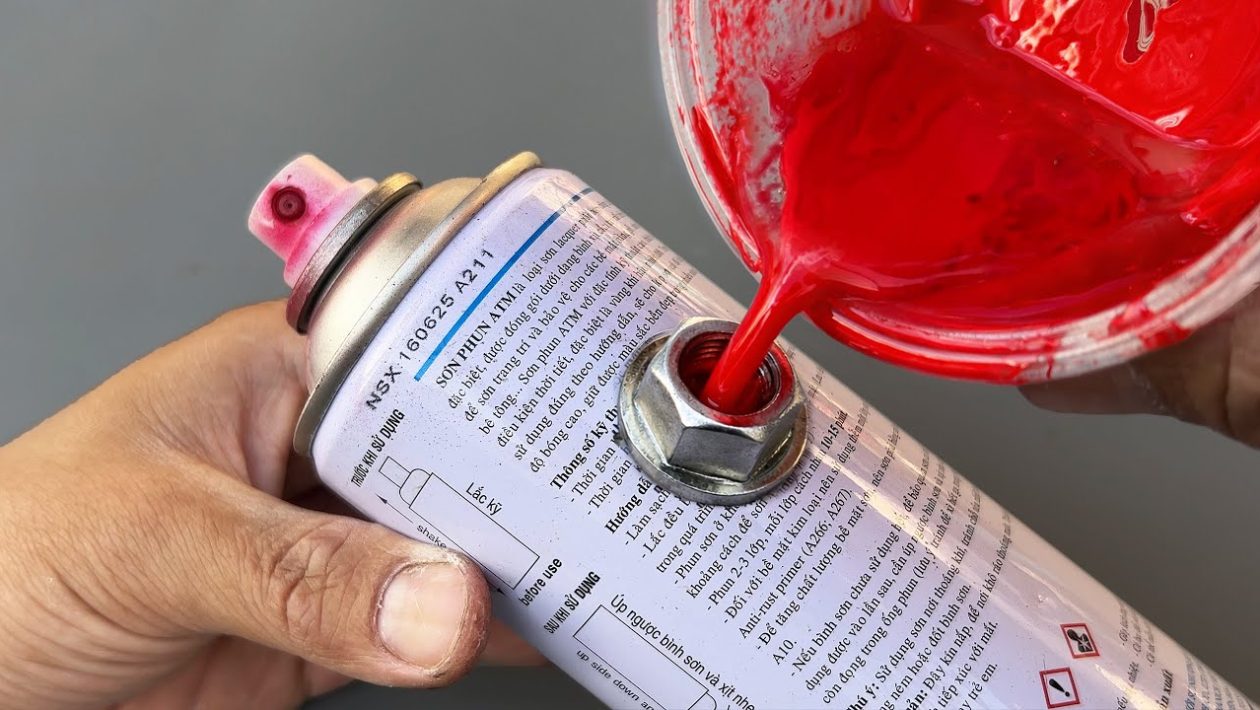
Instead of tossing out your used aerosol cans, you can refill them with custom colors. This DIY approach saves money and allows you to spray bulk paint that usually requires a brush or roller.
Refilling a standard spray can requires basic tools, thinned paint, and a source of compressed air. When done correctly, an old can gets a completely new lifespan.
Understanding the Refill Process
An aerosol can works using two main components: the liquid paint and a pressurized gas propellant. When you press the nozzle, the internal pressure forces the paint out.
To reuse an empty can, you must replace both elements. You will inject new, thinned paint into the main valve, followed by compressed air to restore the internal pressure.
This process utilizes the can’s existing one-way valve. You never have to drill, cut, or puncture the metal shell.
Gathering the Right Tools
Before you begin, set up a dedicated workspace. You will need a few essential items to execute the refill smoothly.
- An empty, undamaged spray paint can
- A large plastic syringe (typically 60ml or larger)
- A short length of plastic tubing that fits snugly over the syringe and the can’s valve stem
- An air compressor with a rubber-tipped blow gun
- Your choice of paint, properly thinned for spraying
Step 1: Prep and Depressurize
Never attempt to inject paint into a can that still holds pressure. Start by taking the can outside to a well-ventilated area.
Press the spray nozzle down completely. Keep holding it until you no longer hear any hissing sounds.
Once the can is totally silent and completely depressurized, pull the plastic spray cap off the top of the can, exposing the bare valve stem.
Step 2: Inject the Custom Paint
Mix your paint in a separate container. It must be thinned down to a watery consistency, similar to standard airbrush paint, or it will instantly clog the aerosol valve.
Draw the thinned paint into your large syringe. Attach one end of your plastic tubing to the syringe tip, and press the other end firmly over the can’s exposed valve stem.
Push down on the syringe and the valve stem simultaneously. This opens the can’s internal seal, allowing you to plunge the liquid paint directly into the empty canister.
Step 3: Repressurize the Canister
With the paint inside, the can needs pressure to function. An air compressor is the most effective tool for this job.
Set your compressor regulator to a safe limit, typically between 40 and 60 PSI. Standard spray cans are not designed to hold extreme, unregulated pressure.
Press the rubber-tipped blow gun firmly against the can’s valve stem to create an airtight seal. Squeeze the trigger for a few seconds to force compressed air into the can, sealing the valve when you release it.
Essential Safety Guidelines
Modifying pressurized containers carries inherent risks. Always wear safety glasses and heavy-duty gloves during the entire process to protect against blowback.
Work in a well-ventilated space, ideally outdoors. Paint fumes and compressed air accidents can be hazardous in enclosed environments. Keep basic fire safety guidelines in mind, ensuring there are no open flames nearby.
Never attempt to refill a can that is dented, rusted, or structurally compromised. If the integrity of the metal is weakened, the can could rupture violently when exposed to new pressure.




