
A sluggish washing machine often points to a single, overlooked culprit: a clogged water inlet filter. Over time, mineral deposits, sediment, and debris from household plumbing accumulate in this small mesh screen. When blocked, the filter restricts water flow, leading to longer wash cycles or persistent error codes.
Regular maintenance of this component restores optimal water pressure and extends the lifespan of your appliance. The process requires no special tools and takes only a few minutes.
Step 1: Shut Off Utilities
Safety is the first priority before performing any appliance maintenance. Unplug the washing machine from the electrical outlet to eliminate the risk of electric shock.
Next, locate the hot and cold water valves on the wall behind the machine. Turn both valves completely clockwise to shut off the water supply.
Step 2: Disconnect the Hoses
Pull the washing machine away from the wall to access the rear panel. You will see two heavy-duty hoses connected to the back of the appliance.
Place a towel or a shallow basin on the floor beneath the connections to catch residual water. Carefully unscrew the hoses from the machine by hand.
If the connections are stuck, use slip-joint pliers. Wrap a thick cloth around the metal fittings first to prevent accidental damage to the threading.
Step 3: Remove and Clean the Filters
Look directly inside the valve openings on the back of the washing machine. You will spot the small, circular mesh screens seated inside.
Use needle-nose pliers to gently grip the center tab of each filter and pull them straight out. Take extreme care not to tear or crush the delicate mesh material.
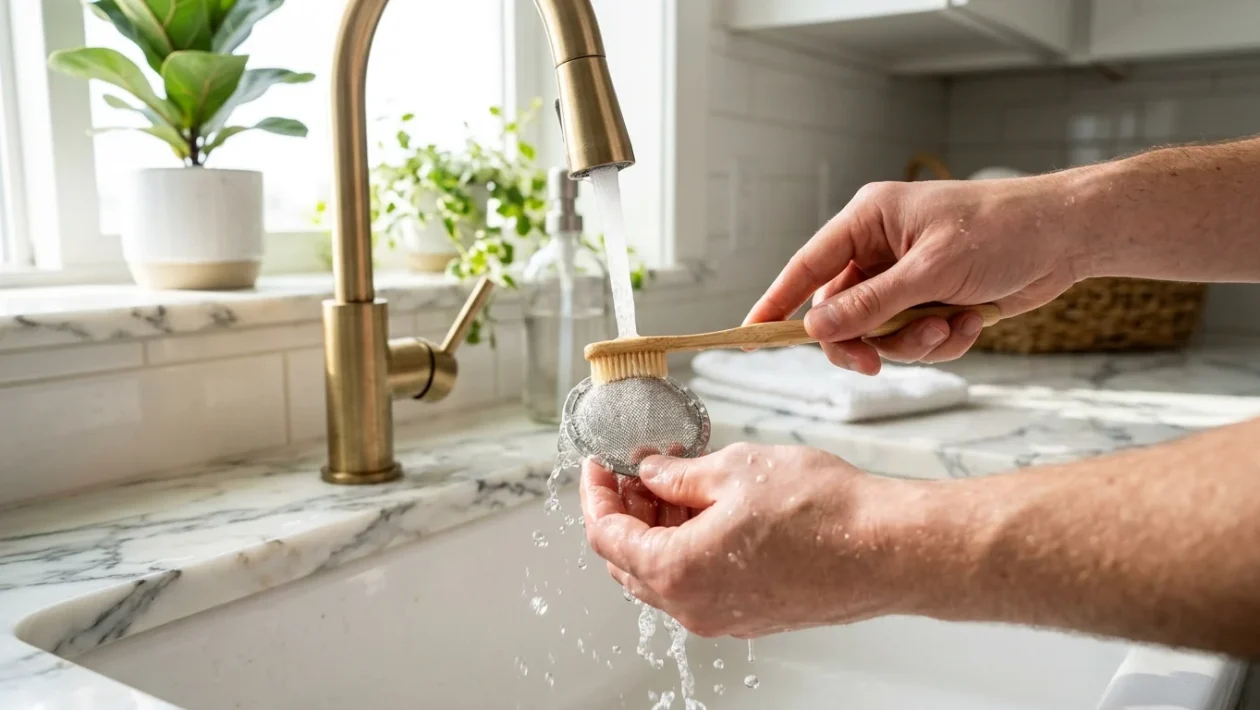
Take the filters to a sink and rinse them under warm, running water. Use a soft-bristled toothbrush to gently scrub away stubborn hard water scale, grit, or rust flakes.
Never use harsh chemical solvents or sharp objects like needles, as these will puncture the screen and allow debris to destroy the machine’s internal valves.
Step 4: Reassemble and Test
Once the filters are completely clean, push them firmly back into the valve openings until they sit flush. Reattach the hot and cold water hoses, ensuring you connect them to their respective correct valves.
Tighten the hoses securely by hand, then apply an extra quarter-turn using pliers. Turn the wall valves back on and immediately inspect the connections for any slow drips or leaks.
Plug the machine back into the electrical outlet. Run a short, empty test cycle to confirm the water flows aggressively and the machine operates at peak performance.




