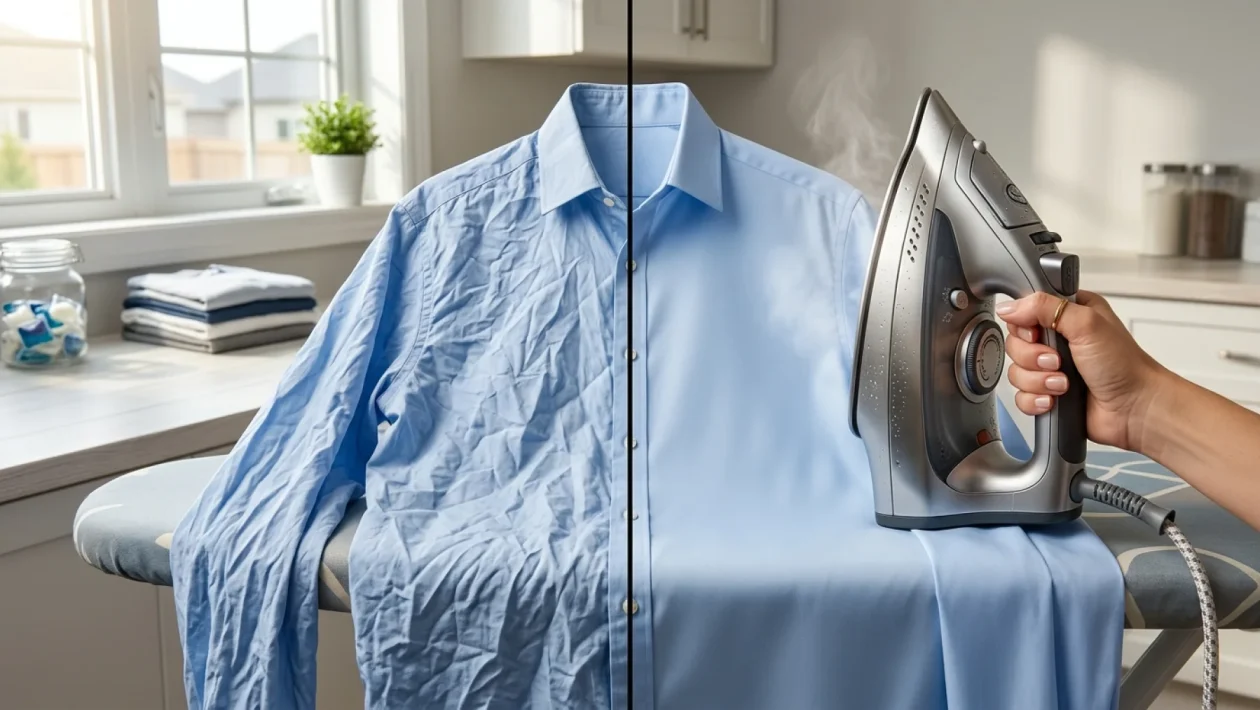
You are staring at a permanently wrinkled dress shirt, realizing you have a patio meeting in twenty minutes, and your local dry cleaner is miles away. We have all been there, aggressively dragging a lukewarm iron across a collar, only to somehow bake the creases in deeper. Here is the blunt truth: getting that sharp, professional press isn’t magic, it is just mechanics. By mastering a few fundamental principles of heat, pressure, and moisture, you can completely eliminate your reliance on expensive professional cleaning services.
A recent 2026 garment industry report revealed a staggering fact. The average North American wastes over $500 a year on dry cleaning for garments that simply needed a proper pressing. Let’s keep that cash in your wallet where it belongs.
Steam Ironing: Choosing Your Daily Driver
Think of your iron exactly like a power tool in your garage. You would not use a sledgehammer to hang a picture frame, and you shouldn’t use a cheap, underpowered iron on a heavy linen suit. Choosing the right hardware is your first step to success.
Weight plays a massive role in your results. A heavier iron physically presses the fabric down, allowing the heat and steam to penetrate deep into stubborn cotton fibers. A lightweight iron is easier on your wrists but requires you to provide the elbow grease. If you are hitting up Canadian Tire this weekend to upgrade your setup, look for a solid mid-weight model from a reputable brand like Rowenta.
The soleplate material is your point of contact. Ceramic plates glide beautifully across mixed wardrobes, while stainless steel (inox) is incredibly durable and holds high heat perfectly for thick fabrics.
| Heavyweight Irons | Lightweight Irons |
|---|---|
| Flattens deep creases effortlessly | Perfect for delicate, intricate fabrics |
| Ideal for heavy cottons and thick linen | Prevents wrist fatigue during long sessions |
The Blueprint: Proven Pressing Techniques
How you move the iron completely dictates your final result. This isn’t like scrubbing a floor; furious back-and-forth scrubbing damages fibers and creates an unwanted shine on dark fabrics.
For cotton shirts and pants, use long, firm, and deliberate strokes. Start from the outside edges and work your way in. For thicker materials like wool suits, you want to press, not push. Lift the iron, place it down firmly for two seconds with a burst of steam, and lift it again.
Want to crush your morning routine? Follow this foolproof progression for dress shirts:
- Conquer the collar: Pop the collar up and iron it completely flat from the points inward to prevent wrinkling.
- Tackle the cuffs: Unbutton the cuffs, lay them flat, and press the inside first, followed by the outside.
- Smooth the shoulders: Hook the shoulder yoke over the narrow end of your ironing board to easily navigate the curves.
- Finish the body: Work your way around the main body panels, saving the front button placket for last.
“Steam is the muscle, but heat is the brain. You need both working in perfect harmony to manipulate fabric fibers safely and effectively.”
Dry-Cleaner Crisp Clothes: Fabric Mastery
Different fabrics demand completely different battle plans. Treat a synthetic polo shirt the same way you treat a heavy cotton button-down, and you will end up with melted plastic fused to your soleplate.
Linen requires maximum heat and an aggressive amount of steam. Because it wrinkles instantly, iron it while it is still slightly damp, using fast, straight lines. Cotton also loves high heat, but demands a slower, firmer hand. Always use a strong jet of steam to blast through the collar and cuff areas.
For wool and thick fabrics, direct contact is your enemy. Friction crushes the fibers, leaving your expensive suit jacket looking flat and shiny. Always place a thin cotton towel or a dedicated pressing cloth between the iron and your garment.
At Home: Essential Maintenance and Care
Your iron is a machine that requires routine maintenance. If you neglect it, it will eventually ruin your favorite shirt right before a big event. The secret to keeping clothes pristine is keeping the tool pristine.
Mineral buildup from hard water will clog the steam vents over time. If your iron has a self-cleaning or anti-calc function, run it once a month. Wipe the soleplate down with a damp cloth when it is completely cool to remove microscopic melted fibers and starch buildup.
Frequently Asked Questions
Do I actually need to use distilled water?
Unless your iron’s manual specifically tells you to use tap water (some modern anti-calc systems require the minerals to function), distilled water is the safest bet. It prevents those heart-stopping white crusty marks from blowing out of the steam vents onto your dark pants.
Why does my iron randomly spit brown water?
That is calcified mineral buildup and rust saying hello. It usually happens when you iron at a temperature too low to vaporize the water, causing it to leak through the dirty internal chamber. Always let the iron fully heat up before hitting the steam button, and descale it regularly.
🤝 Alright, you are officially equipped to skip the dry cleaner and tackle your own wardrobe like a seasoned pro.
💡 Remember to let your clothes cool on a hanger for a few minutes after ironing. Wearing them while the fibers are still hot and damp will just cause them to immediately wrinkle all over again.
📱 Good luck stepping out in style this summer! If you found this breakdown useful, share your thoughts and pass this guide along to a buddy who desperately needs to upgrade his laundry game.
👇 Drop a comment below if you have a bulletproof ironing trick of your own, and stay sharp out there!