The Science of Plastic Restoration
Most people discard damaged plastic items because they assume the material is irreparable. In reality, plastic is an incredibly forgiving medium if you understand its chemical properties. Successful repair isn’t about slapping glue over a crack; it is about thermal fusion.
To master plastic repair, you must first identify the type of plastic you are working with. Look for recycling codes imprinted on the item. Polyethylene (PE) and Polypropylene (PP) are common in automotive parts and household goods, and they react best to heat-based welding techniques.
Essential Tools for Precision Repairs
You do not need a commercial shop setup to achieve professional results. However, a few specialized tools will distinguish a permanent fix from a temporary patch:
- A Variable Temperature Heat Gun: This is the backbone of your toolkit. It allows you to soften plastic without scorching it.
- Plastic Welding Rods: Always match the welding rod material to the base plastic. Using the wrong plastic results in a brittle bond that will fail under stress.
- Stainless Steel Mesh: Think of this as the “rebar” for your plastic. It provides a structural backbone for wide cracks or missing tabs.
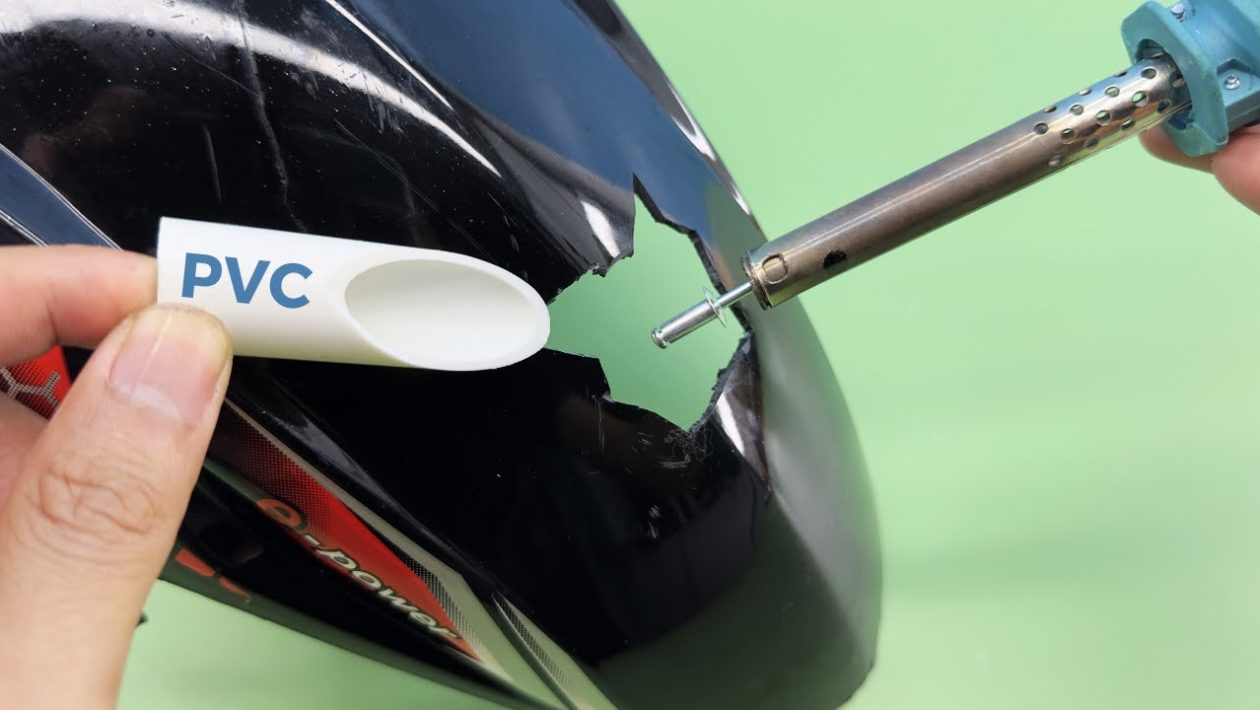
- A Soldering Iron or Plastic Welder: Use these for “V-grooving” or localized fusion along a crack line.
The Step-by-Step Welding Technique
The secret to a “Level 100” repair is preparation. A clean surface ensures a chemical bond between the filler and the base material.
1. Preparation and V-Grooving
Clean the area thoroughly with isopropyl alcohol to remove grease or oils. Use a rotary tool or a hand file to create a “V” shaped groove along the crack. This increases the surface area for the new plastic to bond with, creating a much stronger weld.
2. The Reinforcement Phase
If the crack is structural, cut a piece of stainless steel mesh slightly larger than the damage. Heat the plastic surrounding the crack until it reaches a semi-molten state, then carefully press the mesh into the surface using a flat-tip iron. The plastic should “ooze” through the holes in the mesh, locking it in place.
3. Applying the Filler
Take your matching plastic welding rod and apply heat evenly to both the rod and the base material. Move slowly, allowing the two materials to blend into a single, seamless pool. Avoid using excessive force; let the heat do the work. If you burn the plastic—turning it black—you have compromised the strength and should remove that section and start over.
4. Finishing and Smoothing
Once the plastic has cooled completely, use a fine-grit sandpaper to level the weld with the surrounding surface. If you have been precise with your heat management, the repair should be nearly invisible once painted or textured.
Avoiding Common Pitfalls
The most common mistake is impatience. Cooling the plastic too quickly with water can cause internal stresses that lead to future cracks. Always allow your repair to reach room temperature naturally.
Additionally, avoid using standard household epoxies or superglues for structural repairs. These adhesives are surface-level bonds. They will eventually peel away when exposed to heat, vibration, or impact. Thermal welding fuses the molecular structure of the item itself, creating a bond that is effectively as strong as the original molded part.
By mastering the temperature and the compatibility of your materials, you can restore items that were previously destined for the landfill, saving money and extending the life of your equipment significantly.