
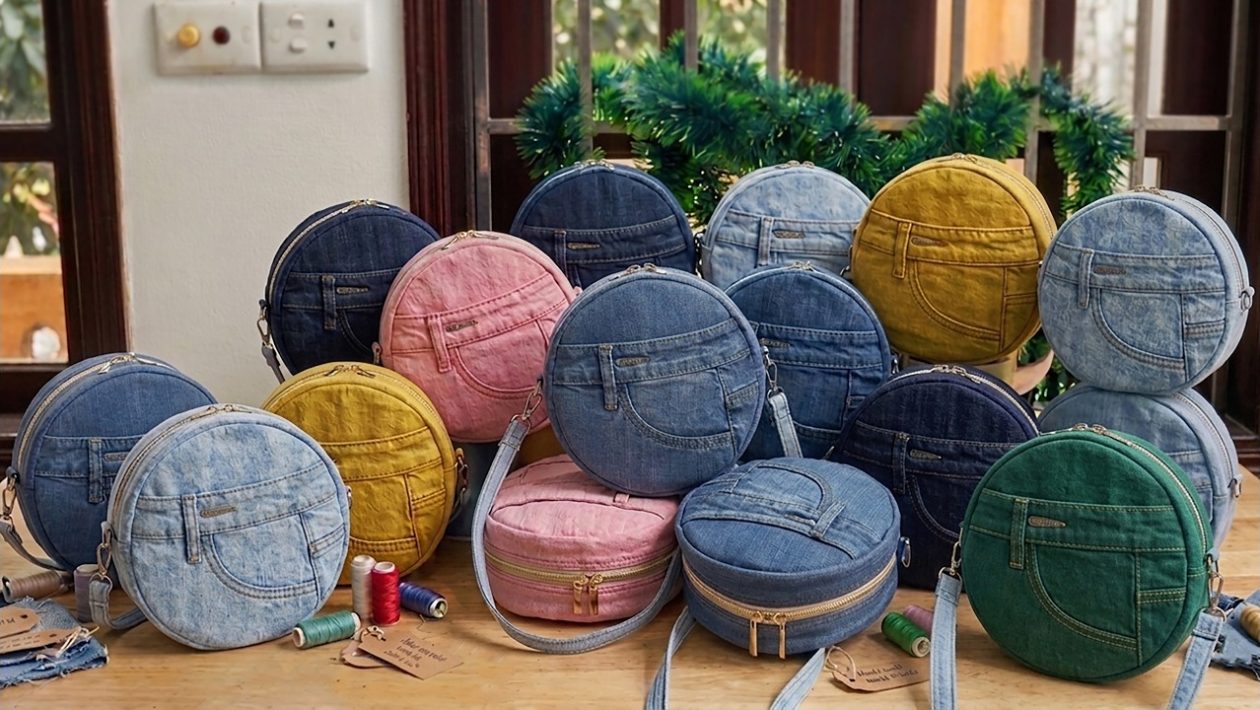
The Case for Upcycled Denim
Denim is arguably the most resilient fabric found in the average household. Its tight twill weave makes it inherently sturdy, resistant to tearing, and capable of holding its shape even under the weight of daily essentials like a wallet, keys, and phone.
Instead of sending worn-out jeans to a landfill, you can repurpose them into a high-quality accessory. Creating a denim handbag is not just an eco-friendly exercise; it is a practical way to produce a custom piece that matches your specific functional needs.
Essential Tools and Materials
You do not need an industrial setup to achieve a professional finish. Before starting, gather the following:
- A pair of heavy-duty jeans (mid-to-high cotton content works best).
- A standard sewing machine with a denim or “jeans” needle (size 90/14 or 100/16).
- Heavy-duty polyester thread, which holds up better to the stress placed on bag straps.
- Sharp fabric shears and standard sewing clips (pins often struggle to pierce thick denim layers).
- Optional: Cotton fabric for an interior lining and a magnetic snap or zipper for closure.
Smart Cutting Techniques
The secret to a structured bag lies in how you deconstruct the jeans. Start by cutting the legs off just below the crotch seam. This gives you two large, rectangular tubes of fabric.
Open these tubes by cutting along the inseam, leaving the flat outer seam intact. Using the existing outer seam can act as a natural “frame” for the bag, adding structural integrity without requiring extra interfacing. For the base, use the wider portion of the upper leg, which offers the most surface area and least amount of stretch.
Construction Strategy: Avoiding Bulk
Denim is thick, and sewing over multiple layers can jam a domestic sewing machine. Use these strategies to manage the bulk:
- Reduce seam allowance: Avoid overlapping too many layers. Where possible, trim the seam allowances down to 1/4 inch after sewing.
- The “Hammer” Method: For extremely thick intersections—like where the side seams meet the base—gently tap the seam with a rubber mallet or a heavy hammer. This flattens the fibers and allows the sewing machine foot to glide over the transition smoothly.
- Slow down: Do not force the needle through dense seams. Move the handwheel manually if the machine struggles to maintain a consistent stitch length.
Adding Durability to Straps
The straps are the most common point of failure for DIY bags. To ensure longevity, use the waistband of the jeans. The waistband is already reinforced with multiple layers of fabric and heavy topstitching, making it the ideal material for straps.
Attach the straps using a “box-and-cross” stitch. Sew a square shape where the strap meets the bag, then sew an “X” through the center of that square. This distributes the weight across a larger surface area and prevents the denim from fraying or tearing away from the bag body under a heavy load.
Final Finishing Touches
Once the main body is assembled, consider the interior. A simple cotton lining creates a cleaner look and prevents small items from slipping into the corners of the denim. If you are a beginner, you can keep the interior raw or use fabric glue to seal the edges of the denim seams to prevent unraveling.
A quick iron at a high heat setting, combined with a steam burst, will set your seams and give the project that polished, store-bought aesthetic. Whether you choose to leave the denim distressed or keep it clean, the result is a functional, one-of-a-kind bag that outperforms most synthetic fast-fashion alternatives.




