
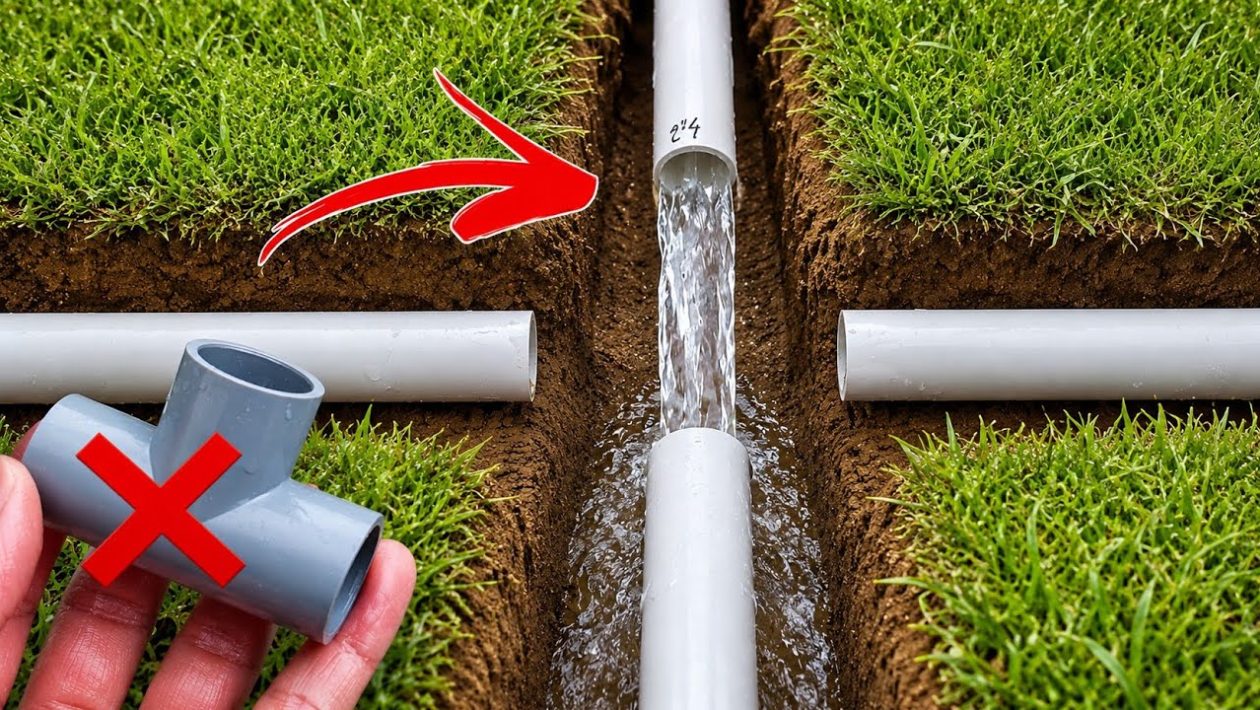
Splitting a PVC water line is a foundational DIY skill that requires zero heavy machinery. Whether you are building a custom garden irrigation system or modifying a home water line, branching a single pipe into two or more directions is straightforward. The process relies on standard fittings and a chemical bonding technique called solvent welding.
Choosing the Right Fittings
The core of any pipe-splitting project is the fitting. A standard Tee fitting creates a 90-degree branch from the main line. This is the most common choice for tight spaces and basic plumbing modifications.
If you are building an irrigation system where maintaining water velocity is critical, a Wye (Y) fitting is often better. It splits the water at a 45-degree angle, reducing friction and pressure loss. For complex setups, a Cross fitting allows one input to split into three separate directions.
Preparing the PVC Pipe
A clean, perfectly square cut is essential for a watertight seal. You can use a ratcheting PVC cutter for smaller pipes like standard 1/2-inch or 3/4-inch lines. If you only have a hacksaw, wrap a piece of masking tape around the pipe to act as a straight guide for your blade.
Once cut, the inside and outside edges of the pipe will have plastic burrs. Scrape these off with a utility knife or sandpaper. Leaving burrs attached disrupts the flow of water and prevents the fitting from seating fully, which eventually leads to leaks.
The Solvent Welding Technique
Unlike metal pipes that require threading or soldering, PVC uses chemical solvents to melt and fuse the plastic together. Start by wiping away any dirt or moisture from the pipe and the inside of the fitting.
Apply a coat of PVC primer to the outside of the pipe and the inside of the fitting socket. The primer softens the plastic and prepares it for the bond.
Immediately apply PVC cement over the primed areas. Push the pipe into the fitting and give it a quarter-turn as it goes in. This twisting motion spreads the cement evenly and pushes out any trapped air bubbles.
Hold the joint firmly together for about 30 seconds. The chemical reaction generates a slight pushback, and holding it prevents the pipe from slipping out before the initial set.
Handling Water Pressure
Most residential DIY projects utilize Schedule 40 PVC, which is white and easily handles standard household water pressure. Always check the label on your pipe and fittings to ensure they match and are rated for pressurized water, not just drainage.
After making your connections, patience is required. While the joint feels solid almost immediately, turning the main water supply back on too early will cause blowouts. Always allow the cement to cure fully according to the manufacturer’s label, which typically requires waiting at least two hours for low-pressure systems and up to 24 hours for high-pressure lines.




