
The Truth About Braided Plumbing Lines
Braided stainless steel hoses are the standard for modern plumbing. You will find them connecting your toilets, bathroom faucets, and washing machines to the main water supply.
When these hoses start dripping, the standard advice is to throw them away and buy a replacement. Plumbers rely on quick replacements to save time on the job.
However, replacing the entire line isn’t always necessary. With a basic understanding of how these hoses are built, you can fix the most common leaks using tools you already own.
Understanding the Anatomy of the Hose
The term “stainless steel hose” is slightly misleading. The water does not flow through metal.
The core of the supply line is actually a flexible rubber or EPDM (ethylene propylene diene monomer) tube. The stainless steel braiding is simply a protective outer jacket designed to prevent the rubber from expanding and bursting under high water pressure.
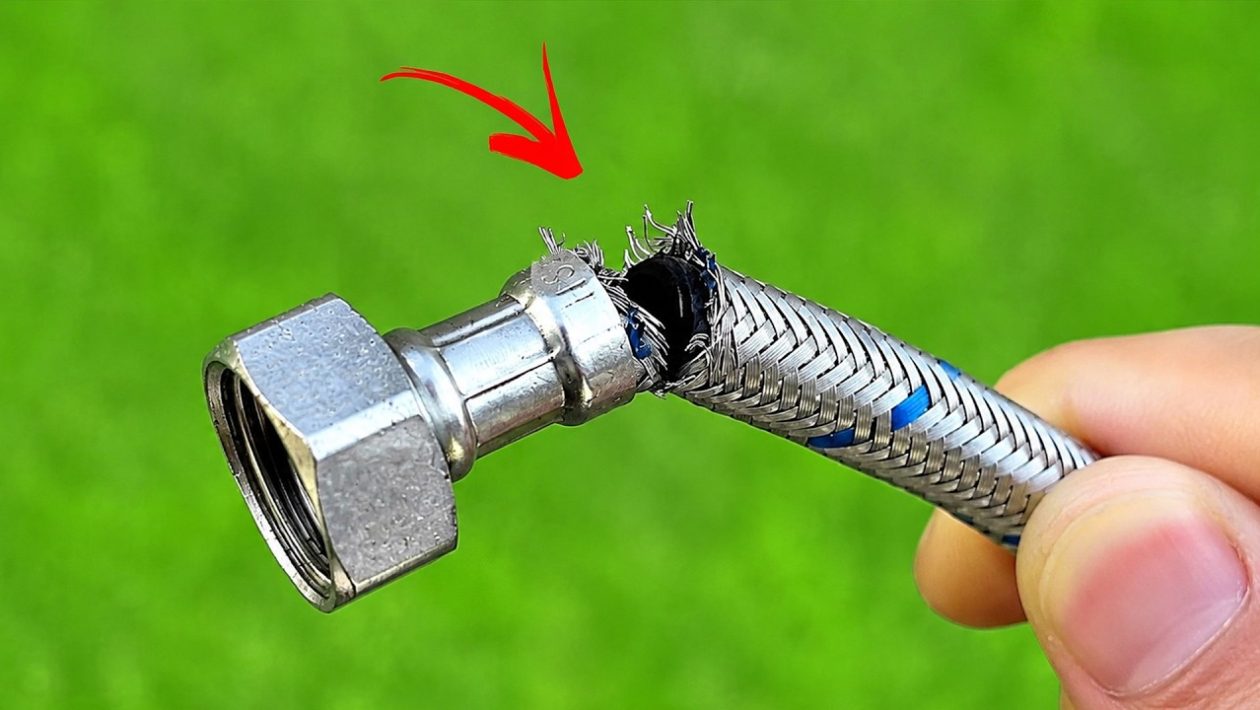
When a braided hose fails, the issue is entirely related to the internal rubber components. Leaks typically happen in one of two places: the rubber washer inside the connector nut, or a blowout in the rubber tubing right where it meets the factory crimp.
Fixing a Leaking Connection
If water is pooling directly at the threaded connection, do not cut the hose. The culprit is usually a flattened or degraded rubber washer.
Turn off the water supply valve and unscrew the hose. Look inside the threaded metal or plastic nut.
You will see a small rubber gasket. Over years of compression, these harden and fail to form a watertight seal.
Use a flathead screwdriver to pry the old washer out. Push a new, identically sized rubber washer into the nut. Reattach the hose, tighten it down, and turn the water back on. This simple swap costs pennies and fixes the majority of leaks.
The Crimp Removal Hack
If the leak is spraying from the braided metal itself—usually right below the metal collar at the end—the inner rubber tube has ruptured. This often happens if the hose was bent at a sharp angle during installation.
Instead of tossing the hose, you can remove the damaged section and reuse the fitting.
First, secure the metal crimp sleeve in a vise. Use a hacksaw or a rotary tool to carefully slice through the metal sleeve. Do not cut too deep, or you will damage the plastic or brass barbed fitting hidden inside.
Pry the cut sleeve off and pull the barbed threaded fitting out of the rubber tube.
Reassembling the Supply Line
With the fitting removed, use sharp utility scissors to snip off the damaged inch of the hose. You should now have a clean cut exposing fresh, intact rubber tubing and steel braiding.
Slide a small stainless steel worm-gear hose clamp over the freshly cut end.
Push the original barbed fitting firmly back into the rubber tube until it is fully seated. Slide the hose clamp up so it rests directly over the hidden barbs.
Tighten the clamp down securely with a screwdriver. The clamp replaces the factory crimp, locking the fitting into the inner rubber tube and sealing the connection.
Knowing When to Walk Away
This repair is highly effective for localized damage on a relatively new hose. It is especially useful if you are dealing with a custom-length hose or an integrated faucet line that cannot be easily swapped.
However, rubber degrades over time. If your supply line is over a decade old and the inner tubing feels hard or brittle when you cut into it, the entire hose is compromised.
In cases of severe age or widespread brittleness, the safest choice is to install a brand-new supply line to prevent property damage.




