
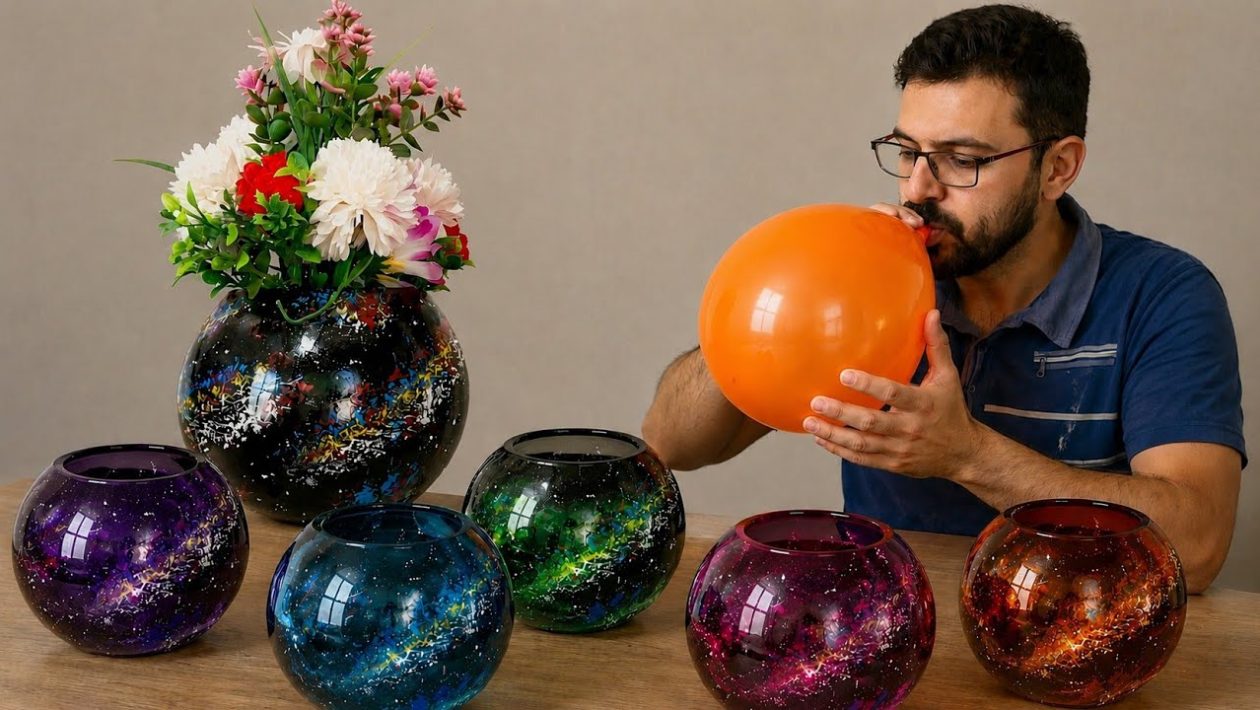
High-End Decor on a Budget
Custom pottery often comes with a steep price tag. However, creating a striking centerpiece doesn’t require a professional ceramics studio or an expensive kiln.
Using inexpensive, accessible materials, you can mold a stylish vase right on your kitchen table. The secret lies in using a simple party balloon as a flexible mold for construction plaster.
The result is a surprisingly solid and elegant vessel. Once the physical structure is formed, a custom paint job transforms the raw plaster into a deep, celestial galaxy-colored vase.
Gathering the Materials
The supply list for this project is remarkably short and affordable. You can find these items at any local hardware or craft store.
You will need:
- A standard rubber balloon
- Regular construction plaster
- Water for mixing
- Acrylic paints (black, deep blue, purple, and white)
- Clear varnish or polish
Before starting, lay down a drop cloth or old newspapers. Plaster work can get messy, and protecting your work surface will save you a headache later.
Shaping the Plaster
The balloon acts as the structural foundation for your vase. Start by blowing up the balloon to your desired size and tying it off securely.
Next, mix the construction plaster with water according to the manufacturer’s directions. You want a smooth, pancake-batter consistency that is easy to spread but thick enough to cling to a vertical surface.
Apply the plaster directly onto the bottom half of the balloon. You can use your hands, a plastic spatula, or a wide brush to build up the layers.
Make sure to leave the knotted top of the balloon exposed. This unplastered area will eventually become the open mouth of your new vase.
Curing and Revealing the Vase
Patience is essential during the curing phase. The plaster must dry completely, which usually takes a few hours depending on room humidity and the thickness of your application.
As it cures, the plaster undergoes a chemical reaction and will feel slightly warm to the touch. Wait until it is entirely cool and hard before moving on.
Once the shell is rock-solid, carefully pop the balloon using a pin. Peel the deflated rubber away from the inner walls of your plaster vessel.
You now have a raw, textured vase ready for customization. You can lightly sand the edges of the opening for a smoother finish if you prefer a cleaner look.
Painting the Galaxy Design
A galaxy finish requires layering rich, dark colors to create depth. Acrylic paints are ideal for this step because they dry quickly and adhere exceptionally well to porous plaster.
Start with a solid base coat of black or midnight blue. Ensure the raw plaster is completely covered and let this initial layer dry thoroughly.
Use a dry sponge to dab patches of deep purple, magenta, and bright blue over the dark background. Blend the edges slightly while the paint is still wet to create a realistic nebula effect.
To create the stars, dip a stiff brush or an old toothbrush into white acrylic paint. Flick the bristles with your thumb to splatter a fine mist of white dots across the dark surface.
Sealing the Final Piece
Raw plaster and acrylic paint are highly vulnerable to moisture and chipping. Sealing the vase ensures it will last and gives it a professional, ceramic-like sheen.
Apply a smooth coat of clear varnish or polish over the completely dried paint. A high-gloss finish will make the galaxy colors pop and give the illusion of glazed, fired pottery.
Allow the varnish to cure completely in a well-ventilated area. Because plaster remains somewhat porous underneath, this vase is best used for dried flowers, artificial arrangements, or as a standalone sculptural piece.




