
The Unexpected Utility of Cardboard
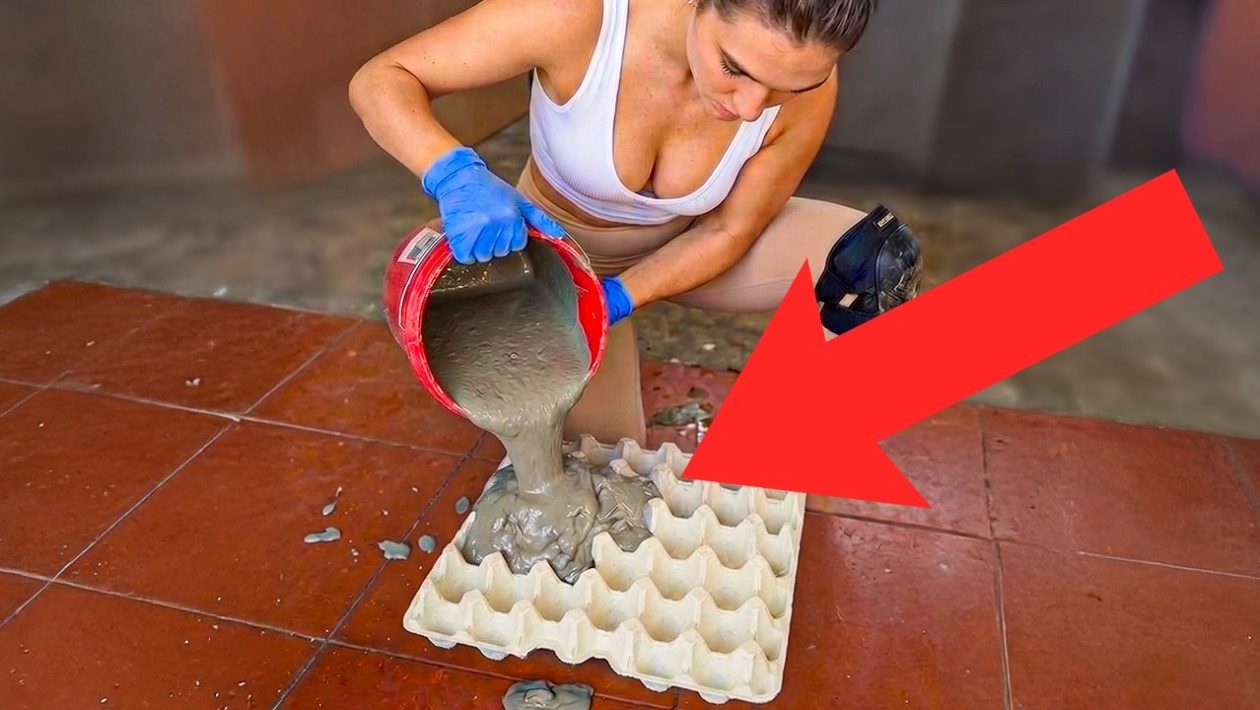
Most DIY enthusiasts overlook the humble cardboard egg tray. While intended for transport, these pulp molds feature a unique structural geometry that is perfect for small-scale casting. When repurposed as a mold for concrete, they create intricate, honeycomb-like textures that are difficult to achieve with standard plastic or silicone forms.
This process is accessible to anyone with basic hardware store supplies. It requires no specialized skills, only a bit of patience and an eye for finishing details.
Materials Required
To begin your project, you will need to gather a few essential items. Quality materials ensure a result that looks deliberate rather than amateurish:
- Fast-setting concrete mix: Choose a fine-finish mortar or a high-strength concrete mix for better detail.
- Plastic-coated egg trays: If the trays are raw cardboard, you must coat them with a thin layer of wax or petroleum jelly to prevent the concrete from bonding permanently to the pulp.
- A mixing bucket and trowel: Use tools you don’t mind getting permanently coated in cured cement.
- Protective gear: Gloves and eye protection are non-negotiable when working with cement dust.
- Sandpaper: 120 and 220 grit for smoothing edges once cured.
The Casting Process
Success in concrete casting lies in the preparation of the mold. Because cardboard is porous, the moisture in the cement will be absorbed quickly. If you do not seal the tray, the paper will stick to the concrete and be nearly impossible to remove without damaging the final surface.
Mix your concrete to the consistency of thick peanut butter. If the mix is too thin, it will leak through the cardboard; if it is too thick, it won’t settle into the fine details of the tray cups. Pour the mix slowly, tapping the tray repeatedly against your work surface. This vibration is critical to bring air bubbles to the surface, preventing pockmarks in your finished piece.
Curing and Finishing
Patience is the most important element of the process. Allow the concrete to sit undisturbed for at least 24 to 48 hours. The ambient humidity and temperature in your workspace will dictate the exact dry time. A common error is attempting to remove the mold too early, which leads to crumbling corners.
Once the cement has fully cured, carefully peel away the cardboard. If pieces of fiber remain in the crevices, use a stiff-bristled brush or a toothpick to gently clear them out. Finish the piece by sanding any sharp edges or “flashing” (the excess concrete that seeped out during the pour) with fine-grit sandpaper.
Styling Your New Piece
The beauty of this project is its versatility. Once completed, your concrete tray can serve as a minimalist catch-all for keys, a decorative base for candles, or even a geometric planter for small succulents.
Because concrete is porous, it is wise to seal the surface if you plan on placing it on delicate furniture. A simple clear-coat acrylic sealer will protect your tabletops from scratches and keep the dust from shedding. This simple, affordable method proves that professional-looking home decor doesn’t require a design degree—just a bit of creativity and a trip to the local hardware store.




