
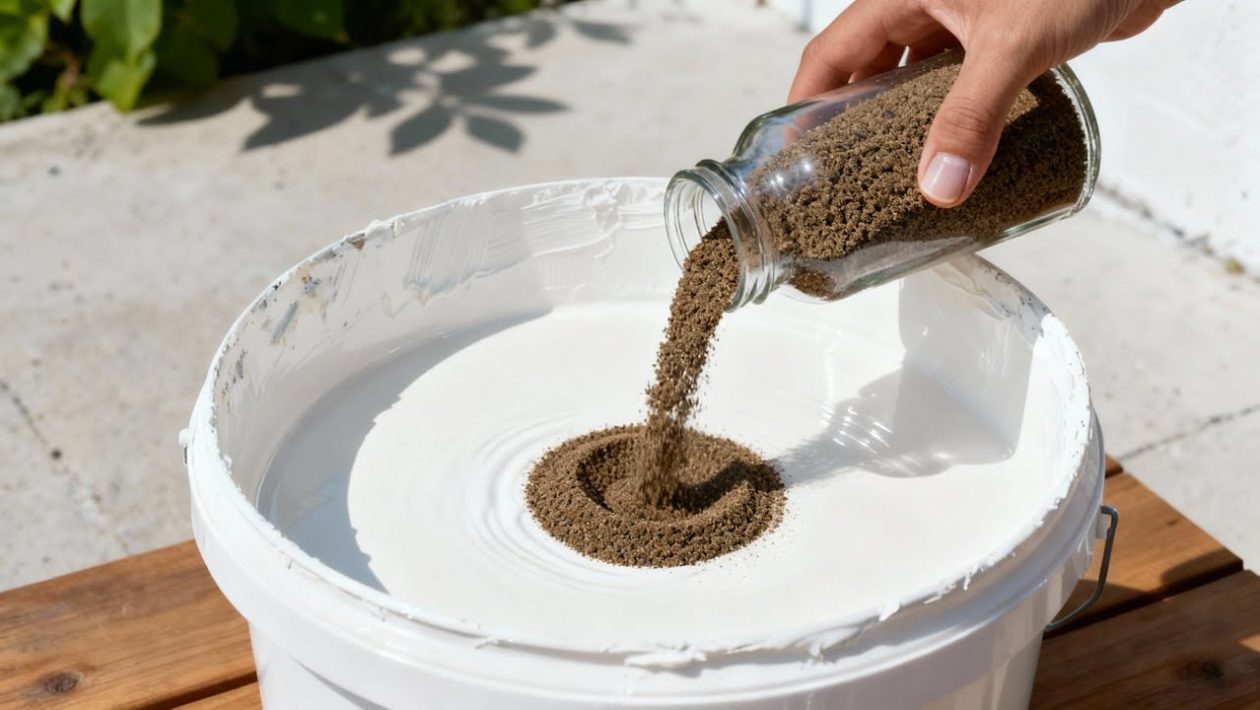
High-end interior design often relies on texture to add depth and character to a room. While professional contractors charge a premium for specialized plaster or heavy-bodied masonry paints, the secret to achieving that sophisticated, 3D look can be found at any local hardware store for a fraction of the cost.
The solution is simple: a mixture of sand, standard wall paint, and adhesive. This technique allows you to transform plywood, concrete blocks, or worn wooden furniture into tactile, professional-looking surfaces without breaking your budget.
The Science of the Mixture
At its core, this DIY method is about modifying the viscosity and structural integrity of standard latex paint. Mixing in a fine, clean sand provides the grit necessary for a dimensional, matte finish. However, adding sand alone can weaken the paint’s ability to bond, causing it to flake or scratch off over time.
That is where PVC glue (or a high-quality PVA white glue) becomes the hero. Adding a bonding agent into the mixture ensures the sand particles stay locked in place. The result is a durable, scratch-resistant coating that mimics the appearance of expensive limestone or artisan-applied plaster.
The essential components:
- Sifted Sand: Fine-grain silica sand or play sand works best. Ensure it is dry and free of debris.
- Wall Paint: Standard interior latex or acrylic paint.
- PVA/PVC Glue: Acts as the binding agent to ensure adhesion and durability.
Preparation and Application
Success starts with the preparation of the material. Before you begin mixing, sift your sand to ensure uniform texture. Coarse rocks or pebbles will create an uneven, messy finish, while finely sifted sand produces a sophisticated, even grit.
To prepare the mixture, start with a base of paint. Gradually stir in the sand until you achieve a thick, porridge-like consistency. Finally, fold in the glue. A general ratio to start with is roughly one part glue to four parts paint, though this can be adjusted depending on how aggressive you want the texture to be.
Apply the mixture to your surface using a thick-napped roller for a broader, stippled effect, or use a wide-bristle brush if you want to leave visible, dramatic strokes. Because the mixture is heavy, it is best applied in thin, even layers. Allow the first coat to dry completely—usually at least 24 hours—before deciding if a second coat is necessary for full opacity.
Where to Use Textured Paint
This technique is remarkably versatile. It excels on porous surfaces where standard paint often looks flat or lifeless. Consider using it for:
- Concrete and Masonry: Perfect for softening the look of harsh cinder blocks or basement walls.
- Furniture Restoration: Use it to give a sleek, modern piece of plywood furniture a rustic, earth-hewn aesthetic.
- Wall Accents: Create a focal point in a bedroom or living area without the need for expensive wallpaper or professional masonry.
Beyond the aesthetics, the added texture serves a functional purpose. The sand-glue matrix creates a significantly harder shell than paint alone. This makes the finished surface resistant to the daily bumps and dings common in high-traffic areas of the home.
Before applying to an entire wall or a large piece of furniture, always test your mix on a scrap piece of plywood. This allows you to calibrate the “grit level” and ensures you are happy with the density of the texture before committing to the full project.
By shifting your perspective on what “paint” can be, you open up a range of possibilities that professional design studios usually keep behind closed doors. With patience and the right ratio of materials, you can create a high-end look that stands up to heavy wear and tear, all while keeping your expenses at a minimum.




