
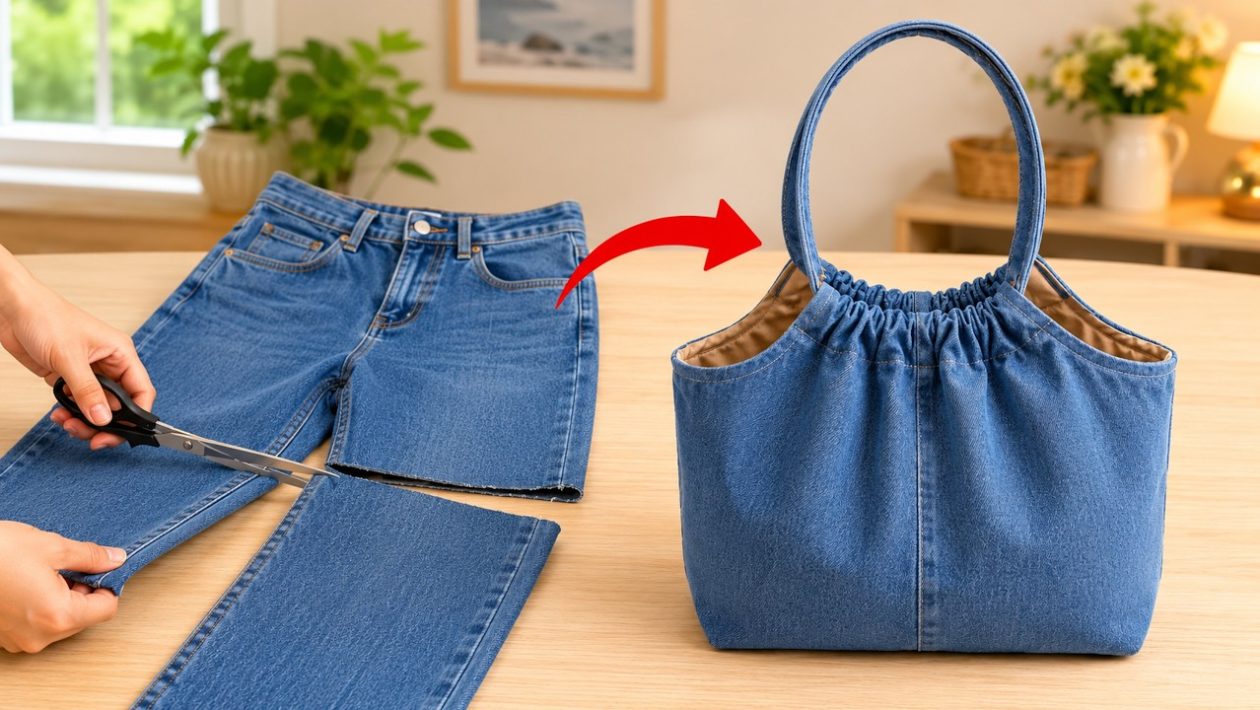
Americans throw away massive amounts of textiles every year, with heavy cotton denim leading the waste pile. Before tossing out that pair of jeans with a blown-out knee, consider their hidden value.
Denim is incredibly durable and holds its shape beautifully over time. It is the perfect raw material for crafting a high-end, multi-pocket tote bag.
Why Upcycled Denim Rivals Designer Canvas
Luxury brands frequently charge hundreds of dollars for canvas and denim utility totes. You can replicate that structured, expensive look at home without spending a dime on fabric.
Washed denim already has a broken-in patina that manufacturers spend a fortune trying to fake. Heavyweight jeans also provide the rigidity a good tote bag needs to avoid slouching.
The Built-In Pocket Advantage
The secret to a highly functional DIY bag lies in the jeans themselves. Pants already feature sturdy, reinforced pockets designed to hold weight and endure friction.
By cutting around the front and back pockets of your old jeans, you create instant exterior compartments for your tote. This keeps keys, phones, and wallets organized without requiring complex interior sewing or pattern drafting.
Essential Supplies for the Project
You do not need a store-bought pattern or advanced tailoring skills for this project. The requirements are minimal and completely beginner-friendly.
Gather these basic tools before you start cutting:
- One or two pairs of heavy-weight, non-stretch jeans
- A sewing machine fitted with a heavy-duty denim needle
- Strong polyester thread (standard cotton thread will snap under tension)
- Sharp fabric scissors and a measuring tape
Constructing the Tote Without a Pattern
Start by cutting the legs off your jeans right below the crotch seam. These wide, tubular sections of fabric will form the main body and the straps of your new bag.
Open up the inner leg seams so the fabric lays flat on your workspace. You can stitch multiple leg panels together to reach your desired bag width and depth.
For an expensive, structured look, you must create a boxed corner base. Sew the bottom edge shut, pinch the corners into triangles, and stitch straight across the points. This gives the bag a flat bottom so it can stand upright on its own.
Adding Straps and Finishing Touches
Cut two long, equal-width strips from the remaining leg scraps to create your handles. Fold the raw edges inward, press them flat with a hot iron, and topstitch down both sides for a clean finish.
Attach the handles securely to the inside rim of your bag using an ‘X’ stitch box pattern. This reinforces the attachment point, ensuring your tote can carry heavy groceries or a laptop without tearing.
Finally, integrate the salvaged jean pockets onto the exterior panels. Pin them in place and stitch carefully along their original seam lines to complete your functional, upcycled carryall.




