
The High Cost of Basic Bathroom Upgrades
Homeowners routinely spend hundreds of dollars on labor alone just to install a standard toilet. When a bathroom fixture cracks, leaks, or simply looks outdated, the immediate reaction is usually to call a local plumber.
However, swapping out a toilet is rarely the complex mechanical challenge people assume it to be. The entire process requires only a few basic hand tools and a fundamental understanding of how the fixture connects to the floor.
By learning a few smart, beginner-friendly techniques, you can easily bypass the professional fees and complete the job yourself without risking water damage.
The Wax Ring Alignment Problem
The single most intimidating part of a DIY toilet installation is establishing a watertight seal. This seal is created by a wax ring sitting directly on the closet flange, which connects the toilet to the sewer pipe.
If you lower the heavy porcelain bowl and miss the alignment by even half an inch, you risk crushing the wax ring unevenly. A compromised wax ring means invisible leaks will slowly rot your bathroom subfloor over time.
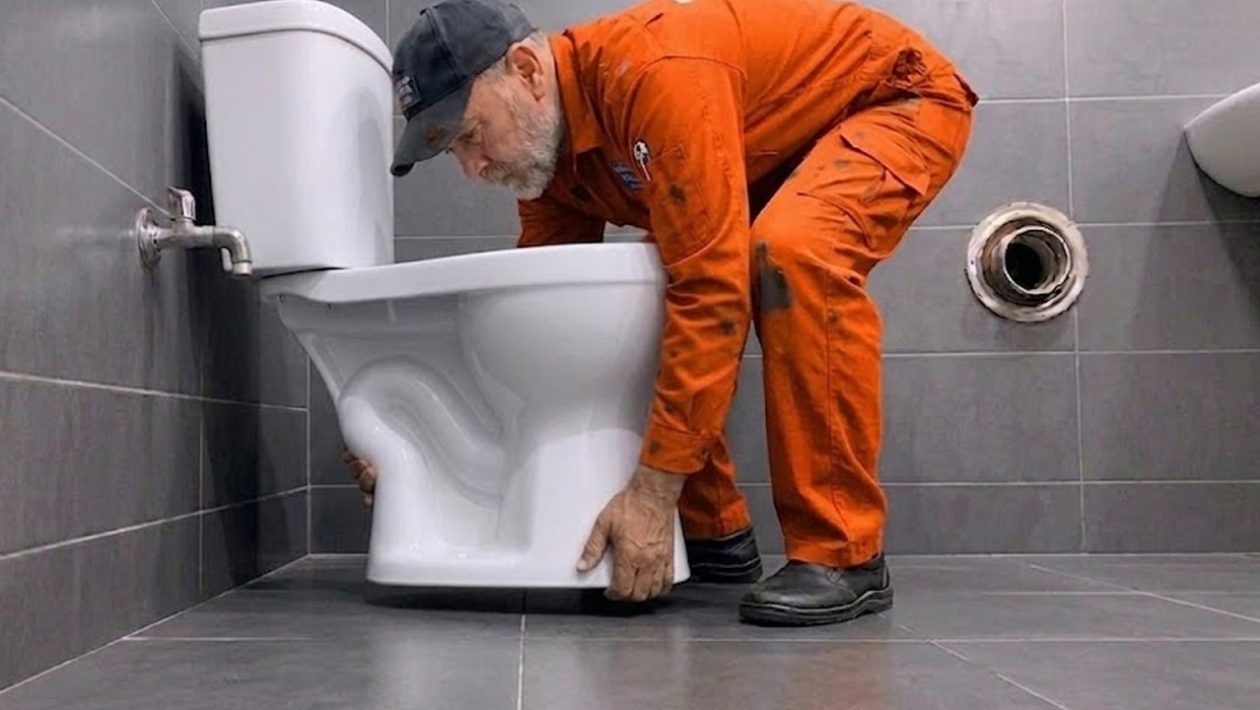
Because the toilet bowl completely blocks your line of sight to the floor bolts, hovering a heavy, awkward piece of porcelain perfectly into place feels like a guessing game.
The Genius Guide-Wire Trick
There is a remarkably simple method to guarantee perfect alignment on the first try. You do not need specialized plumbing tools; you just need two plastic drinking straws.
After you secure the two threaded brass bolts into the floor flange and place the new wax ring down, slide a plastic drinking straw over each bolt. These straws act as tall, highly visible guide posts.
When you lift the toilet and prepare to lower it, simply guide the tall straws through the mounting holes on the base of the toilet. The straws will direct the bowl perfectly down onto the bolts, ensuring the wax ring compresses evenly and creates a flawless seal.
Once the toilet rests flat on the floor, pull the straws off the bolts and discard them.
Securing the Hardware Without Damage
With the toilet perfectly seated, the next common mistake is tightening the hardware incorrectly. Porcelain is incredibly strong under compression but highly fragile when subjected to uneven tension.
Place the plastic washer, metal washer, and nut onto each bolt. Tighten the nuts by hand first, then use a small wrench to tighten them alternately—give the left side a few turns, then the right side.
Stop tightening the moment the wrench meets firm resistance. Overtightening will instantly crack the base of the toilet bowl, forcing you to buy an entirely new fixture.
The Crucial Leak Test
Once the base is secure and the tank is bolted on, reattach the braided water supply line to the fill valve at the bottom of the tank. Turn the wall valve counterclockwise to restore the water supply.
Allow the tank to fill completely, watching the water line connection carefully for any drips. Next, flush the toilet three or four times in a row.
During these test flushes, press a dry paper towel around the exact spot where the toilet meets the floor. If the paper towel stays completely dry, your seal is perfect, and the installation is complete.




