
The Hidden Cost of Ripped Denim
Denim is famously durable, but friction and daily wear eventually take their toll. Thigh blowouts, knee rips, and pocket snags ruin millions of pairs of jeans every year.
For most people, a sudden hole leaves two options: throw the pants away or take them to a professional. Tailors routinely charge $20 to $30 for basic denim mending.
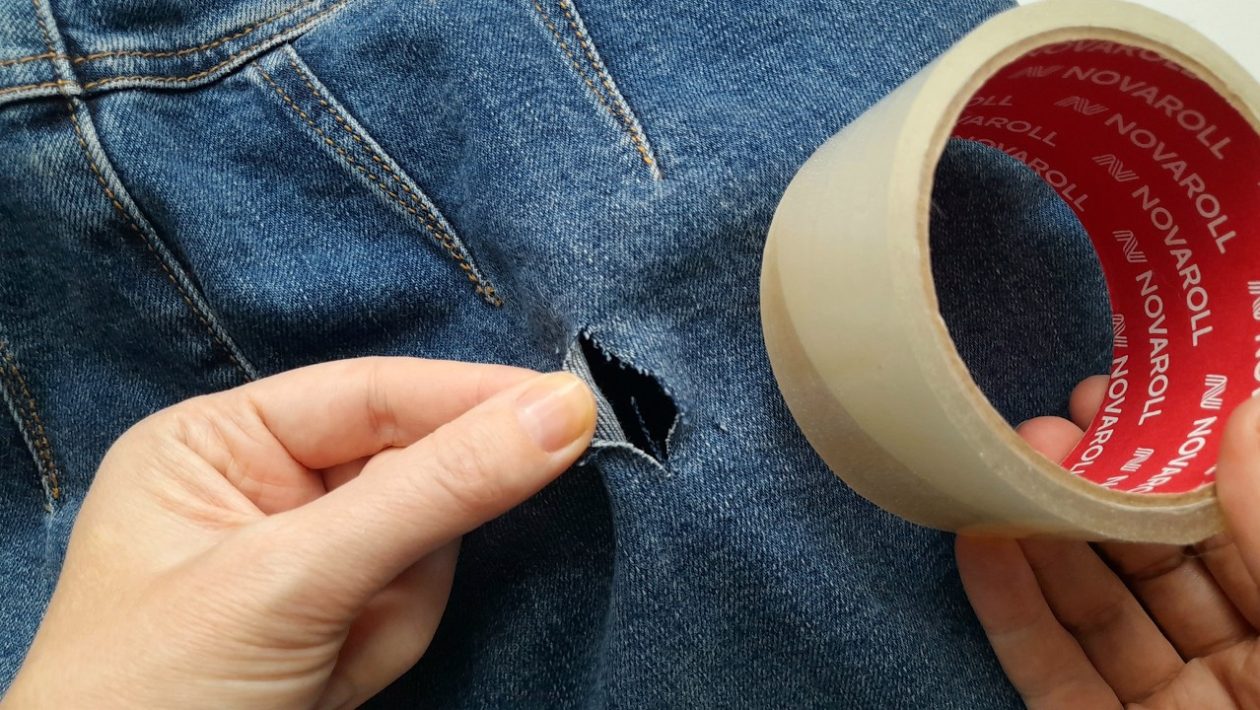
However, paying for professional repairs is largely unnecessary for minor tears. A highly effective jeans repair trick requires zero sewing experience, no machine, and only takes five minutes.
The Clear Tape Solution
The hardest part of mending a hole by hand is keeping the frayed edges aligned. When a rip occurs, the tension in the woven cotton pulls the fabric apart.
If you try to stitch a loose hole together, the fabric bunches up. The result is a lumpy, obvious scar across your pants.
Standard clear office tape solves this structural problem entirely. By using tape as a temporary stabilizer, you force the denim’s edges to lay perfectly flat while you work.
What You Need
You likely already have everything required for this repair in a kitchen drawer.
- Clear tape: Standard transparent office tape works best. Avoid highly adhesive duct tape, which can leave a sticky residue on the fabric.
- A sewing needle: Any standard hand-sewing needle is fine, though a thicker needle pushes through heavy denim more easily.
- Thread: Heavy-duty polyester or cotton thread. Match the color to your jeans as closely as possible.
- Scissors: For snipping the thread.
Step 1: Align and Tape
Start by laying your torn jeans flat on a table or hard surface. Make sure the area around the hole is smooth and free of wrinkles.
Using your fingers, gently pull the edges of the tear together so they meet exactly where they originally separated. Do not overlap the fabric.
Once the edges are flush, press a strip of clear tape directly over the tear on the outside of the jeans. The tape will lock the frayed edges in a perfectly closed position.
Step 2: Prep the Inside
With the tear secured by the tape, turn your jeans inside out. You will now do all of your stitching on the interior of the fabric.
Because the tape is holding the front side together, the back side of the tear will look like a neat, tight line. Cut a piece of thread about forearm length, thread your needle, and tie a secure knot at the end.
Step 3: The Stitch
Begin your repair about a quarter-inch before the actual tear starts. Push the needle through the solid fabric to anchor your thread.
Sew a tight zig-zag or whip stitch across the line of the tear. Catch the solid denim on the left side, cross over the tear, and push through the solid denim on the right side.
Keep your stitches small and close together. Because the tape is managing the fabric tension on the reverse side, you do not need to pull the thread aggressively tight. Just pull it firmly enough to close the gap.
Step 4: Tie Off and Reveal
Continue stitching until you are about a quarter-inch past the end of the hole. Tie a knot on the inside of the fabric and snip the excess thread.
Turn your jeans right-side out again. Finally, peel away the clear tape.
The edges of the tear will be pulled seamlessly together. If you matched your thread color well, the repair will be virtually invisible to the naked eye.
A Smarter Approach to Clothing
Learning basic mending techniques extends the lifespan of your wardrobe significantly. Fast fashion heavily relies on the assumption that consumers will discard damaged clothes rather than fix them.
A simple strip of tape and a needle break that cycle. You save your favorite pair of pants, keep textile waste out of landfills, and completely bypass the tailor’s repair fees.




