
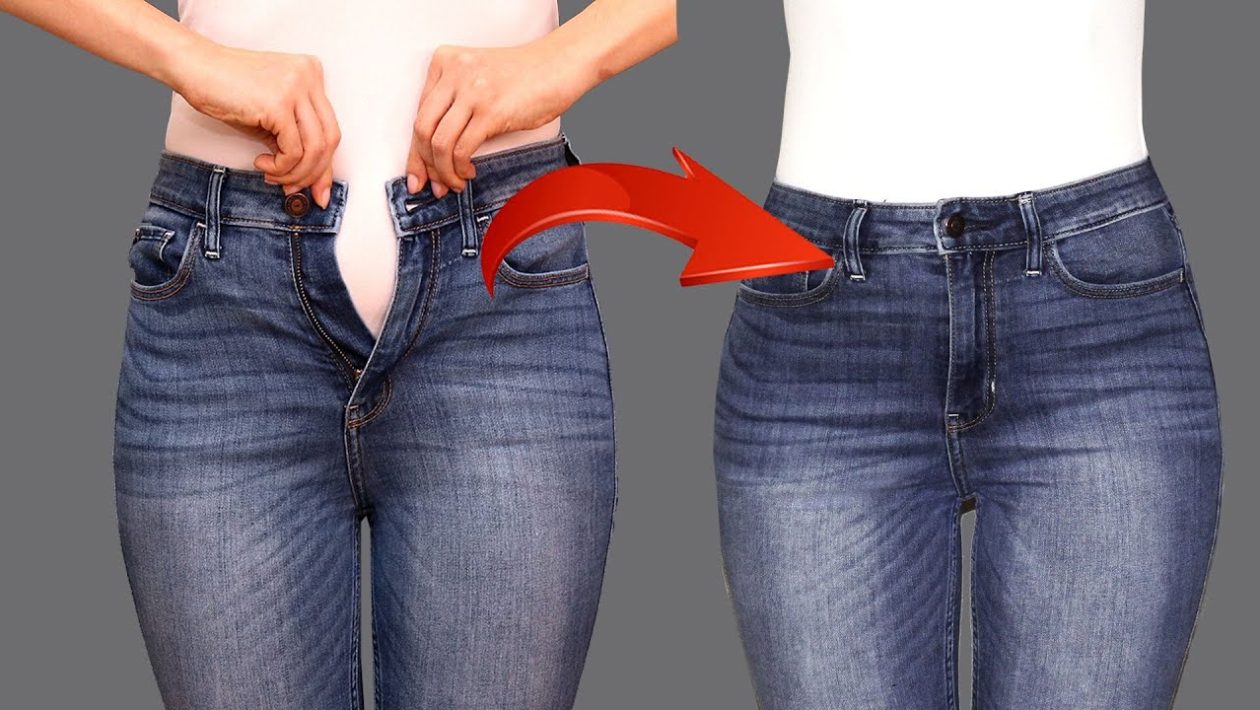
The Problem With Side Seam Alterations
Bodies change, and denim frequently shrinks in the wash. Throwing out a perfectly good pair of jeans because they no longer button is wasteful.
However, letting out the side seams of jeans is notoriously difficult. Factory denim side seams feature heavy flat-felled stitching and thick layers of fabric.
Attempting to stretch or unpick these side seams usually results in warped hips, broken sewing needles, and an uneven fit.
The Center Back Gusset Strategy
The most effective way to add an inch or two to a waistband is by altering the center back seam. This technique keeps the hips lying flat and completely avoids the reinforced side seams.
By inserting a hidden fabric gusset at the rear, the alteration is covered by your shirt or a belt loop.
You will need a seam ripper, matching heavy-duty thread, sharp fabric scissors, and a scrap piece of denim. If you prefer extra flexibility, a piece of wide, heavy-duty elastic can replace the scrap denim.
Step 1: Release the Back Waistband
Locate the center belt loop at the back of your jeans. Use a seam ripper to carefully detach only the bottom edge of this loop.
Next, slice the stitches holding the waistband to the actual pants. Do this for about two inches on either side of the center back seam.
Once the waistband is detached from the seat of the pants, cut the waistband straight down the middle.
Step 2: Cut the Expansion V
With the waistband split, locate the center back seam of the jeans. This is the seam running vertically toward the crotch.
Snip directly down this seam about two to three inches. This creates a V-shaped opening.
This simple cut instantly releases the tension around the lower waist and top of the hips without touching the sides.
Step 3: Insert the Fabric Patch
Cut a triangular piece of your scrap denim that is slightly wider and longer than the V-shaped opening.
Pin this scrap fabric behind the opening. Using a sewing machine equipped with a heavy denim needle, stitch around the edges of the V to secure the patch.
Use a zigzag stitch over the raw edges of the cut denim to prevent the fabric from fraying in the wash.
Step 4: Rebuild the Waistband
Measure the gap between the two cut ends of your split waistband while trying the jeans on, or pull them to your desired new width.
Cut a rectangular piece of your scrap fabric to fill this exact gap, adding an extra half-inch for seam allowances.
Sew this rectangular extension piece between the two raw ends of the original waistband to bridge the gap.
Finishing the Alteration
Fold your newly extended waistband back down over the top edge of the jeans and pin it securely in place.
Topstitch along the bottom edge of the waistband with heavy-duty thread to lock it onto the pants.
Finally, sew the bottom of the center belt loop back into place. Position it directly over your new fabric insert to camouflage the alteration.




