
The Problem With Loose Hinges
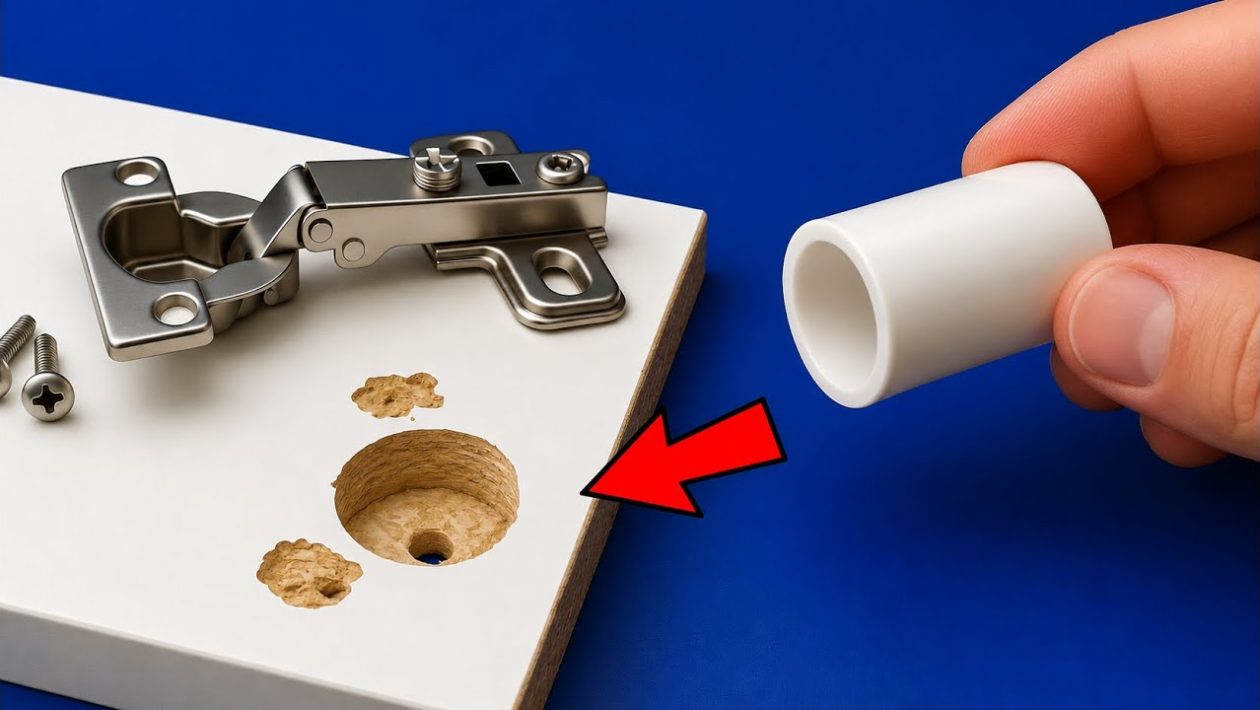
A sagging door or a cabinet hinge that pulls away from the frame is a frustrating household problem. The root cause is almost always the same: stripped screw holes.
When the wood fibers holding the hinge screws tear out, the hardware loses its anchor. Simply tightening the screws won’t work, as there is nothing left for the threads to grab.
Many homeowners try quick fixes like driving in thicker screws or stuffing the hole with plastic wall anchors. These methods usually fail under the constant weight and movement of a heavy door.
The Professional Woodworking Technique
Professional carpenters skip the plastic anchors and quick adhesives. Instead, they use a classic woodworking technique: replacing the damaged area with a solid piece of hardwood.
This method involves drilling out the stripped hole entirely and gluing a hardwood dowel in its place. Once the glue cures, you are left with brand-new, solid wood to hold the hinge screws securely.
It creates a permanent structural repair that matches the original strength of the door frame or cabinet.
Tools and Materials Required
You only need a few basic tools to execute this repair correctly.
- A drill and standard twist drill bits
- Hardwood dowels (typically 1/4-inch or 3/8-inch diameter)
- Quality wood glue
- A flush-cut saw or a sharp chisel
- A screwdriver and masking tape
Step 1: Prep and Drill
Start by removing the hinge from the frame so you have clear access to the damaged holes. Select a drill bit that exactly matches the diameter of your hardwood dowel.
Wrap a piece of masking tape around the drill bit to mark the depth. You want to drill slightly deeper than the length of the hinge screw, but be careful not to drill completely through the door or frame.
Drill straight into the stripped holes to clear out the damaged wood fibers. You will be left with clean, perfectly round holes.
Step 2: Glue and Insert the Dowel
Cut a piece of your dowel slightly longer than the depth of your newly drilled hole. Apply a generous coating of wood glue to the sides of the dowel.
Tap the glued dowel into the hole using a hammer or mallet. It should be a snug fit.
Wipe away any excess glue that squeezes out with a damp cloth. Let the glue dry completely according to the manufacturer’s instructions, which usually takes about 24 hours for a full cure.
Step 3: Trim Flush and Remount
Once the glue is fully cured, the dowel will stick out slightly from the wood surface. Use a flush-cut saw to carefully trim the protruding dowel until it is perfectly level with the surrounding wood.
If you don’t have a flush-cut saw, a sharp wood chisel works just as well. Sand the area lightly to ensure the surface is completely flat so the hinge will sit flush.
Finally, place the hinge back into position. Drill small pilot holes into the center of your new dowels, and drive the original screws firmly into place.
The screws will bite into the fresh, dense hardwood of the dowel, providing an incredibly strong grip that will not pull out again.




