
Sourcing and Prepping Your Lumber
Reclaimed wood offers a weathered character that fresh lumber simply cannot match. Building a garden bench from salvaged timber is an inexpensive way to add functional seating to your backyard.
The secret to a durable bench lies in selecting the right salvaged wood. Look for solid oak, cedar, or old pine boards from architectural salvage yards or discarded shipping pallets.
Inspect every board for structural integrity. Avoid wood with severe rot, termite damage, or extreme warping.
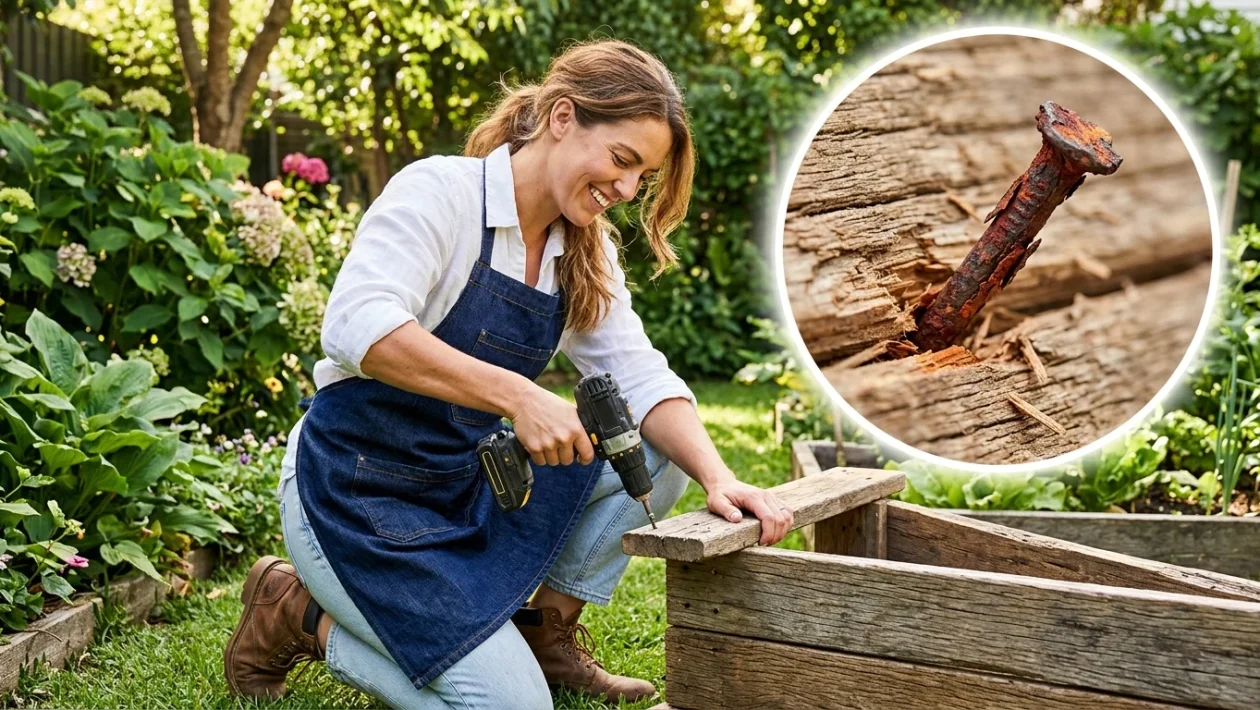
Before making a single cut, pull out all old nails, screws, and staples. A hidden nail will destroy a saw blade in seconds and can cause dangerous kickback.
Give the boards a thorough sanding using 80-grit sandpaper to remove splinters and rough edges. Follow up with 120-grit to smooth the surface while preserving the wood’s rustic patina.
Essential Tools and Hardware
You don’t need a massive, fully equipped workshop to complete this project. A miter saw or a reliable circular saw will handle all the necessary crosscuts.
An impact driver and a power drill are essential for driving screws through dense, aged wood.
Keep a speed square, a tape measure, and heavy-duty exterior wood glue on your workbench. For fasteners, use 2.5-inch exterior-grade decking screws to prevent rust streaks from bleeding into the wood over time.
Cutting the Frame Components
A standard garden bench sits roughly 18 inches off the ground. Cut four sturdy legs from thicker reclaimed stock, such as old 4×4 posts or doubled-up 2x4s glued together.
Next, cut the horizontal support aprons. You will need two long sections for the front and back, and two shorter sections for the sides.
For a typical two-person bench, a total width of 48 to 60 inches provides ample seating space without requiring a middle support leg.
Assembling a Rock-Solid Base
Start by building the two side frames. Attach the short aprons to the legs using wood glue and two decking screws per joint.
Pre-drill all holes before driving the screws. Reclaimed wood is notoriously dry and prone to splitting if you skip this step.
Connect the two side assemblies using the long front and back aprons. Use your speed square at every corner to ensure the frame sits perfectly at 90 degrees.
Test the frame on a flat, level surface. If it wobbles, adjust the joints slightly before the wood glue has a chance to cure.
Installing the Seat Slats
Cut your seat boards to match the total length of the assembled frame. Depending on the width of your reclaimed boards, you will need three to five slats to cover the seating area.
Lay the boards horizontally across the frame, leaving a quarter-inch gap between each slat. This spacing is critical—it allows rainwater to drain easily, preventing standing water and rot.
Secure the boards from the top down directly into the aprons. For a cleaner look, you can use pocket hole screws from underneath the aprons to hide the fasteners entirely.
Weatherproofing for the Outdoors
Even hardy reclaimed timber needs protection from the elements to survive rough weather.
Apply two coats of a high-quality exterior polyurethane or a penetrating timber oil. Clear finishes are highly recommended, as they highlight the natural color variations, knots, and old nail holes that give reclaimed wood its charm.
Allow the bench to cure completely in a dry garage or shed for at least 48 hours before placing it out in the garden.




