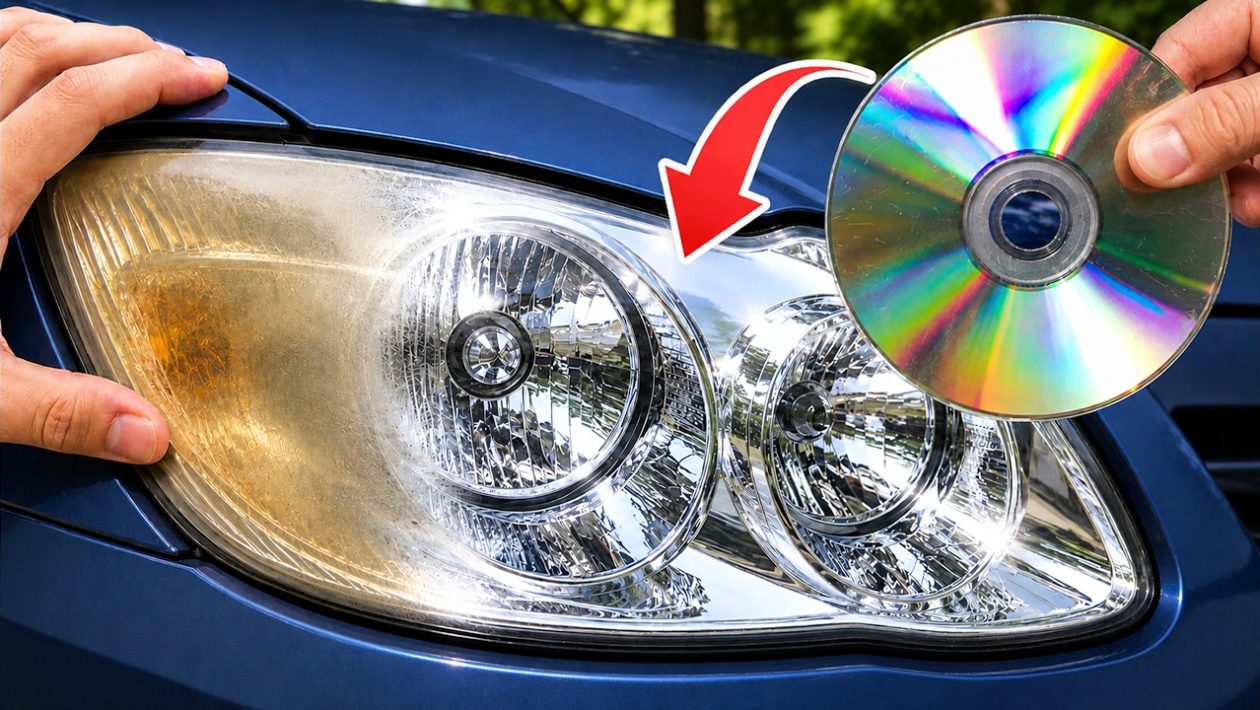
Why Your Headlights Turn Foggy
Modern vehicle headlights are manufactured from polycarbonate plastic. While durable, this material is porous and prone to oxidation when exposed to intense UV rays, road salt, and environmental pollutants.
Over time, the protective factory coating degrades. The plastic turns yellow or develops a cloudy, opaque film that not only ruins your car’s aesthetic but significantly compromises your nighttime visibility.
The CD Hack: Fact vs. Fiction
The internet is flooded with DIY methods to restore headlights, and the suggestion to use the reflective surface of an old compact disc has gained traction. To be clear: simply rubbing a CD against your lens will not fix the issue. The process is actually about using the CD as a specialized tool for the restoration workflow.
The goal is to remove the oxidized layer of plastic through abrasion. When done correctly, this requires a fine-grit sandpaper or an abrasive compound, followed by a polishing agent to restore clarity.
The Correct DIY Restoration Process
If you want to clear your headlights without professional shop fees, you need to follow a systematic approach. The effectiveness of any “hack” depends on your ability to remove the damaged plastic and reseal the surface.
Step 1: Prep and Masking
Clean the area thoroughly with soap and water to remove surface grime. Use high-quality painter’s tape to mask off the paint surrounding the headlight housing. This prevents accidental scratching of your car’s clear coat while you work.
Step 2: The Abrasion Phase
Use a wet-sanding technique. Start with a medium-grit sandpaper (around 800 to 1000 grit) and move to a finer grit (2000 to 3000 grit). Keep the surface lubricated with water throughout the process. You are effectively “sanding away” the yellowed, dead layer of plastic.
Some DIY enthusiasts use an old CD or a rigid plastic disc as a flat backing plate for the sandpaper to ensure even pressure across the lens. This prevents gouging and creates a consistent finish.
Step 3: Polishing for Clarity
Once you have sanded the lens, it will look frosted and opaque. This is normal. Switch to a buffing compound and a clean microfiber cloth or a polishing pad. Work in circular motions until the plastic begins to regain its transparency.
The Critical Final Step: UV Protection
Most DIY headlight restorations fail within a few weeks because people forget the most important part: the sealant. Once the oxidized layer is removed, the bare plastic is vulnerable to the sun.
Without a UV-resistant clear coat or a dedicated sealant, the headlights will turn yellow again faster than before. After polishing, apply a professional-grade headlight sealant or a clear coat spray designed for polycarbonate plastics. This creates a new barrier against the elements.
When to Replace Instead of Restore
While surface-level oxidation can be managed at home, not every headlight can be saved. If the internal housing is cracked, the reflector bowl is scorched, or the moisture has breached the seal causing condensation inside the lens, restoration will not solve the problem.
In those cases, the assembly has reached the end of its functional life. While it is tempting to try every viral trick, recognize when a part requires a full replacement for your safety on the road.