
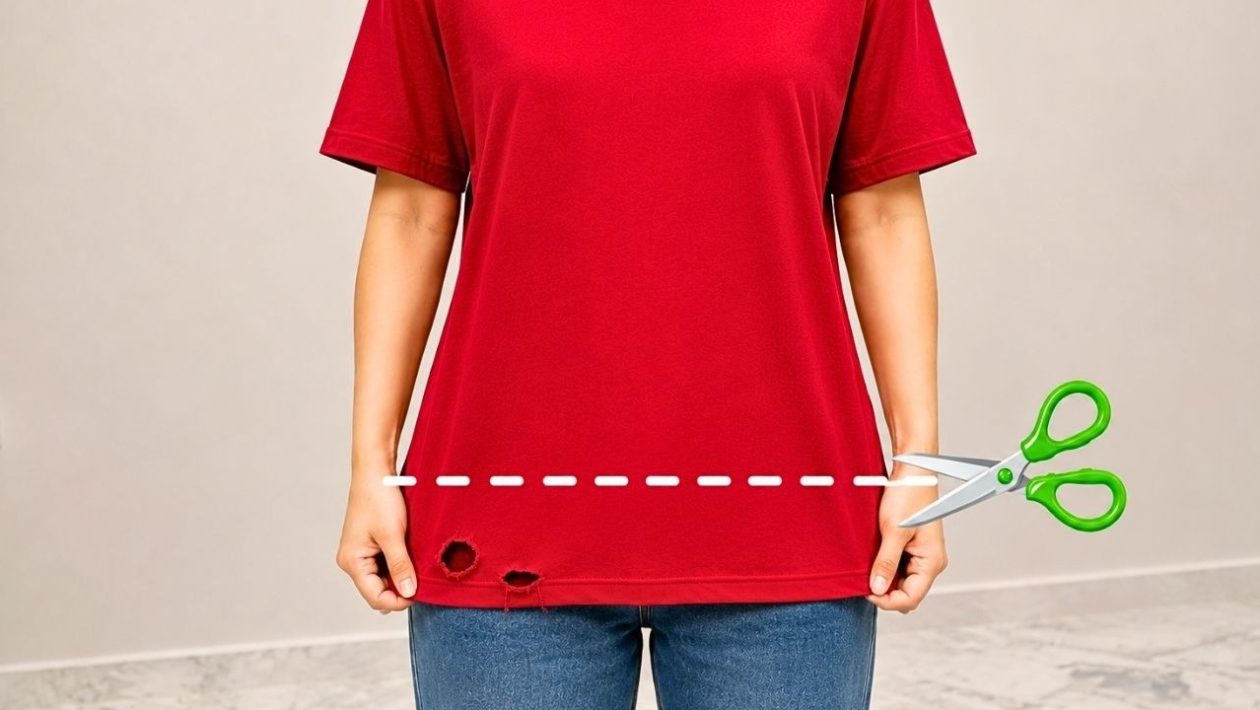
Rescue Your Wardrobe
That oversized, boxy t-shirt sitting at the back of the drawer does not have to stay there. Before you toss it in the donation bin or use it as a cleaning rag, consider altering the fit.
Shortening a shirt transforms its entire look and creates a custom, tailored silhouette. Best of all, you do not need an expensive sewing machine to pull it off.
With just a needle, thread, and a bit of patience, you can raise a hemline or repair frayed edges right at your kitchen table.
Prepping the Fabric
Start by trying the shirt on in front of a mirror. Fold the bottom edge up to your preferred length.
Use tailor’s chalk or a safety pin to mark the new hemline. Take the shirt off and lay it completely flat on a smooth surface.
Measure the distance from the original bottom edge to your new mark. Fold the entire hem inside the shirt by that exact measurement and pin it securely in place.
If you are shortening the shirt by several inches, trim off the excess fabric first. Leave exactly one inch of extra fabric below your mark to fold up for the new hem allowance.
Choosing the Right Tools
T-shirts are made of knit fabrics, which inherently stretch. Standard cotton thread will snap the moment you pull the shirt over your head.
Always use a high-quality polyester thread. Polyester offers just enough give to stretch alongside the knit material.
Thread a sharp hand-sewing needle. If you have a ballpoint needle in your kit, use it. The rounded tip slips cleanly between knit fibers without piercing and breaking them.
The Invisible Hand Stitch
The secret to a professional-looking hand hem is keeping the stitches nearly invisible on the outside. A catch stitch or a simple blind hem stitch works beautifully for knits.
Start by anchoring your thread inside the folded fabric at a side seam to hide the knot. Pick up a microscopic amount of fabric from the main body of the shirt—just one or two threads on the needle.
Next, push the needle through the folded inner edge of the hem. This creates a tiny zigzag pattern hidden inside the shirt.
Keep your stitches relatively loose as you work around the circumference of the shirt. Pulling the thread too tight will cause the hem to pucker, resulting in an obvious, amateurish alteration.
Setting the New Hem
Once you return to your starting point at the side seam, tie off the thread with a secure double knot. Snip the excess thread and turn the shirt right side out.
The final step is critical: press the new hem with a hot iron. The heat flattens the fold and sets the stitches, giving the alteration a crisp, manufactured appearance.
This basic technique saves money and keeps perfectly good clothing out of the landfill. Master it, and you hold the power to customize the length of any knit top in your closet.




