
The Upcycling Potential of Everyday Plastic
Plastic shopping bags are a notorious environmental nuisance. Millions end up in landfills or pollute local ecosystems every year. However, these durable, lightweight materials offer unexpected potential for permanent home decor.
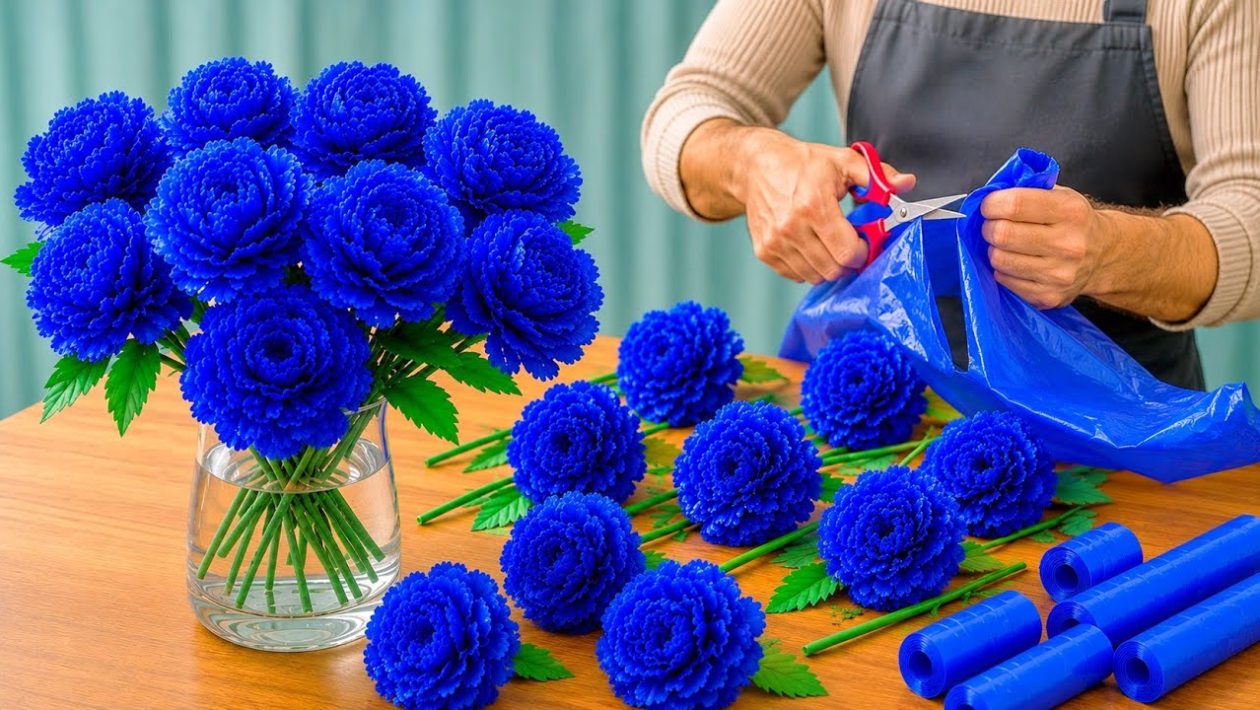
Upcycling transforms single-use plastics into functional art. Blue shopping bags provide a striking, vibrant hue that is perfect for crafting intricate artificial flower bouquets.
This project takes everyday waste and turns it into a permanent floral display. It is an ideal method for creating zero-waste gifts, decorating a room, or managing household plastic accumulation without relying on the recycling bin.
Tools and Materials Required
The barrier to entry for this craft is incredibly low. You likely already have most of the necessary equipment in your home.
You will need a collection of clean blue plastic shopping bags. For the stems and foliage, gather green floral tape, standard floral wire, and either artificial leaves or scraps of green plastic.
The required tools include sharp scissors, a hot glue gun with glue sticks, a ruler, and a marker. You will also need a pair of pliers to cut and shape the floral wire, plus a decorative vase for the final arrangement.
Prepping Your Plastic Canvas
Proper preparation dictates the quality of the final flower. Start by smoothing out the plastic bags on a flat, hard surface.
Cut away the handles and the thick bottom seam of the bag. This leaves you with a large, single sheet of workable blue plastic.
Use your ruler and marker to map out uniform squares on the plastic sheet. Standard three-by-three-inch squares work well for medium-sized blooms, though you can cut larger squares if you want a dramatic, oversized flower.
Cutting and Shaping the Petals
The secret to realistic artificial flowers lies in the petal shaping technique. Take one of your plastic squares and fold it in half, then in half again to form a smaller square.
Fold this smaller square diagonally to create a tight triangle. Use your scissors to cut a curved, semi-circular edge along the wide top of the triangle.
When you unfold the plastic, you will reveal a perfectly symmetrical, multi-petaled layer. Repeat this process until you have dozens of these flat petal layers ready for assembly.
Assembling the Blooms
Constructing the flower requires a sturdy, flexible base. Use your pliers to cut the floral wire to your preferred stem length.
Bend the very top of the wire into a small, tight loop. This loop acts as an anchor so your plastic petals do not slide right off the top of the stem.
Poke the bottom end of the wire through the exact center of your first plastic petal layer. Slide the plastic all the way up the wire until it hits the top loop.
Apply a small dab of hot glue to secure the plastic to the wire loop. Pinch the plastic upward and tightly around the loop to form the closed inner bud of the flower.
Building Volume and Adding Foliage
Slide a second petal layer up the wire. Apply a ring of hot glue to the base of the first bud, press the new layer into it, and pinch gently so the petals flare outward.
Continue threading and gluing additional petal layers. Stagger the layers slightly as you attach them so the petals overlap naturally, giving the bloom realistic depth and volume.
Once the flower head is complete, secure the underside with a final dab of hot glue. Begin wrapping the green floral tape tightly around the wire base, starting directly beneath the plastic bloom.
Work your way down the stem, stretching the tape slightly to activate its adhesive. As you move down the wire, tuck the stems of your artificial leaves into the tape to integrate them seamlessly.
Arranging the Final Bouquet
A single stem looks delicate, but assembling a dozen creates a bold visual impact. Repeat the entire process until you have enough flowers to fill your decorative vase.
Bend the wire stems slightly at different angles. This gives the bouquet a natural, organic drape rather than looking stiff and manufactured.
Place the arrangement in your vase. These upcycled flowers require no maintenance, will never wilt, and successfully repurpose materials that would otherwise sit in a landfill for centuries.




