
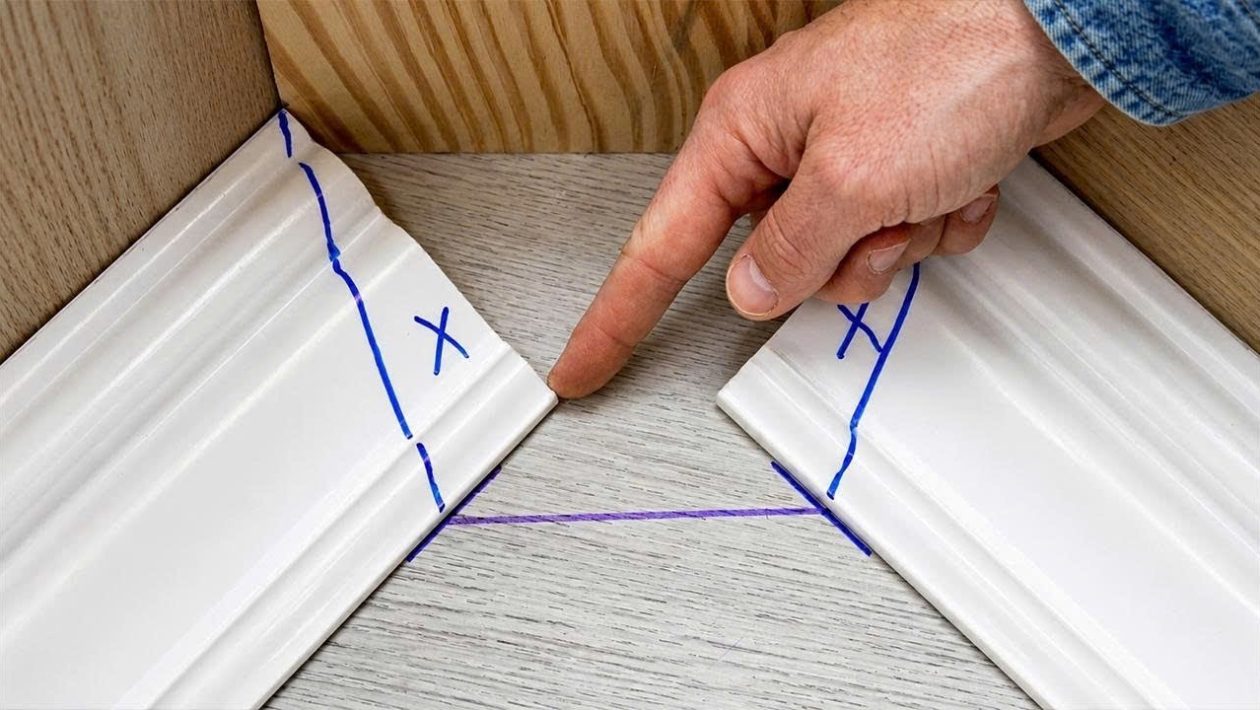
Most trim corner problems stem from a single flawed assumption: that walls are perfectly straight and corners are exactly 90 degrees. The reality of residential construction is that drywall mud, framing shifts, and settling create uneven surfaces everywhere.
Even seasoned woodworkers often struggle with trim pieces that refuse to align cleanly. The solution lies in practical carpentry knowledge developed over decades of hands-on work.
Small layout adjustments, hidden measuring methods, and smart cutting principles can completely change the way your trim fits together. Here are five essential techniques to achieve flawless corners.
1. Cope Your Inside Corners Instead of Mitering
Never cut two 45-degree angles for an inside corner. Drywall mud naturally builds up in room corners, which pushes mitered cuts apart and creates a noticeable, ugly gap.
The traditional fix is coping the joint. Cut your first piece of trim completely square and push it tight against the wall, flush into the corner.
Cut the second piece at a 45-degree inside angle to expose the wood’s profile. Then, use a coping saw to back-cut along that exact profile line, removing the meat of the wood while leaving the thin front edge intact. This allows the second piece to overlap the first, creating a seamless joint that handles wall movement without separating.
2. Back-Bevel Outside Miter Cuts
Outside corners are notoriously difficult because metal or plastic corner bead always makes the wall angle slightly greater than 90 degrees. If you cut two exact 45-degree angles, the outer tip of the joint will gap open while the back touches.
The standard trick is back-beveling. Set your miter saw to 46 or 46.5 degrees instead of 45.
This slight overcut removes extra material from the back of the trim. When you push the two pieces together, the front face of the joint meets perfectly tight, swallowing the unevenness of the drywall corner behind it.
3. Ditch the Tape Measure for Intersections
A tape measure naturally flexes and bends when wrapping around outside corners. This introduces tiny mathematical errors that will ruin a tight fit.
Instead of measuring, use the “mark in place” method. Install your first piece of trim so it extends slightly past the outside corner.
Take your intersecting piece of trim and hold it firmly against the adjoining wall. Use a sharp utility knife or a fine pencil to mark exactly where the back of the second piece crosses the first. This guarantees a custom physical fit tailored to that specific corner, entirely eliminating the math.
4. Pre-Assemble Corners with CA Glue
Nailing outside corners directly to the wall one piece at a time is a recipe for disaster. The force of the nail gun often causes the pieces to slip, misaligning your perfectly cut joint.
Professional carpenters pre-assemble their outside corners off the wall. Apply standard wood glue to the center of the joint, and place a few drops of cyanoacrylate (CA) super glue near the edges, paired with an accelerator spray.
Press the pieces together on a flat surface for a few seconds until the CA glue instantly grabs. Drive a couple of 23-gauge pin nails through the corner for structural security, then attach the perfect, rigid assembly to the wall as one single unit.
5. Use Target Blocks to Find True Angles
When dealing with a corner that is severely out of square, guessing the angle on your miter saw wastes expensive trim material. You need a physical reference.
Cut two short scrap pieces of your trim at standard 45-degree angles. Hold them tightly together against the difficult corner to observe where the gap forms.
If the gap is open at the front edge, adjust your saw angle slightly higher. If it is open at the back against the wall, adjust lower. Test cut your scrap pieces until they lock together perfectly, then use that exact saw setting to cut your final, full-length trim pieces.




