
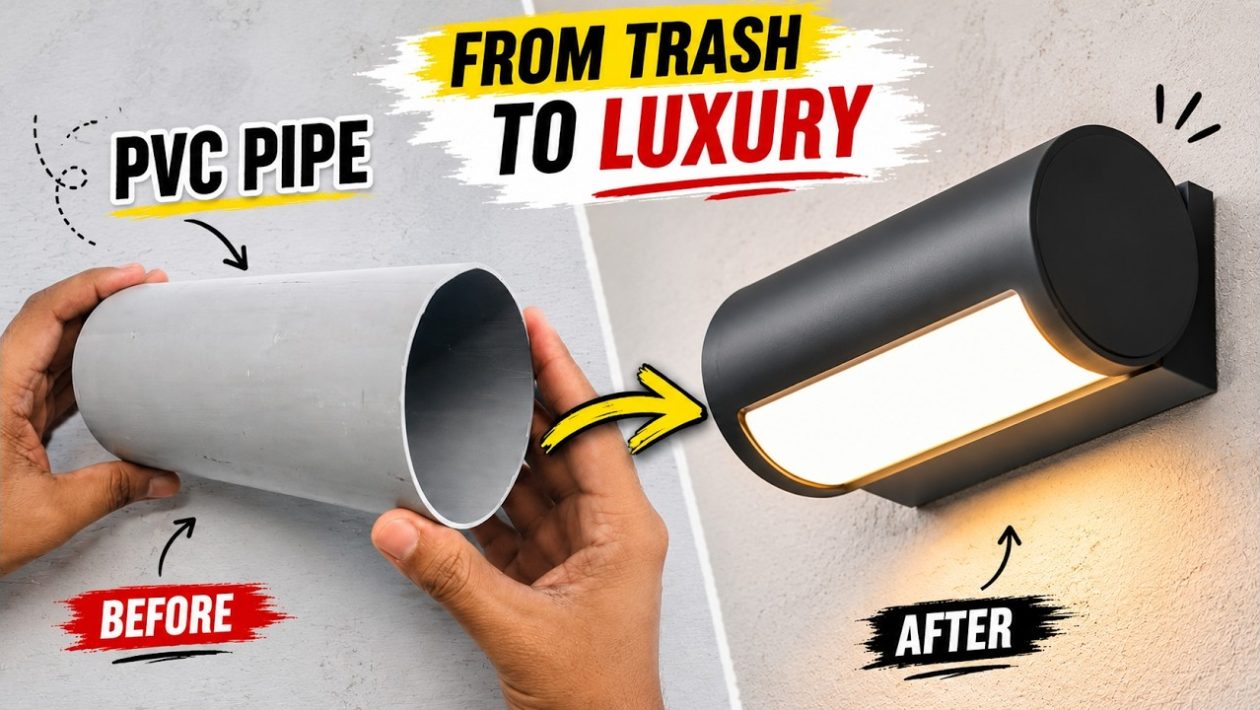
Upcycling Hardware into Home Decor
Standard plumbing materials can easily pass for high-end lighting fixtures with a few structural modifications. A basic 4-inch PVC pipe provides the perfect rigid housing for a minimalist wall lamp.
Building your own lighting setup eliminates retail markups and gives you total control over the final aesthetic. The process relies on straightforward cutting, painting, and basic low-voltage wiring.
Required Materials and Tools
Before cutting into the plastic, gather the necessary electrical and structural components. You can source all of these items from a local hardware store or online electronics supplier.
- 4-inch diameter PVC pipe: Acts as the main body of the lamp.
- Black spray paint: Provides a modern, matte or glossy finish.
- LED strip and adaptor: The primary light source and its required power supply.
- LED heat sink: An aluminum channel to dissipate heat and prolong the life of the LEDs.
- Acrylic sheet: Works as a diffuser to soften the harsh glare of the raw LED diodes.
- Adhesive and basic hand tools: PVC glue or strong epoxy, plus a saw for cutting the pipe.
Prepping and Painting the PVC
Determine the desired length for your wall lamp. Mark a straight line around the circumference of the 4-inch PVC pipe and cut it using a hacksaw or PVC cutter.
Once cut, the plastic edges will be rough and covered in burrs. Sand the cut edges completely smooth to ensure the acrylic diffuser will sit flush later on.
Wipe the pipe down with a degreaser to remove any manufacturing oils or PVC dust. Apply two to three light coats of black spray paint, allowing it to dry fully between passes to prevent drips.
Installing the Lighting Hardware
LED strips generate warmth, which can degrade the adhesive backing and the diodes over time. Measure and cut the LED heat sink to fit inside the painted PVC housing.
Mount the heat sink securely to the inner wall of the pipe. Peel the backing off your LED strip and press it firmly into the heat sink channel.
Route the wiring out of the back of the PVC pipe to connect with your strip LED adaptor. Use heat shrink tubing over any exposed wire splices to ensure a safe, insulated connection.
Diffusing the Light
Exposed LED strips create harsh, pinpoint reflections. To achieve a soft, ambient glow, you need to cap the ends of the pipe with a diffuser.
Trace the diameter of the PVC pipe onto your acrylic sheet. Carefully cut out the circular lenses using a fine-toothed saw or a rotary tool.
Apply a thin bead of adhesive around the inner lip of the PVC pipe. Press the cut acrylic sheets into place and let the glue cure completely.
Final Mounting
Position the finished lamp on your wall, marking where the power cord will run. Depending on your home’s setup, you can hardwire the adaptor directly into an existing wall box or run a low-profile cord down to a standard outlet.
Use standard wall anchors and screws to mount the PVC fixture securely. Plug in the adaptor to test the connections and verify the light output.




