
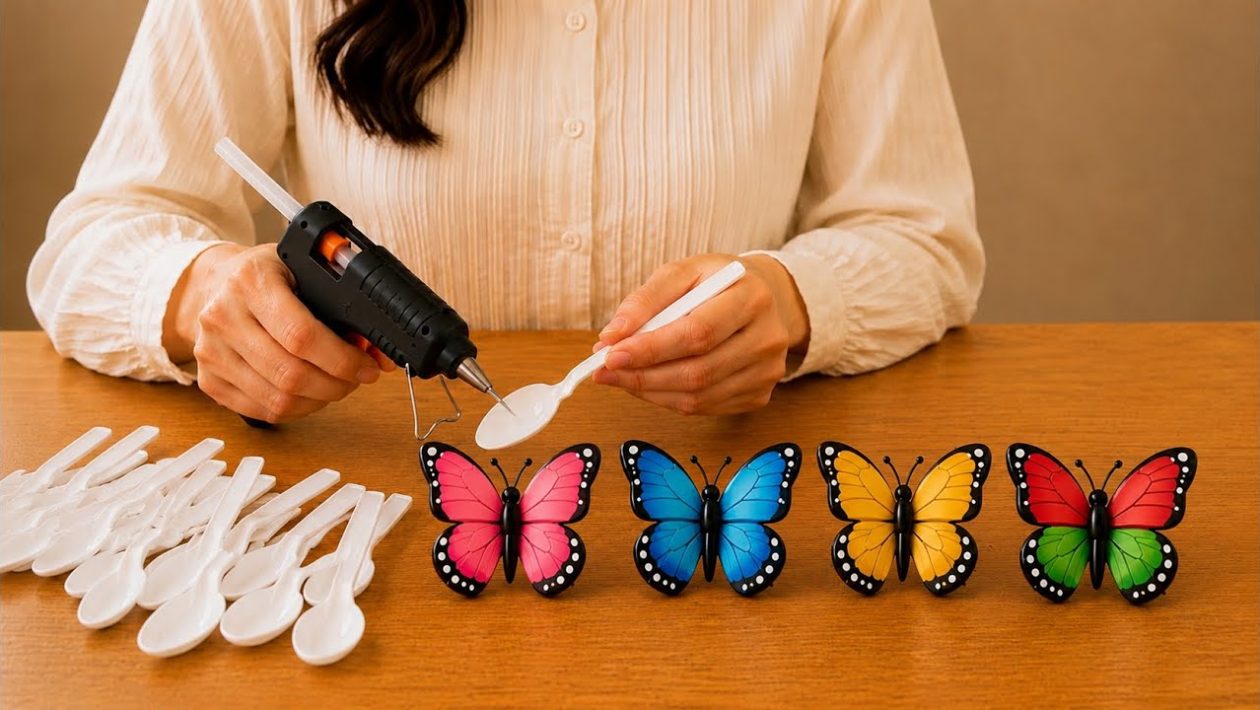
The Hidden Potential of Disposable Plastics
Single-use plastics often end up in landfills immediately after a picnic or takeout meal. However, disposable utensils hold surprising potential for DIY home crafting.
Upcycling standard plastic spoons into vibrant butterfly decorations is a practical way to reduce household waste. This simple project transforms ordinary white plastic into eye-catching 3D wall art.
Creating a plastic spoon butterfly requires minimal time and yields highly customizable results. It proves that high-end-looking room accents do not require expensive materials.
Materials Required for the Project
Before starting, gather basic supplies from around the house or a local craft store. You will need standard plastic spoons, a high-temperature hot glue gun, extra glue sticks, and heavy-duty scissors.
To bring the butterflies to life, keep acrylic paints, permanent markers, or nail polish on hand. Small craft beads, thin wire, and pipe cleaners work perfectly for constructing the insect’s body and antennae.
Step 1: Prepare the Spoons
A single butterfly requires four plastic spoons to form the wings. Begin by carefully cutting the handles off the spoons using heavy-duty shears.
Leave a tiny half-inch stub of the handle attached to the bowl of each spoon. This extra plastic provides the necessary surface area for the hot glue to grip during assembly.
Always cut away from your body to prevent injury. Hard plastic can occasionally snap or fly unpredictably when cut.
Step 2: Assemble the Wings
Heat up the glue gun and prepare a flat, heat-safe surface. Arrange the four spoon bowls to mimic the shape of butterfly wings.
Position the top two spoons so they angle slightly upward, while the bottom two point downward. Apply a generous drop of hot glue to the center where the four handle stubs meet.
Press the stubs together tightly. Hold them firmly in place until the glue cools and hardens completely.
Step 3: Add Vibrant Colors
Once the glue sets, the blank canvas is ready for color. Acrylic paint offers the most opaque, vibrant finish for smooth plastic surfaces.
Apply a base coat of your chosen color and let it dry. Use fine-tipped brushes or permanent markers to add intricate details like wing veins, polka dots, and contrasting borders.
For a glossy, durable finish, brush on a layer of clear craft sealer. Clear nail polish also works exceptionally well for sealing small plastic crafts.
Step 4: Create the Body and Antennae
The center glue joint will look messy, but this is exactly where the butterfly’s body goes. Cut a short piece of a pipe cleaner or string together a tight line of small craft beads.
Run a line of hot glue straight down the middle of the wings to attach the body, covering the messy joint. To create antennae, bend a small piece of thin craft wire into a “V” shape.
Curl the ends of the wire outward. Glue the base of the wire just behind the top of the newly attached body.
Troubleshooting Common Crafting Issues
Plastic is notoriously slick, which can sometimes cause paint to peel or bead up. Lightly sanding the surface of the spoon bowls with fine-grit sandpaper gives the paint a textured surface to grip.
If the hot glue fails to hold the spoons together, you may be using a low-temp glue gun. High-temp glue bonds much more securely with rigid polystyrene plastics.
Creative Ways to Display Your Decor
These lightweight butterflies adapt easily to various decorating needs around the house.
- Wall Decor: Attach a small strip of double-sided mounting tape to the back to create instant 3D art for a bedroom or nursery.
- Plant Accents: Glue the butterflies to the ends of wooden skewers and stick them into the soil of indoor potted plants.
- Gift Wrapping: Use them as reusable, custom toppers for wrapped presents in place of traditional disposable bows.
Experiment with different spoon sizes, from tiny tasting spoons to large soup spoons, to create a diverse display.




