
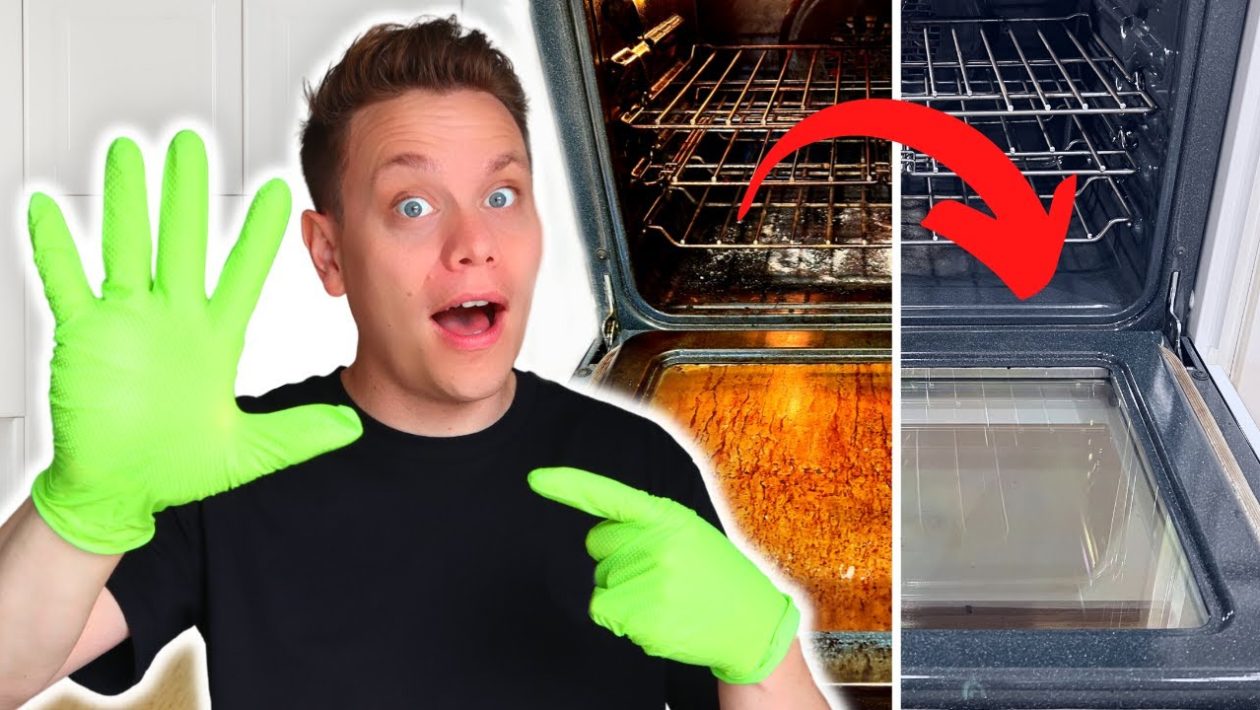
Baked-on grease and charred food spills can turn a kitchen oven into a daunting chore. Most homeowners rely on the self-cleaning cycle, which can sometimes damage internal components or produce noxious fumes.
Professional cleaners approach the job differently. Relying on decades of field experience, experts use a specific system of tools and timing to melt away grime with minimal elbow grease. Here are five proven tips to clean your oven like a professional.
1. Prepare the Area First
Diving straight in with a chemical spray usually creates a bigger mess. Proper preparation dictates how smoothly the rest of the job will go.
Start by removing all oven racks and setting them aside. Next, use a vacuum with a hose attachment to suck up any loose crumbs, ash, and charred debris from the bottom of the oven. Clearing the loose dirt prevents you from just pushing muddy ash around once you introduce liquids.
Finally, equip yourself properly. A sturdy pair of cleaning gloves is essential to protect your skin from aggressive degreasers.
2. Choose the Right Cleaner
The severity of your oven’s condition dictates your chemical approach. You do not always need the harshest chemical on the shelf.
For routine maintenance or lighter messes, a homemade paste of baking soda, dish soap, and a splash of cleaning vinegar is highly effective. The alkaline nature of baking soda breaks down acidic grease naturally.
If the oven has months of neglected, heavy carbon buildup, a commercial heavy-duty oven and grill cleaner is often necessary. Products designed specifically for ovens penetrate thick, hardened grease faster than household alternatives.
3. Respect the Dwell Time
Failing to let the product sit is the most common mistake amateurs make. Spraying a cleaner and immediately wiping it away wastes the product and forces you to scrub aggressively.
This waiting period is known as dwell time. Once you apply your cleaner of choice, step away and let it work for the time recommended on the label.
During this period, the chemicals break the molecular bonds of the baked-on food. What starts as a rock-hard carbon stain softens into a sludge that requires very little mechanical force to remove.
4. Use the Right Scrubbing Tools
Once the dwell time is up, you need abrasive power that will not scratch the enamel interior or the glass door.
A heavy-duty sponge is an excellent tool for lifting the emulsified grease. For the truly stubborn, flat carbon spots—especially on the oven’s glass window—a flat razor blade scraper is the ultimate professional tool. When held at a shallow angle, the razor glides under the burnt debris without scratching the glass.
Pro Tip: Reaching the very back of the oven cavity is notoriously difficult. Taking a minute to detach and remove the oven door entirely gives you unobstructed access to the interior, saving your back in the process.
5. Rinse and Wipe Down Thoroughly
Leaving chemical residue inside the oven is a major hazard. The next time you turn the appliance on, any leftover cleaner will burn off, filling your kitchen with foul smoke.
Use clean, damp microfiber towels to collect the loosened grease and cleaner. Microfiber grabs and traps dirt rather than just smearing it across the surface.
Keep a bucket of clean water nearby or work close to a sink. Rinse your towels frequently, wiping down the interior walls, ceiling, and glass until every surface feels entirely bare and squeaky clean.
Finish the Oven Racks
The oven interior may be spotless, but sliding dirty racks back inside ruins the effort. Oven racks are notoriously difficult to scrub due to their grid shape.
The easiest method is to soak them in a bathtub or a large sink. Dropping a heavy-duty dishwasher pod into the hot water helps dissolve the baked-on grease, allowing you to wipe the racks clean with a standard sponge before returning them to the oven.




