
Many home gardeners stick to tomatoes and peppers, completely overlooking one of the most rewarding crops you can grow: peanuts. While they are a staple of commercial Southern agriculture, peanuts can thrive in backyard gardens across much of the United States.
Growing them is surprisingly straightforward. However, the key to a massive harvest lies entirely in how you prepare the bed and feed the crop.
The Secret is in the Soil
Peanuts have a unique growth cycle that demands specific soil conditions. Unlike most vegetables, the edible part of the peanut plant develops completely underground.
If your soil is heavy clay or heavily compacted, the plant cannot push its stems into the earth. You will end up with lush green leaves above ground and absolutely zero nuts below it.
Success starts with loose, sandy loam. You need to till the soil deeply, working in organic matter to ensure excellent drainage and a soft texture.
Planting Your Seeds
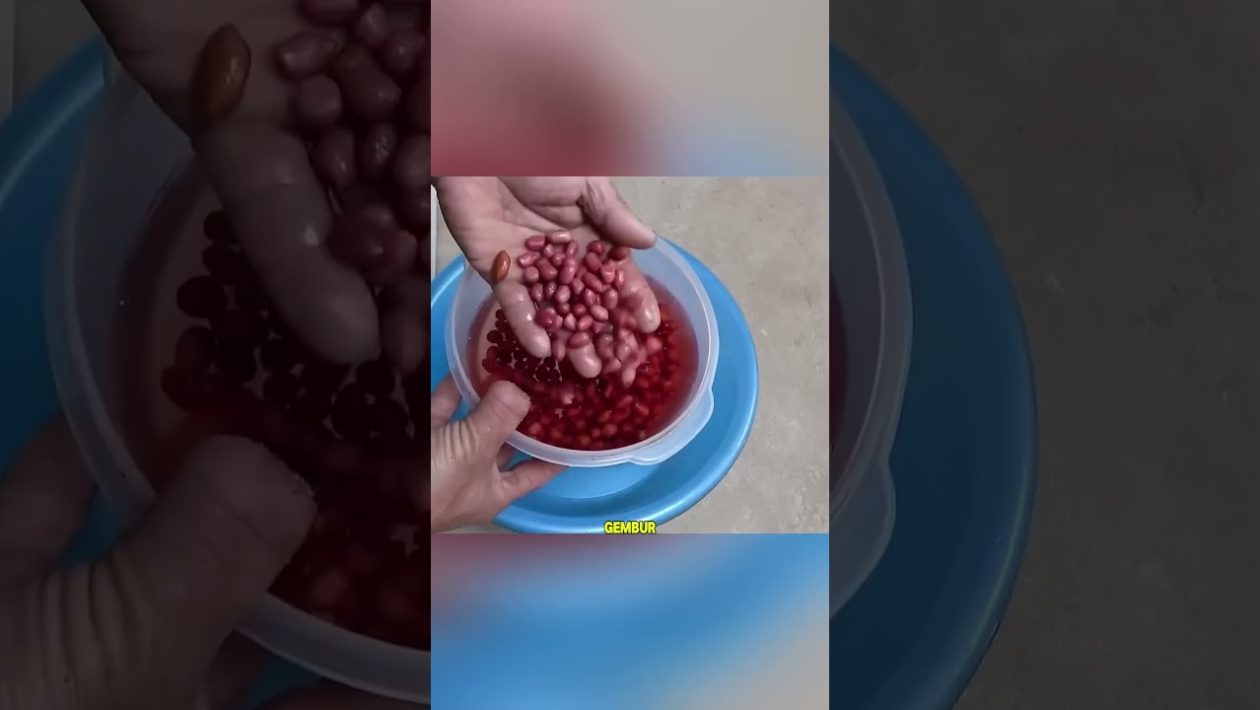
Do not buy roasted peanuts from the grocery store for planting. You need raw, uncooked peanuts still in their shells, or pre-shelled seeds specifically sold for gardening.
Wait until the danger of frost has completely passed and the soil has warmed to at least 65 degrees Fahrenheit. Peanuts love heat and require a long, warm growing season.
Plant the seeds about two inches deep and space them six to eight inches apart. Give the rows plenty of room, keeping them at least two feet apart to allow for lateral growth.
Feeding for Maximum Yield
Skipping fertilizer entirely is a common mistake that leads to disappointing, low-yield harvests. However, throwing a standard nitrogen-heavy fertilizer at your peanuts will ruin the crop.
Peanuts are legumes. They pull their own nitrogen from the air and fix it into the soil. Adding more nitrogen only forces the plant to grow massive foliage at the expense of the actual nuts.
Instead, focus heavily on calcium and phosphorus. A heavy dusting of agricultural gypsum or bone meal provides the calcium peanuts need to form strong, full shells. Without adequate calcium, you will harvest empty, hollow pods.
The Crucial “Pegging” Stage
About a month after planting, small yellow flowers will appear on the lower stems of the plant. Once these flowers are pollinated, the real magic happens.
The flower falls off, and a specialized stem called a “peg” shoots downward. This peg literally buries itself into the loose soil you prepared earlier.
Once buried, the tip of the peg swells and develops into the peanut pod. To help this process, you should “hill” the soil around the base of the plants, much like you would with potatoes. This gives the pegs a softer, closer target to penetrate.
Managing Water Requirements
Peanuts need consistent moisture during their early growth and especially during the pegging stage. Aim for about one inch of water per week.
However, overwatering is just as dangerous as drought. Soggy soil promotes fungal diseases and can cause the underground pods to rot before they mature.
Once the plants are fully established, they are surprisingly drought-tolerant. Taper off your watering completely about two weeks before your planned harvest date to help the drying process begin while they are still in the ground.
Harvesting and Curing
Patience is mandatory at the end of the season. Peanuts typically need 120 to 150 frost-free days to reach full maturity.
You will know it is time to harvest when the foliage begins to turn yellow and wilt. Dig carefully around the perimeter of the plant with a pitchfork, lifting the entire root system out of the ground at once.
The harvest process does not end in the dirt. Freshly dug peanuts hold too much moisture and will rot quickly if they are stored immediately.
Hang the entire pulled plants in a warm, dry, well-ventilated area for two to three weeks. Once the shells are entirely dry and the nuts rattle slightly inside when shaken, they are ready to be stripped from the stems and roasted.




