The Problem with Modern Headlights
Modern vehicles use polycarbonate plastic for their headlight lenses. Manufacturers prefer it over glass because it is exceptionally resistant to rock chips and impacts.
However, polycarbonate has a major weakness. Prolonged exposure to ultraviolet rays breaks down the factory protective coating.
Once that coating fails, the plastic oxidizes rapidly. The lenses turn yellow, hazy, and frosted, drastically reducing the light output of your bulbs and creating a serious nighttime driving hazard.
Why the Foam Method Works
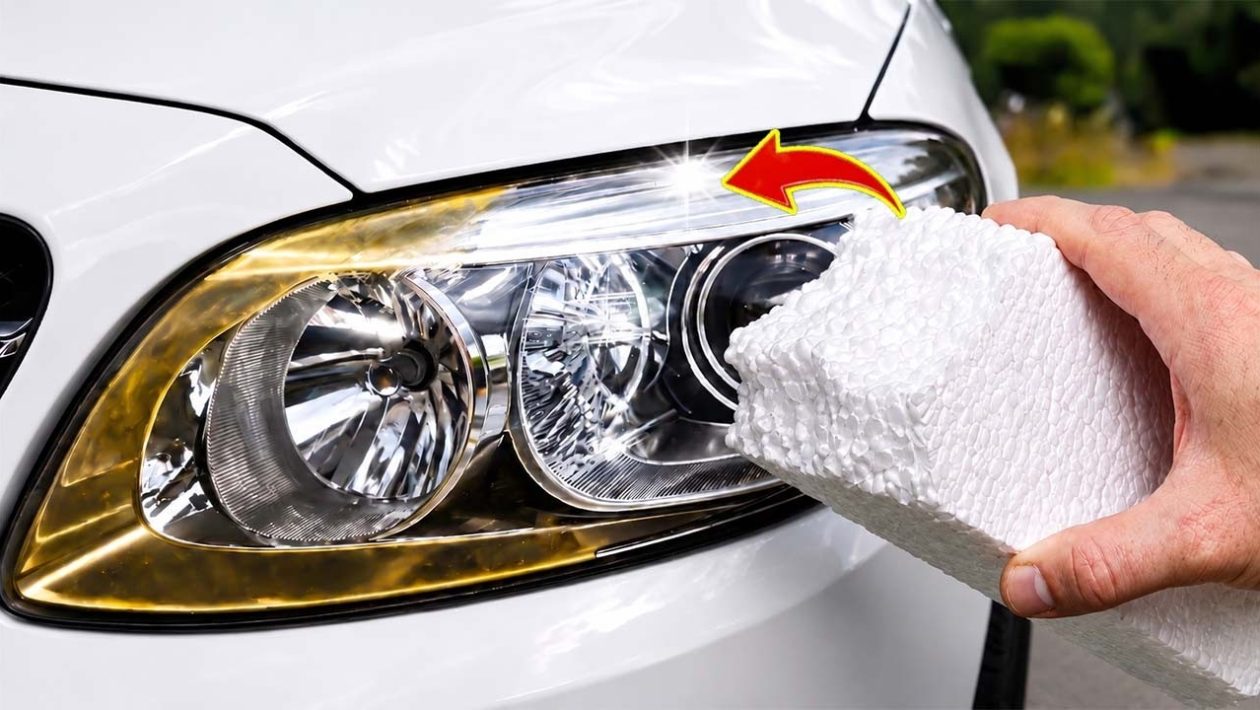
Professional detailers typically use expensive rotary buffers and specialized wool pads to correct oxidized headlights. But you can achieve identical results at home using a dense piece of ordinary workshop foam.
Foam works exceptionally well as a manual buffing pad. Its cellular structure holds polishing compound perfectly against the surface of the lens.
When you apply pressure, the foam generates just enough friction to cut through the micro-scratches left by sandpaper. Unlike power tools, polishing by hand with foam ensures you won’t accidentally burn or melt the plastic through excess heat.
Materials Required for the Job
You can find everything needed for this restoration at any local auto parts or hardware store. Gathering the right materials before you start is crucial.
- Automotive masking tape
- Wet/dry sandpaper in multiple grits (800, 1000, 2000, and 3000)
- A spray bottle filled with water and a few drops of dish soap
- Automotive polishing compound
- A block of dense foam (upholstery or heavy packing foam works best)
- Microfiber towels
- Automotive clear coat or a dedicated ceramic UV sealant
Step-by-Step Restoration Process
Step 1: Prep and Tape
Begin by thoroughly washing the headlights to remove any surface dirt and road grime. Dry the area completely.
Apply two layers of automotive masking tape around the perimeter of the headlight housing. This protects the surrounding paint from accidental sandpaper scratches.
Never skip the taping process. A single slip with heavy-grit sandpaper can permanently damage a vehicle’s clear coat.
Step 2: The Wet Sanding Phase
Sanding is the most important part of headlight restoration. This step physically removes the dead, oxidized layer of plastic.
Spray the headlight and a sheet of 800-grit sandpaper generously with your soapy water mixture. Sand the lens using horizontal strokes, applying medium pressure.
You will see a yellow, milky slurry running off the plastic. This is the oxidized layer being stripped away. Continue sanding until the slurry turns completely white.
Step 3: Refining the Scratches
Once the yellow oxidation is gone, wipe the lens clean. It will look uniformly frosted.
Move up to the 1000-grit sandpaper. This time, sand in vertical strokes. By crossing the sanding direction, you can easily see when the horizontal scratches from the 800-grit paper are completely erased.
Repeat this cross-hatching process with the 2000-grit paper (horizontal strokes), and finally the 3000-grit paper (vertical strokes). Always keep the surface thoroughly lubricated with soapy water.
Step 4: Polishing with Foam
By the end of the 3000-grit phase, the lens should have a very fine, smooth haze. This is where the foam block comes into play.
Apply a dime-sized drop of automotive polishing compound directly to the dense foam. Press the foam firmly against the lens and work the polish into the plastic using tight, circular motions.
The abrasive particles in the polish, combined with the friction of the foam, will rapidly smooth out the microscopic 3000-grit scratches. Within minutes, the frosted haze will vanish, leaving the polycarbonate crystal clear.
Wipe off the residual polishing compound with a clean microfiber towel to inspect your work.
The Final and Most Crucial Step: UV Protection
Many people stop once the headlights look clear, which is a massive mistake. Polished bare polycarbonate has zero natural defense against the sun.
If you leave the plastic unprotected, the headlights will turn yellow and cloudy again within three to four months.
To lock in your hard work, wipe the lens down with isopropyl alcohol to remove any leftover polishing oils. Then, apply a high-quality ceramic headlight sealant or an automotive-grade clear coat specifically designed for plastics.
Common Mistakes to Avoid
Rushing the initial sanding phase guarantees poor results. If you do not completely remove the yellow oxidation with the 800-grit paper, no amount of polishing will make the lens transparent.
Another frequent error is using a foam block that is too soft or porous. Cheap, crumbly sponge materials will tear apart under pressure and absorb all the polish. Always opt for a dense, firm piece of polyurethane foam to ensure the abrasive compound stays on the surface where it belongs.