The Hidden Cause of Unresponsive Remote Buttons
You press the power button, but nothing happens. You press it harder, mashing it into the plastic casing, and the television finally turns on. This is a familiar frustration in almost every living room.
TV remotes do not usually fail because of broken electronics. They fail due to simple mechanical wear and tear. Beneath every rubber button on your remote control is a tiny pad coated with a conductive carbon mixture.
When you press a button, this conductive pad touches the printed circuit board (PCB) below, completing an electrical circuit. Over thousands of presses, the carbon coating rubs off. Once that conductive layer is gone, the circuit can no longer close, leaving the button completely dead.
The Medicine Cabinet Solution
Buying a replacement remote is always an option, but repairing your current one takes less than 15 minutes. The secret lies in finding a new, highly conductive material to replace the worn-out carbon.
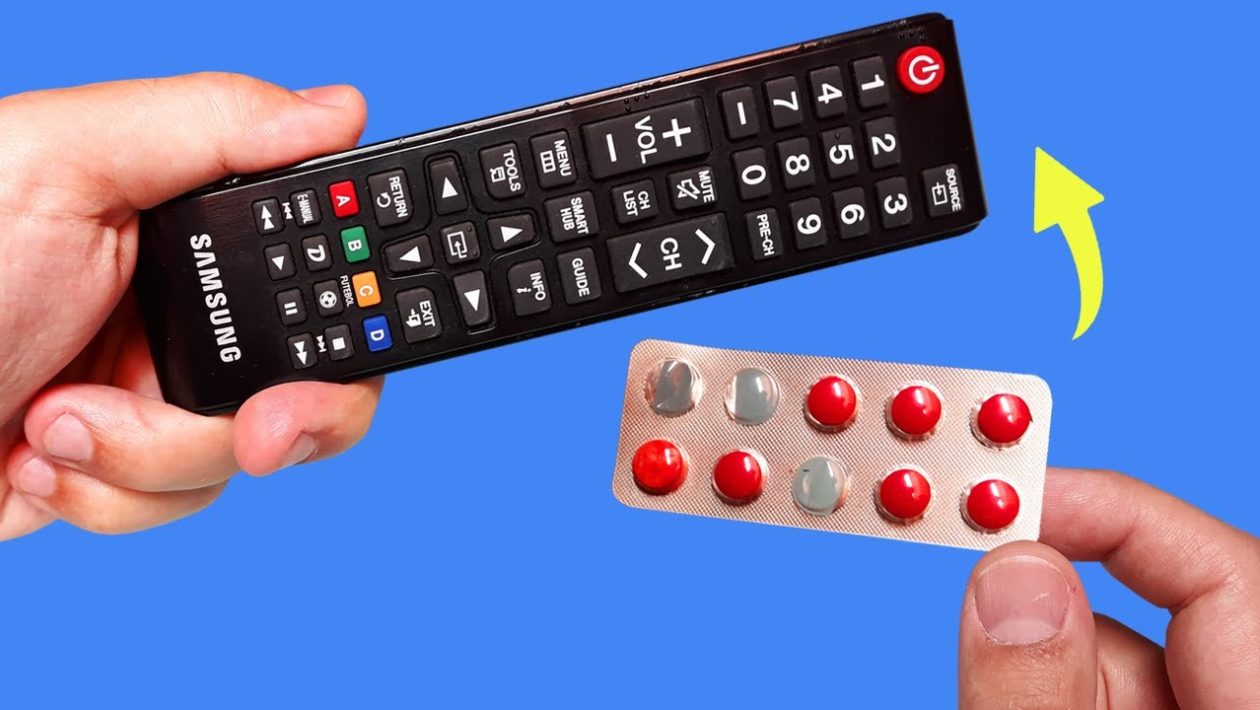
You already have the perfect replacement material in your medicine cabinet: an empty pill blister pack. The backing of these standard pill packs is made of thin, durable aluminum foil.
Aluminum is an excellent conductor of electricity. By harvesting this foil and attaching it to the bottom of the worn-out rubber buttons, you can restore the remote to factory-level responsiveness.
Tools Required for the Repair
Before taking your remote apart, gather a few basic household supplies. You will need a clean workspace with good lighting.
- An empty pill blister pack: Ensure the foil is mostly intact and clean.
- Rubbing alcohol (isopropyl alcohol): Used for cleaning the internal electronics.
- Cotton swabs (Q-tips): For applying the alcohol.
- Super glue: A standard cyanoacrylate adhesive works best.
- A precision cutting tool: Small scissors or a craft knife.
- A prying tool: A flathead screwdriver, guitar pick, or butter knife to open the remote casing.
Step 1: Disassembling the Remote Control
Start by removing the batteries from the back of the remote. Look closely inside the battery compartment for any hidden screws and remove them.
Most modern remotes are held together by plastic snap-clips along the outer seam. Insert your prying tool into the seam and gently twist. Work your way around the edges until the two halves of the plastic shell pop apart.
Take your time with this step. Forcing the plastic too aggressively can snap the internal clips, making the remote difficult to close later.
Step 2: Cleaning the Internal Components
Once open, carefully lift the rubber keypad and the circuit board out of the plastic casing. You will likely notice a greasy residue on both the board and the rubber pads. This buildup happens naturally over time as oils from the silicone rubber break down.
Dip a cotton swab in rubbing alcohol and gently wipe down the copper contacts on the green circuit board. Do not scrub hard; just lift the grime away.
Use a fresh cotton swab with alcohol to clean the bottom of the rubber keypad, specifically targeting the black pads that correspond to the broken buttons. Let all parts dry completely. Alcohol evaporates in seconds.
Step 3: Preparing the Pill Pack Foil
Take your empty pill pack and peel away a section of the flat aluminum foil backing. You want the foil to be as smooth and unwrinkled as possible.
Using your scissors or craft knife, cut the foil into tiny squares or circles. These foil pieces must be roughly the same size as the small, round contact pads on the bottom of the rubber keypad.
Do not cut them too large. If the foil overlaps and touches other areas of the circuit board when reassembled, it could cause the remote to register incorrect button presses.
Step 4: Applying the Foil Contacts
Apply a microscopic drop of super glue to the worn-out black pad on the bottom of the rubber keypad. A toothpick is an excellent tool for dabbing exactly the right amount of glue without making a mess.
Using tweezers or your fingers, place a precut piece of pill pack foil directly onto the glue. The shiny side of the foil should face outward, as this is the side that will strike the circuit board.
Press the foil down gently so it sits perfectly flat. Repeat this process for the power button, the volume controls, and any other keys that have been giving you trouble. Allow the super glue to cure completely for about ten minutes.
Step 5: Reassembly and Testing
Once the glue has hardened and the new foil contacts are securely in place, lay the rubber keypad back into the front half of the plastic shell. Place the clean circuit board directly on top of it.
Snap the back half of the remote control into place. Squeeze the edges firmly until you hear the plastic clips lock together all the way around the device.
Reinsert the batteries and point the remote at your television. The buttons that previously required excessive force will now trigger the TV with the lightest touch, exactly as they did the day you bought it.