From Currency to Curio
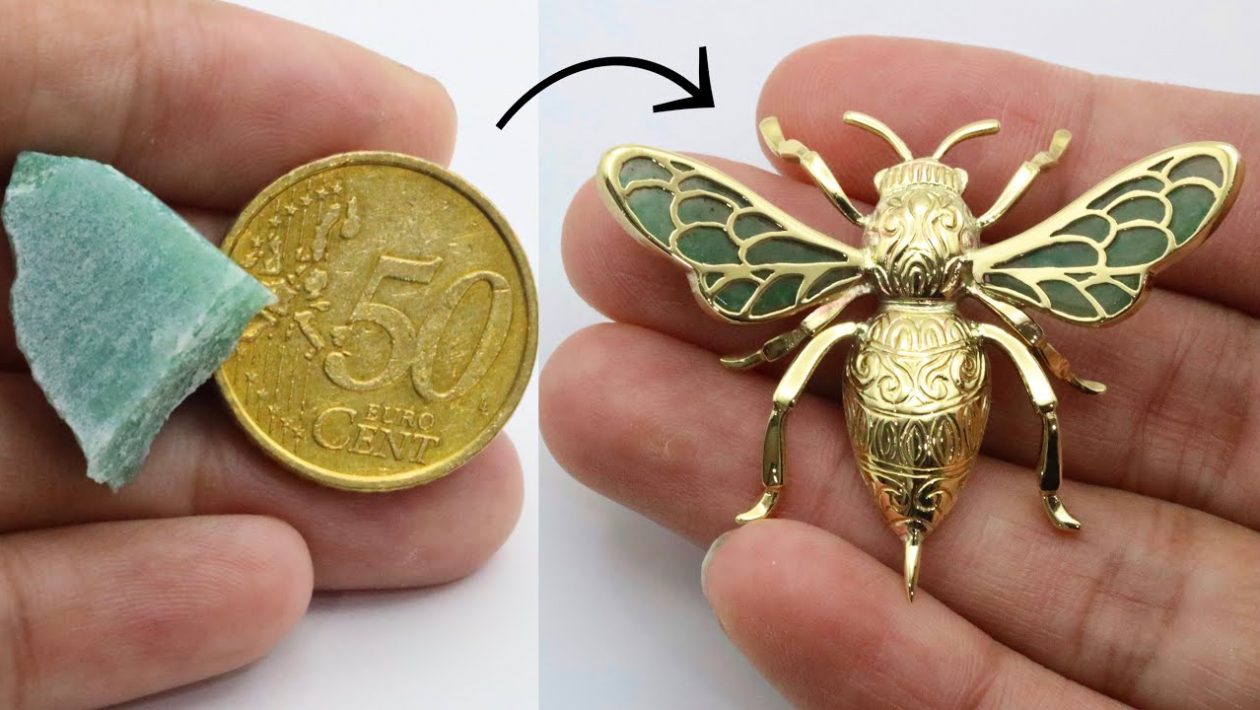
Turning common coins into high-end jewelry is a technique that bridges the gap between metalworking and sculpture. By utilizing the specific alloy properties of certain coins, you can replicate the look and feel of 18k gold at a fraction of the cost. The key is understanding how to manipulate metal thickness and texture to create a 3D insect pendant that is both durable and visually striking.
Coins are designed to withstand heavy circulation, meaning they have a density and hardness perfect for bench work. When annealed correctly, they become pliable enough for detailed shaping, yet remain resilient enough to hold fine textures—such as the delicate wings of a bee or the segmented body of a beetle.
Essential Tools for the Beginner
You do not need a commercial-grade studio to get started. Success in this craft relies on simple, manual tools that are readily available at most hardware stores or online jewelry supply shops.
- Jeweler’s Saw: For precise cutting of the coin’s perimeter and internal shapes.
- Needle Files: Essential for smoothing edges and refining small anatomical details on your insect.
- Annealing Torch: A basic butane or propane torch is sufficient to soften the metal for easier shaping.
- Mandrels and Punches: Used to create doming or depth, giving your piece its 3D character.
- Polishing Compound: To bring out the natural luster of the coin’s base metal.
The Process: Shaping the 3D Insect
The transformation begins with annealing. Heat the coin until it reaches a dull red glow, then quench it in water to soften the grain of the metal. Once the coin is workable, the layout is paramount. Use a fine-point scribe to draw the anatomy of the insect directly onto the surface of the metal.
When cutting, focus on the silhouette first. Once the shape is detached from the coin, use your files to establish the depth of the insect’s body. To achieve a 3D effect, you must work in layers. You can achieve this by doming the body sections slightly using a dapping block, which lifts the center of the insect away from the wings or legs.
Adding Custom Accents
A professional pendant needs a focal point. Integrating stones—such as green aventurine—adds a layer of sophistication that breaks up the monochromatic look of the metal. To set a stone, you can create a simple bezel or a prong setting directly onto the back of your insect’s body.
Drilling small pilot holes for wings and legs allows for movement and realism. When you attach these limbs, use a high-strength jewelry adhesive or, for those with soldering skills, a low-temperature solder. This combination of raw metal texture and a polished gemstone finish elevates the piece from a novelty item to a genuine accessory.
Finishing for a Gold-Like Luster
After your insect is fully formed, the finish determines the final aesthetic. Use progressively finer grits of sandpaper to remove any deep scratches left by your files. If you want a high-gloss, gold-like finish, finish with a buffing wheel and a high-quality polishing rouge.
If you prefer an aged look, you can apply a liver of sulfur patina to darken the crevices of the insect. Once the patina is set, lightly buff the high points of the pendant to reveal the bright metal underneath. This contrast highlights the fine details you spent hours filing into the surface, completing your 3D insect pendant.