The Reality of Eyeglass Repair
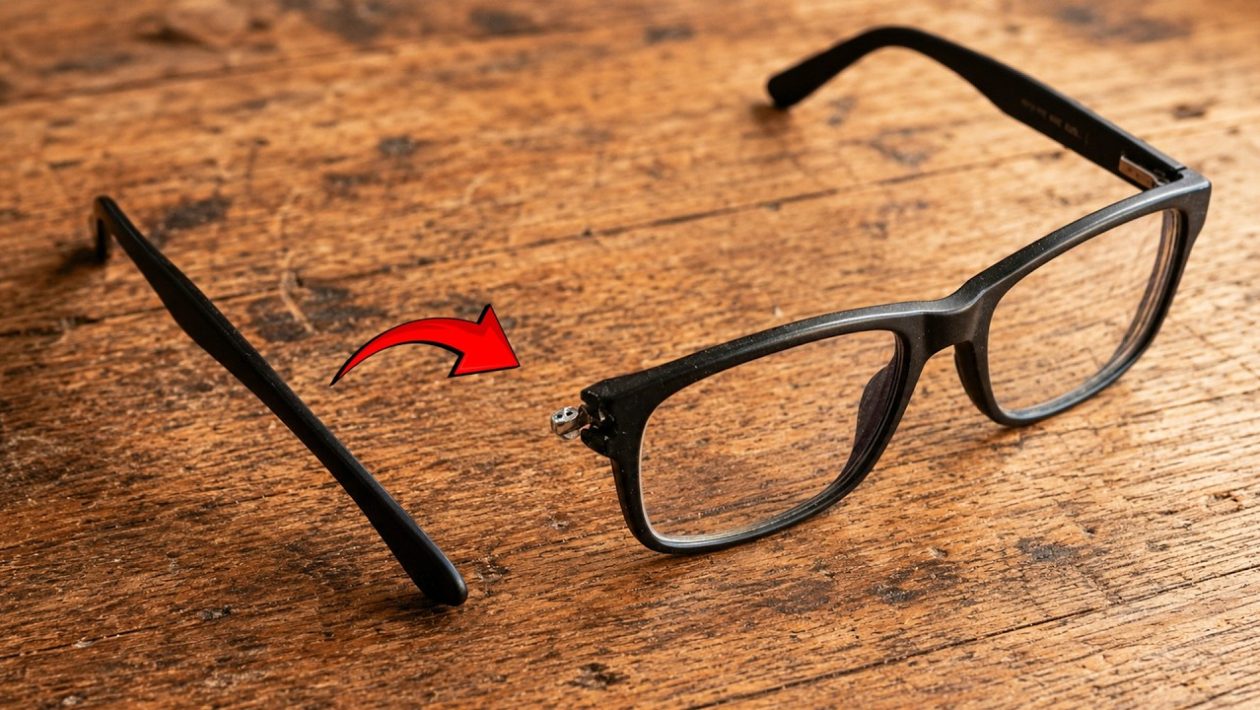
Most plastic eyeglass frames eventually succumb to stress. Whether it’s a hairline fracture at the hinge or a clean break across the bridge, a snapped frame is often treated as a total loss. Instead of spending hundreds of dollars on a replacement pair, you can utilize plastic welding techniques to restore structural integrity.
Repairing plastic requires more than just standard adhesives. Super glues often create brittle bonds that fail under the slightest pressure. Plastic welding, conversely, fuses the two broken pieces at a molecular level, creating a repair that is often stronger than the original material.
Understanding the Material
Before beginning a repair, identify the type of plastic used in your frames. Most high-quality eyeglasses are made from cellulose acetate, a plant-based plastic that reacts well to solvent-based bonding. Cheaper injection-molded frames may use nylon or polycarbonate, which require different preparation methods.
The goal is to create a seamless bond that can withstand the daily tension of being taken on and off. If you are dealing with a clean break, alignment is your primary concern. A minor misalignment will result in uneven lenses and ongoing eye strain.
The Welding Process: Step-by-Step
To achieve a professional-grade repair, focus on surface preparation and reinforcement.
1. Surface Preparation
Clean the broken surfaces with isopropyl alcohol to remove skin oils and residue. Use a fine-grit sandpaper to roughen the edges slightly. This increases the surface area, allowing the welding agent or bonding material to grip more effectively.
2. Structural Reinforcement
For high-stress areas like the bridge or the hinge, a simple surface bond is rarely enough. Use a “pinning” technique if the frame thickness allows. By inserting a small, heated metal wire or a tiny cut piece of a paperclip into the plastic across the fracture point, you create an internal skeleton for the repair.
3. Applying the Bonding Agent
If you are using an acetate-based solvent, it will effectively melt the plastic surfaces together. Apply the solvent carefully with a fine-point needle. Hold the pieces in perfect alignment for several minutes. The solvent will evaporate, leaving a solid piece of fused plastic behind.
For other plastics, a specialized plastic bonding kit—often consisting of a powder and a liquid resin—is more effective. Apply the powder to the fracture and drip the resin into it. This creates an immediate, rock-hard chemical weld.
Refining the Finish
Once the weld has fully cured—usually within 24 hours—it will likely look uneven. Do not rush this step. Use progressively finer grits of sandpaper, starting with 400 and moving up to 2000, to smooth the repair site until it is flush with the frame.
To restore the original sheen, use a plastic polishing compound and a microfiber cloth. Buff the area in circular motions until the repair site blends into the surrounding frame. In cases where the frame was painted or tinted, a small amount of model paint or a specialized frame-touch-up marker can hide the final seam.
When to Consult a Professional
While DIY welding is effective for many breaks, it is not a cure-all. If the fracture passes through the lens groove, or if the frame material is highly degraded or “gummy” due to age, the repair may not hold. Furthermore, if you wear high-prescription lenses that require precise optical alignment, even a slight shift in the frame geometry can cause significant vision issues.
If the frame remains unstable after your attempt, it is time to visit an optician. A professional can often perform a laser weld or swap the lenses into a compatible spare frame, saving you the cost of a full new prescription.