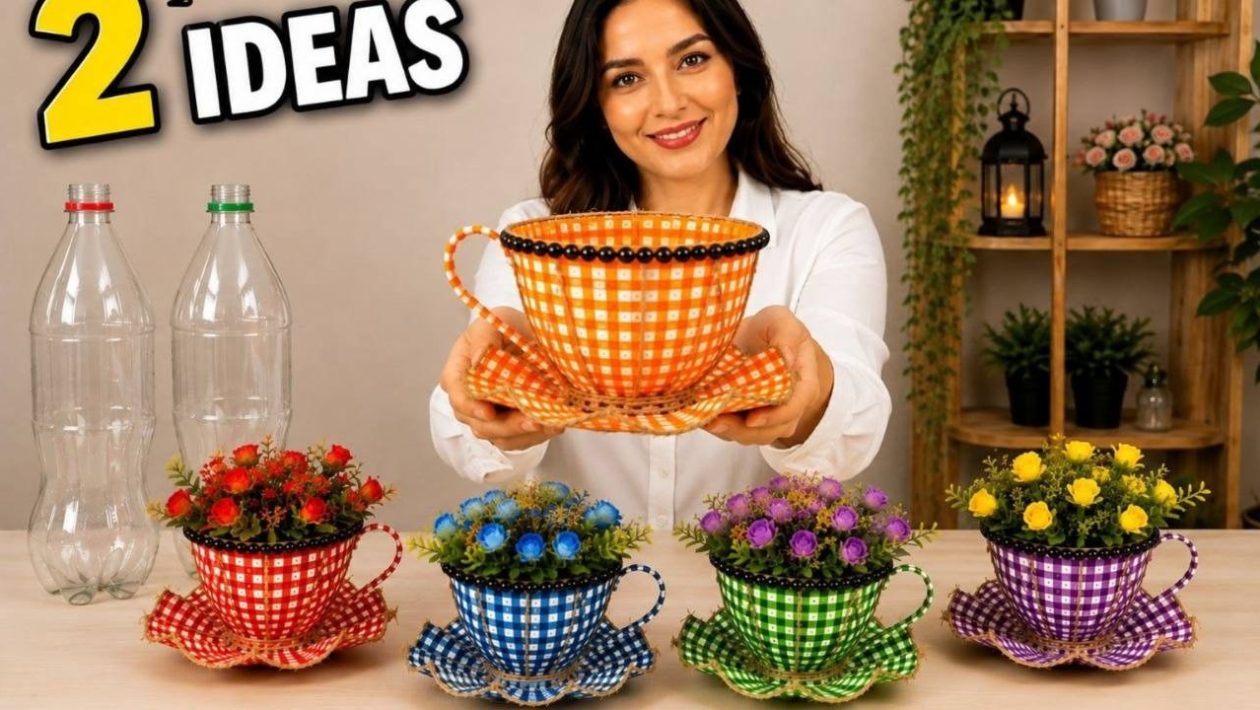
Most of us treat empty plastic bottles as clutter destined for the blue bin. With a little creativity, however, those disposable containers can be repurposed into high-end looking home decor. One of the most effective ways to upcycle is by turning them into custom teacup-shaped planters for your indoor garden.
The Upcycling Advantage
Plastic is durable, waterproof, and easy to cut, making it an ideal material for DIY projects. Transforming waste into functional planters not only keeps plastic out of landfills but also allows you to bypass expensive store-bought pots. You can customize the size, color, and finish to match your existing home aesthetics without spending a fortune.
Essential Supplies for Your Project
You don’t need a professional workshop to get started. Most of these materials are likely already in your craft closet or junk drawer:
- Empty plastic bottles (any size, though 16oz bottles are ideal for teacups)
- Fabric scraps (cotton or burlap work best)
- Foam sheets for structure and detailing
- Jute ribbon for a rustic texture
- Pearl beads or adhesive gems for decoration
- Wood glue or a reliable craft adhesive
- Hot glue gun for rapid assembly
Constructing Your Teacup Planters
The process begins with the base. Start by carefully cutting the bottom section of your plastic bottle. Depending on the depth you want for your planter, measure and trim the bottle accordingly. Ensure the cut is clean so the cup sits flat on your table.
Once you have the plastic “cup,” you will need to add a handle. Strips of foam sheet are perfect for this. Cut a strip, bend it into a curved handle shape, and reinforce it with your jute ribbon. Secure it to the side of the plastic cup using hot glue. The contrast between the rigid plastic and the soft fabric or ribbon provides an elegant, handmade aesthetic.
Adding the Finishing Touches
Now that the structure is set, the real transformation begins. Use wood glue to adhere fabric around the exterior of the plastic base. This hides the plastic texture completely, turning a synthetic item into a fabric-wrapped masterpiece.
For a sophisticated look, add a rim of jute ribbon around the top edge of the cup. Finally, embellish the exterior with pearl beads or small foam cutouts. These decorative elements hide any potential imperfections in your fabric application and give the project a finished, professional look.
Maintenance and Use
Because these planters are made from plastic, they won’t rot when you water your plants. However, ensure you puncture a few tiny drainage holes in the bottom before filling them with soil. If you choose not to add drainage, place your plant inside in its original plastic nursery liner, using your new “teacup” solely as a decorative sleeve.
These pieces are perfect for small succulents, herbs, or seasonal floral displays. They make excellent, low-cost gifts that feel personal and deliberate. By rethinking how you view everyday waste, you can turn a throwaway item into a staple of your home decor.