The Hidden Cost of Foggy Headlights
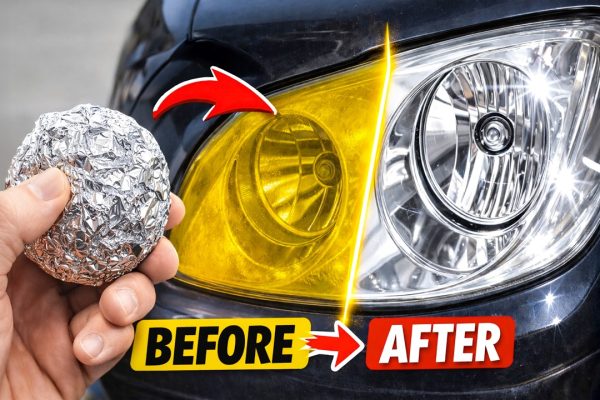
Foggy, yellowed headlights are more than a cosmetic annoyance. They severely reduce nighttime visibility and pose a major safety risk on the road.
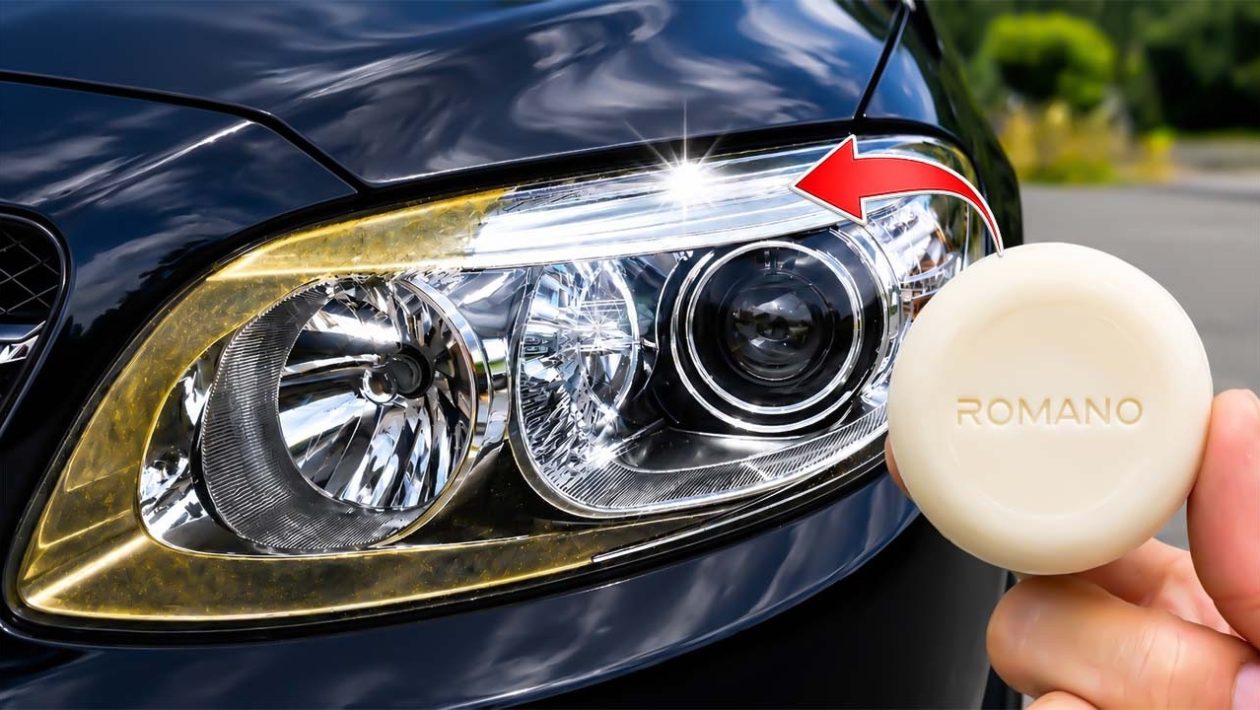
While auto parts stores sell specialized headlight restoration kits, professional detailers and veteran mechanics often rely on cheaper, old-school methods. One of the most effective workshop tricks involves a staple you already have at home: a simple bar of soap.
This budget-friendly technique strips away years of oxidation using basic tools, restoring crystal-clear visibility without the markup of a commercial chemical kit.
Why Bar Soap Actually Works
The cloudiness on your headlights is oxidized plastic caused by years of direct UV exposure. Removing this dead layer requires manual abrasion.
When wet sanding the plastic housing, you need a high-quality lubricant to prevent the sandpaper from clogging and scratching the lens too deeply. Bar soap provides a thick, slick surface barrier that plain water cannot match.
It lifts away dirt, encapsulates the sanded plastic particles, and allows the abrasive paper to glide smoothly. This strips away the yellow haze while preserving the structural integrity of the headlight lens.
Materials Required for the Job
You do not need expensive power tools to execute this method. Gather these basic supplies before starting:
- A standard bar of soap (avoid heavily moisturized or exfoliating varieties)
- Automotive sandpaper (1000, 2000, and 3000 grit)
- Automotive masking tape
- A spray bottle filled with water
- Plastic polishing compound
- Microfiber towels
Step 1: Prep and Protect the Paint
Thoroughly wash the headlight surface to remove any loose grit, road tar, or bugs. Once dry, apply automotive masking tape to the paint surrounding the headlight.
Accidentally sanding the clear coat on your fender is a costly mistake. Taping off the perimeter ensures that only the plastic lens comes into contact with your abrasives.
Step 2: The Soap and Sand Technique
Submerge your sandpaper in water to soften the backing. Take the dry bar of soap and rub it generously over the wet headlight lens until it forms a thick, visible film.
Begin sanding with your 1000-grit paper using horizontal, side-to-side motions. The soap acts as a heavy lubricant, carrying away the oxidized yellow plastic in a milky slurry.
Never let the surface dry out. Keep spraying the lens with water and reapplying the bar soap to maintain a slick barrier.
Step 3: Refining the Plastic Finish
Wipe the lens clean with a microfiber cloth to inspect your progress. The heavy yellow oxidation should be gone, leaving a uniformly frosted, white surface.
Repeat the soap-and-sand process with your 2000-grit paper, using vertical, up-and-down motions. This cross-hatching technique removes the deeper scratches left by the previous grit.
Finish the sanding phase with the 3000-grit paper. By the final pass, the plastic will feel incredibly smooth to the touch.
Step 4: Polish to a Shine
The soap and sandpaper do the heavy lifting to remove the damage, but polishing compound brings back the optical clarity. Apply a standard automotive plastic polish to a clean microfiber cloth or a buffing pad.
Work the compound firmly into the frosted plastic. As you buff away the residue, the hazy surface will turn completely transparent.
The Crucial Final Step
Once the headlight is restored, the bare polycarbonate plastic is highly vulnerable to the sun. Without a protective barrier, the UV rays will cause the lens to turn yellow again within a few months.
To lock in the clear finish, wipe the lens down with rubbing alcohol to remove any leftover polishing oils. Immediately apply a dedicated UV clear coat spray or an automotive ceramic coating to seal the plastic permanently.