The Problem with Polycarbonate Lenses
Modern vehicle headlights are manufactured using polycarbonate plastic. This material is incredibly durable and impact-resistant, making it ideal for deflecting road debris at highway speeds.
However, polycarbonate has a major weakness: ultraviolet light. Manufacturers apply a clear UV-resistant coating to the lenses at the factory, but this protective layer eventually degrades.
Years of exposure to sunlight, harsh weather, and road salt cause the coating to oxidize. The result is a yellow, cloudy, and hazy headlight lens that severely restricts light output and compromises nighttime driving safety.
Dealerships often recommend replacing the entire headlight assembly, a repair that can easily cost hundreds of dollars. Fortunately, restoring clarity requires little more than surface refinement using items already sitting in your kitchen pantry.
Why Aluminum Foil Works for Surface Refinement
Traditional headlight restoration involves multiple stages of wet-sanding with increasingly fine grits of sandpaper. It is highly effective but labor-intensive and intimidating for the average vehicle owner.
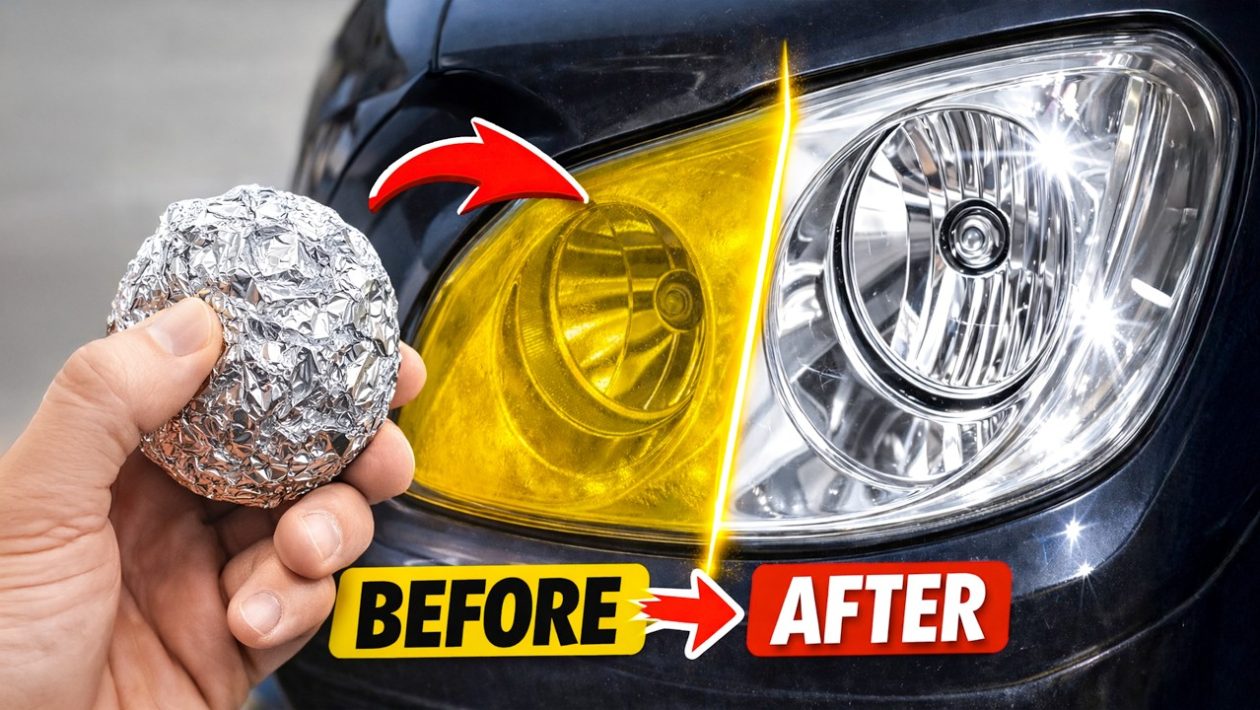
Aluminum foil offers a practical, budget-friendly shortcut for moderate oxidation. When crumpled into a tight ball, the foil creates hundreds of small, faceted edges.
Aluminum is a relatively soft metal. It is rigid enough to scrape away the degraded, chalky UV layer from the headlight, but soft enough that it will not deeply gouge the dense polycarbonate plastic underneath.
When combined with a mild household abrasive—like standard white toothpaste or a simple paste made from baking soda and water—the foil acts as a highly effective polishing pad.
The Step-by-Step Cleaning Process
Preparation is critical to avoid damaging the surrounding paint. Tape off the edges of the car’s body panels around the headlight using standard automotive masking tape.
Wash the headlight lens thoroughly with car soap and water. You must remove all loose dirt, grit, and road sand before polishing, or you risk dragging deep scratches into the plastic.
Tear off a sheet of standard or heavy-duty aluminum foil and crumple it tightly into a ball roughly the size of a golf ball. Apply a generous layer of your chosen mild abrasive directly to the cloudy headlight lens.
Begin scrubbing the lens with the foil ball using firm, circular motions. You will quickly notice the abrasive paste turning yellowish-brown.
This discoloration is exactly what you want to see. It is the dead, oxidized plastic and road grime physically lifting off the surface of the lens.
Keep scrubbing until the entire surface feels smooth and the friction changes. Wipe the lens clean with a damp microfiber cloth to reveal the restored, crystal-clear plastic.
Bonus Application: Restoring Dull Metal
The exact same kitchen staple is highly effective for restoring dull or lightly rusted metal parts. This is especially useful for older vehicles with chrome bumpers, exhaust tips, or metal trim.
When aluminum foil rubs against chrome or steel, especially when lubricated with water or a mild acid like white vinegar, a localized chemical reaction occurs.
The friction creates a fine aluminum oxide paste. Because aluminum is softer than chrome, this homemade polishing compound safely dissolves and scrapes away rust spots without scratching the underlying metal.
Simply dip a crumpled ball of foil into water and gently rub it over the pitted or dull metal. The surface will quickly regain its factory shine.
Protecting the Final Finish
Surface refinement is only the first half of a proper restoration. Once you use aluminum foil to remove the oxidized layer from a headlight, you have also stripped away any remaining factory UV protection.
If left unprotected, the bare polycarbonate will begin to yellow again in a matter of weeks.
To lock in the clarity, you must apply a protective barrier. A dedicated automotive ceramic coating, a clear UV-resistant spray paint, or even a high-quality synthetic car wax will seal the plastic.
Applying this final layer takes only a few minutes and ensures the lenses remain bright, sharp, and safe for night driving for years to come.