The Industrial Aesthetic on a Budget
Repurposing wooden pallets is a staple of DIY culture, but wood alone can weather quickly when left exposed to the elements. By introducing cement into the structural framework of a pallet, you can transform a piece of industrial trash into a heavy-duty, permanent fixture for your patio or garden.
This method bridges the gap between raw, organic timber and durable masonry. The resulting hybrid creation is not only weather-resistant but also provides the kind of weight and stability that off-the-shelf furniture often lacks.
Preparation: Selecting the Right Pallet
Not all pallets are created equal. For this project, you need to avoid pallets that show signs of rot, mold, or severe chemical staining. Look for pallets stamped with “HT,” which indicates the wood was heat-treated rather than chemically treated with toxic preservatives.
Once you have a sturdy candidate, take the following steps:
- Sanding: Lightly sand the exposed wooden surfaces to remove splinters and debris. This ensures the cement bonds cleanly where it meets the wood.
- Cleaning: Use a wire brush to remove any loose dirt or flaking wood fibers.
- Sealing: If you want the wood to retain its natural look, apply a light coat of polyurethane to the areas that will be partially encased in concrete. This prevents the wood from absorbing too much water from the wet cement mixture.
The Casting Process
Creating a stable form is the most critical part of working with concrete. Because a pallet is essentially an open frame, you will need to create “walls” using scrap plywood or melamine boards around the perimeter where you intend to pour the cement.
Mixing the Concrete
For furniture projects, use a high-strength concrete mix. Avoid basic “sand-mix” if you plan on adding structural weight. Follow the manufacturer’s instructions regarding water ratio closely; a mix that is too runny will lose its structural integrity, while a mix that is too dry will not flow into the tight corners of the pallet.
The Pour
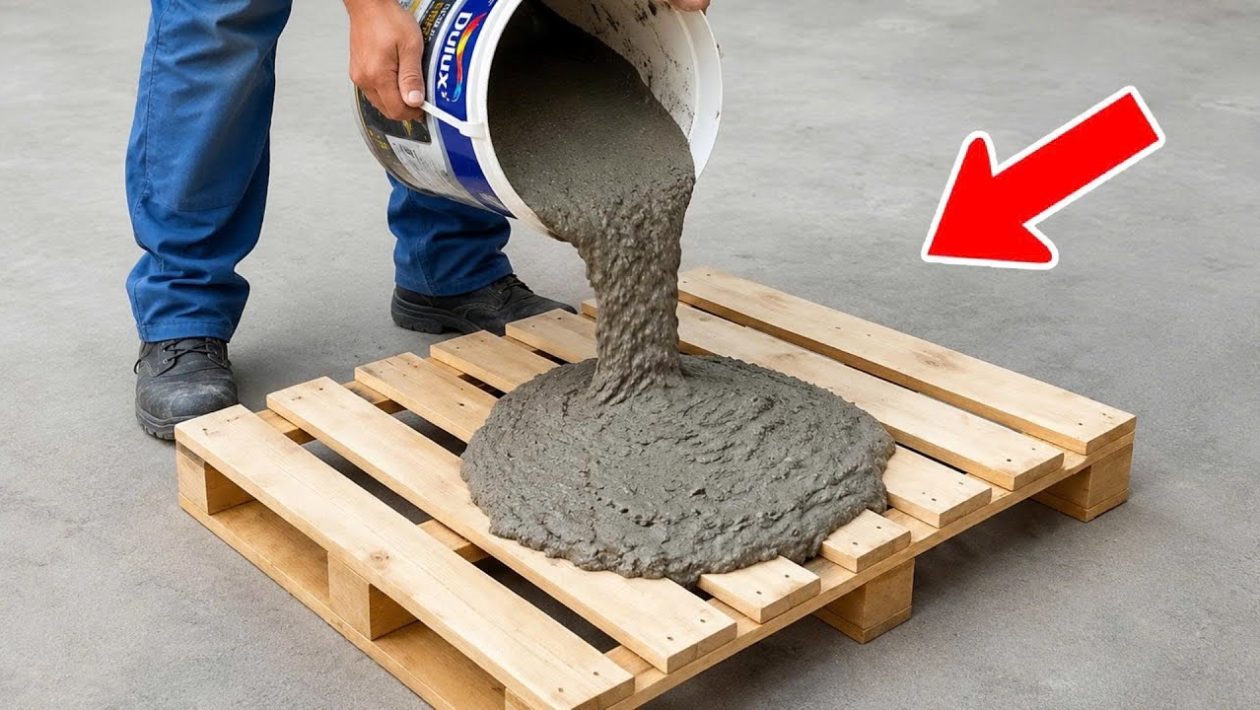
Pour the concrete slowly into the pallet voids. As you fill the space, use a stick or a vibratory tool—a simple handheld sander pressed against the outside of your formwork works wonders—to remove air bubbles. These bubbles, if left trapped, will result in unsightly “honeycombing” on the finished surface.
Curing and Finishing
Patience is the primary ingredient in concrete work. While the material may feel solid within 24 hours, it has not yet reached its full structural capacity. Keep the concrete covered with plastic sheeting for at least three to five days to slow down the evaporation process. Slow curing equals a stronger, less crack-prone result.
Once the concrete has fully cured, remove your formwork. You will likely see some imperfections on the surface—this is normal. You can either embrace the raw, industrial aesthetic or fill the small pinholes with a slurry of cement and water for a smoother finish.
Maintenance and Longevity
Once the project is complete, consider applying a concrete sealer. This layer protects your creation from freeze-thaw cycles and prevents spills from staining the surface. A well-constructed concrete-and-wood pallet piece can easily serve as a centerpiece for outdoor gatherings for years to come.
The combination of these two materials—wood and stone—offers a tactile contrast that feels intentional and high-end, despite starting as a simple salvage project.